


HP109-PE – Chapter 4. Recording Your Performance
26
Chapter 4. Recording Your Performance
You can easily record your performances. A recorded perfor-
mance can be played back to hear your own playing, or to
add additional parts.
The following types of recording can be done using the
HP109-PE.
• Recording just your own keyboard performance
(→“Recording a New Song”, p. 26)
• Recording along with a built-in song (→“Recording
Along with a Song”, p. 27)
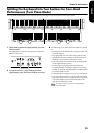
• Recording each hand separately (→“Selecting and
Recording the Track for Each Hand Separately”, p. 28)
Notes regarding recording
• Only one song can be recorded.
• The HP109-PE includes a “Song Backup function” (p.
32), which allows you to store the song recorded with
the HP109-PE in the instrument itself. Recorded perfor-
mance that have not been backed up with Song Backup
is erased with the power is turned off. Be sure to use
Song Backup for any performance you want to keep.
You can either record it on an external audio device, or
use an external MIDI device to save the performance
data on a floppy disk. For details, refer to “Chapter 6.
Connecting External Devices” (p. 34).
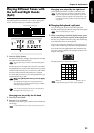
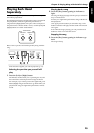
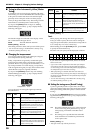
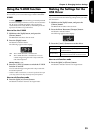
If you see the following...
If you attempt to select a song when another performance
has already been recorded, the following appears in the
display and the [Record] button’s indicator flashes.
If it is OK to erase the performance, press the [Rec] button.
If you do not want to erase the performance, press the
[Play] button.
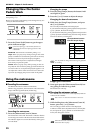
About the Recorded Tracks
A. Recording without specifying the track to be recorded
If there is no data recorded on the left and right track, the
data is then recorded to the right track. If there is any data
recorded to either the left or right track, the data is then
recorded to the empty track.
B. Recording while using the Dual, Acoustic Layering, or Split
functions
C. Recording while the “Layer” or “Octave” function is
assigned to the center pedal
* When using method B or C above to layer a recording to a
song, press both the [Left] and [Right] buttons before record-
ing so that the buttons flash.
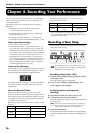
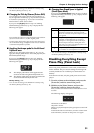
Recording a New Song
Record only the keyboard performance without playing
along with a built-in song.
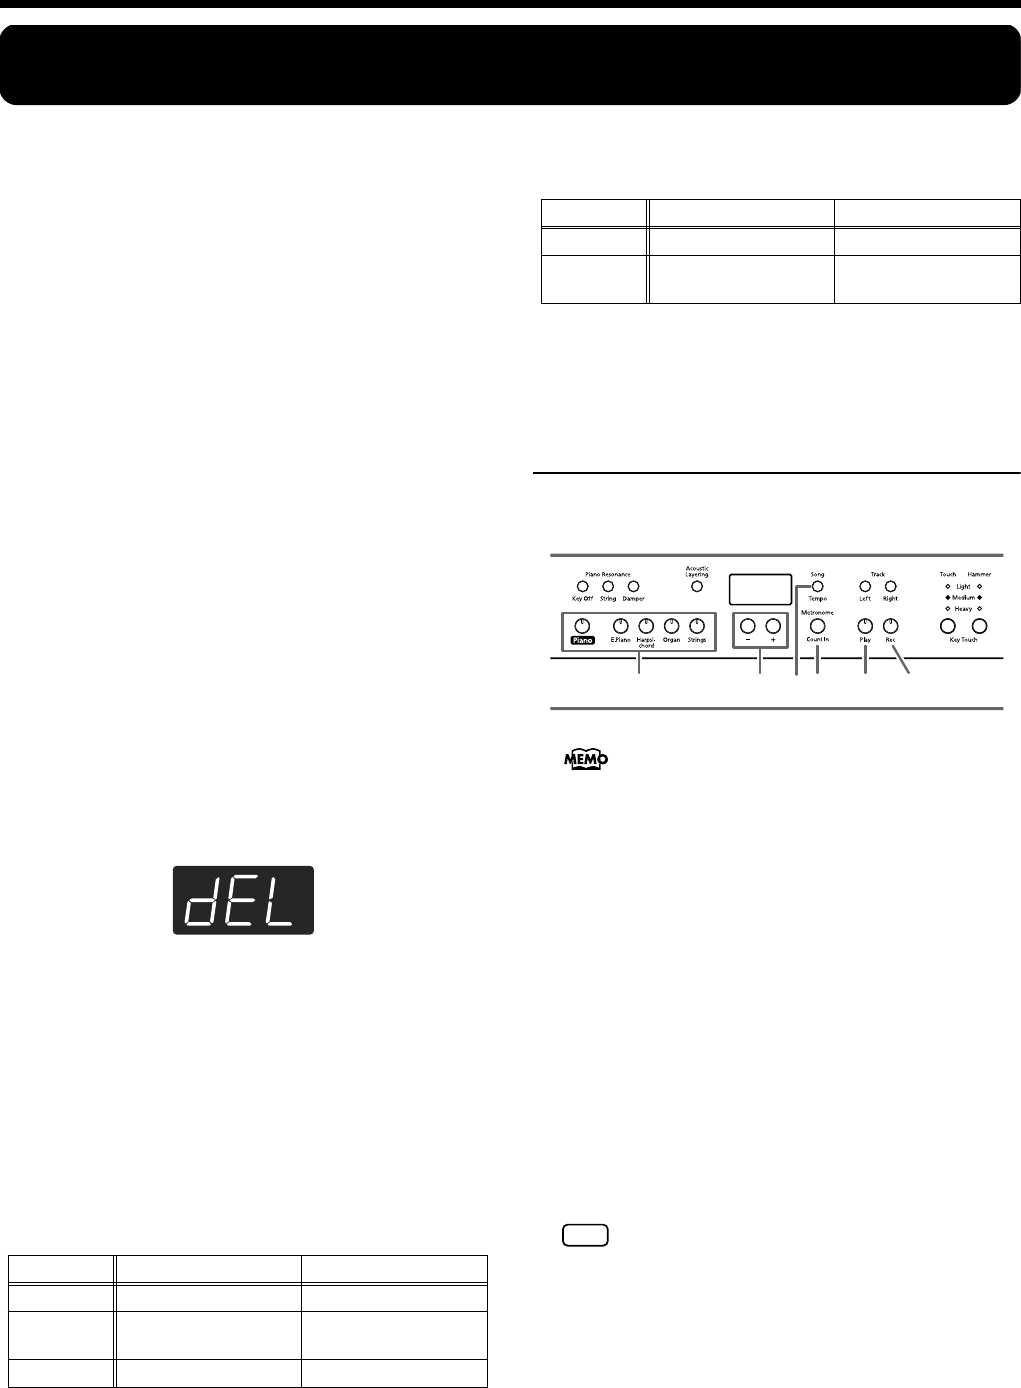
Recording settings (select “USr”)
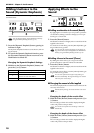
1.
Press the [Song/Tempo] button, getting its indica-
tor to light in red.
The song number appears in the display.
2.
Press [-] and [+] buttons simultaneously, and
“USr” appears in the display.
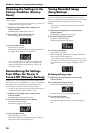
Specifying the tone and tempo for
recording
3.
Select the tone that you want to play (p. 15).
4.
If necessary, turn on the metronome.
Sound the metronome while you set the tempo and beat of
the song (p. 22).
5.
Press the [Rec] button.
The [Rec] button’s indicator will light, the [Play] button’s
indicator will blink, and you will be in recording-standby
mode.
Function Left Track Right Track
Dual Tone from right tone button Tone from left tone button
Acoustic
Layering
Layer tone Original tone (piano tone)
Split Left (keyboard) tone Right (keyboard) tone
Function Left Track Right Track
Layer Layer tone Original tone (piano tone)
Octave
Layer tone (one octave
higher)
Original tone
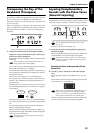
The HP109-PE includes a “Song Backup function” (p.
32), which allows you to store the song recorded with the
HP109-PE in the instrument itself.
If you layer a newly recorded performance without eras-
ing the recorded song, the song tempo and beat will be
stored with the settings that were recorded first.
2 4 6,8 5,73
1
NOTE