


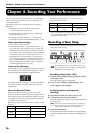


HP109-PE – Chapter 4. Recording Your Performance
28
Selecting and Recording the
Track for Each Hand
Separately
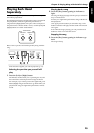
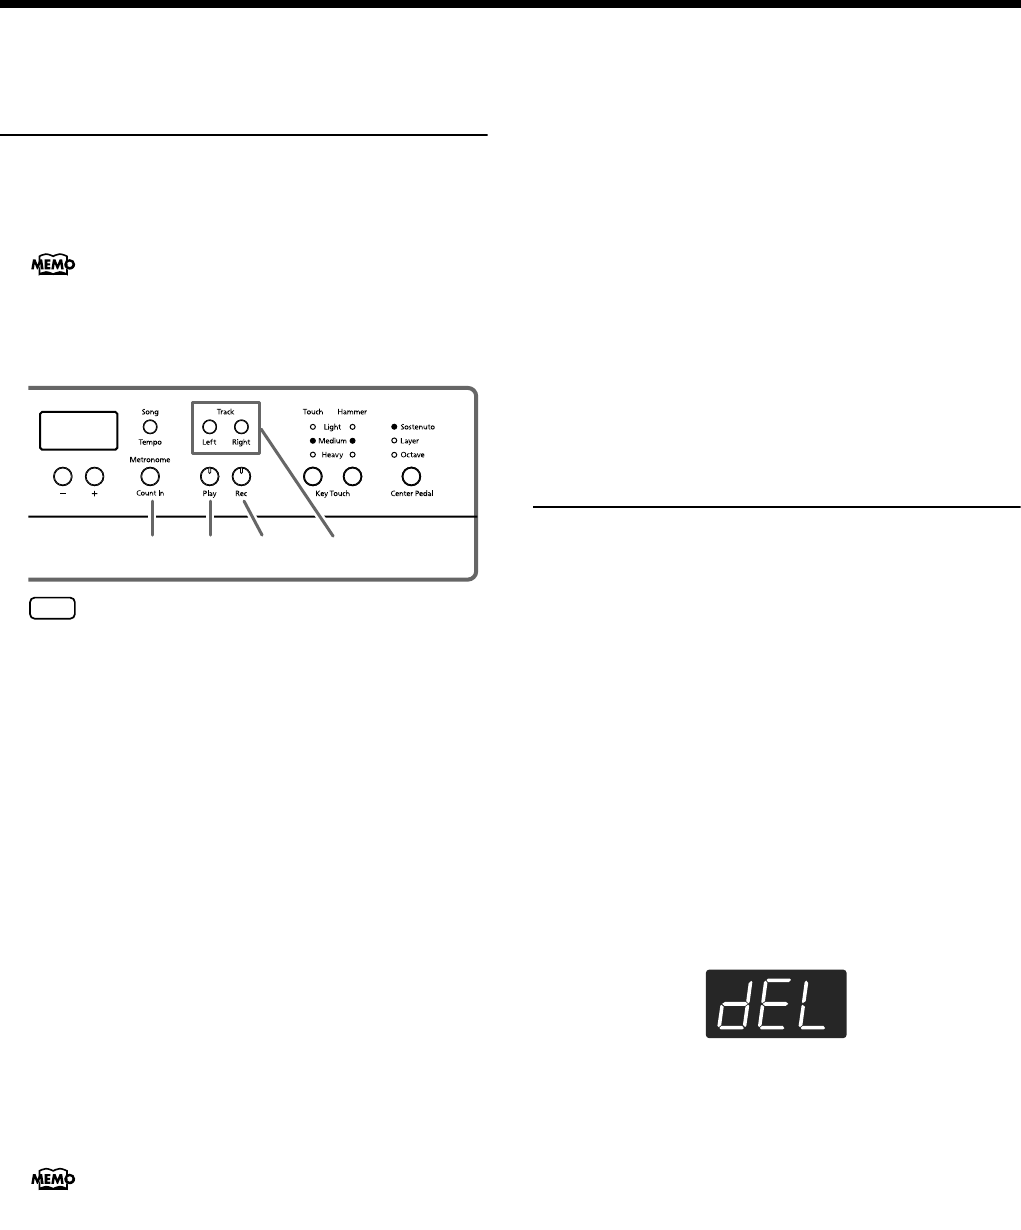
The recorder of the HP109-PE has two recording tracks,
allowing you to record the right and left hands separately.
Use the [Left] button or [Right] button to specify the
recording track.
If you want to re-do the recording, you can re-record just
a specific track.
When recording a new song, first follow the instructions in
Steps 1 and 2 of “Recording a New Song” (p. 26) to select
“USr.” When layering recordings with built-in songs or
songs that have been backed up, select the built-in or
backed up song as described in Steps 1 and 2 of “Selecting
a song and playing it” (p. 13).
1.
As necessary, turn on the metronome (p. 22).
2.
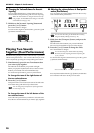
Press the [Rec] button.
The [Rec] button’s indicator will light, the [Play] button’s
indicator will blink, and you will be in recording-standby
mode.
The button indicators of tracks that are already recorded
will light.
The track button for which you will next be recording will
be blinking.
3.
Press the [Left] or [Right] button to turn off the
button for the track not to be recorded.
Start recording
4.
Press the [Play] button.
Two measures of the count sound are played, and the
recording begins. Go ahead and perform on the keyboard.
Note that recording will also begin as soon as you play
anything on the keyboard, even if you do not press the
[Play] button. There is no count sound played when you
start in this manner.
Stop recording
5.
Press the [Play] or [Rec] button.
Recording will stop, and the indicators for the [Play] and
[Rec] buttons will go dark.
Your performance has been recorded to the specified track
button.
If you want to record on the other track, return to step 2 to
record your performance again. You can record while you
listen to the previously recorded performance.
Play back the recorded performance
6.
Press the [Play] button.
You will hear the recorded performance.
Press the [Play] button once again, and playback will stop.
Erasing Recorded
Performances
You can erase a recorded performance.
■
Erasing a performance from the specified
track
You can select a recorded track and erase it.
Hold down either the [Left] or [Right] button, and
press the [Rec] button.
The indicator of the button you pressed will go dark, and
the performance of the selected track will be erased.
■
Erasing a song
You can erase a song you’ve recorded.
Hold down the [Song/Tempo] button and press
the [Rec] button.
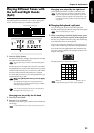
The following display will appear, and the [Rec] button’s
indicator will blink.
If you decide not to erase the performance, press the [Play]
or [Song/Tempo] button.
7.
Once again press the [Rec] button.
The recorded performance is erased.
The HP109-PE includes a “Song Backup function” (p.
32), which allows you to store the song recorded with the
HP109-PE in the instrument itself.
If you go on to record additional material without eras-
ing the recorded song, the song tempo, beat, and metro-
nome settings of the original recording will be used for
the new material as well.
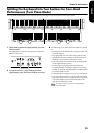
The track buttons allow you to record to either the [Left]
or the [Right] button, one at a time.
31 4,6 2,5
NOTE