


50
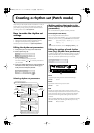
Creating a patch (Patch mode)
Copying MFX, CHORUS, or REVERB effect
settings
1.
Press [PATCH] so it is lit and you are in Patch mode.
Select the copy-destination patch.
2.
Press [UTILITY].
3.
Use PAGE/CURSOR [ ]/[ ] to select “1:PATCH PRM
COPY.”
4.
Press [ENTER].
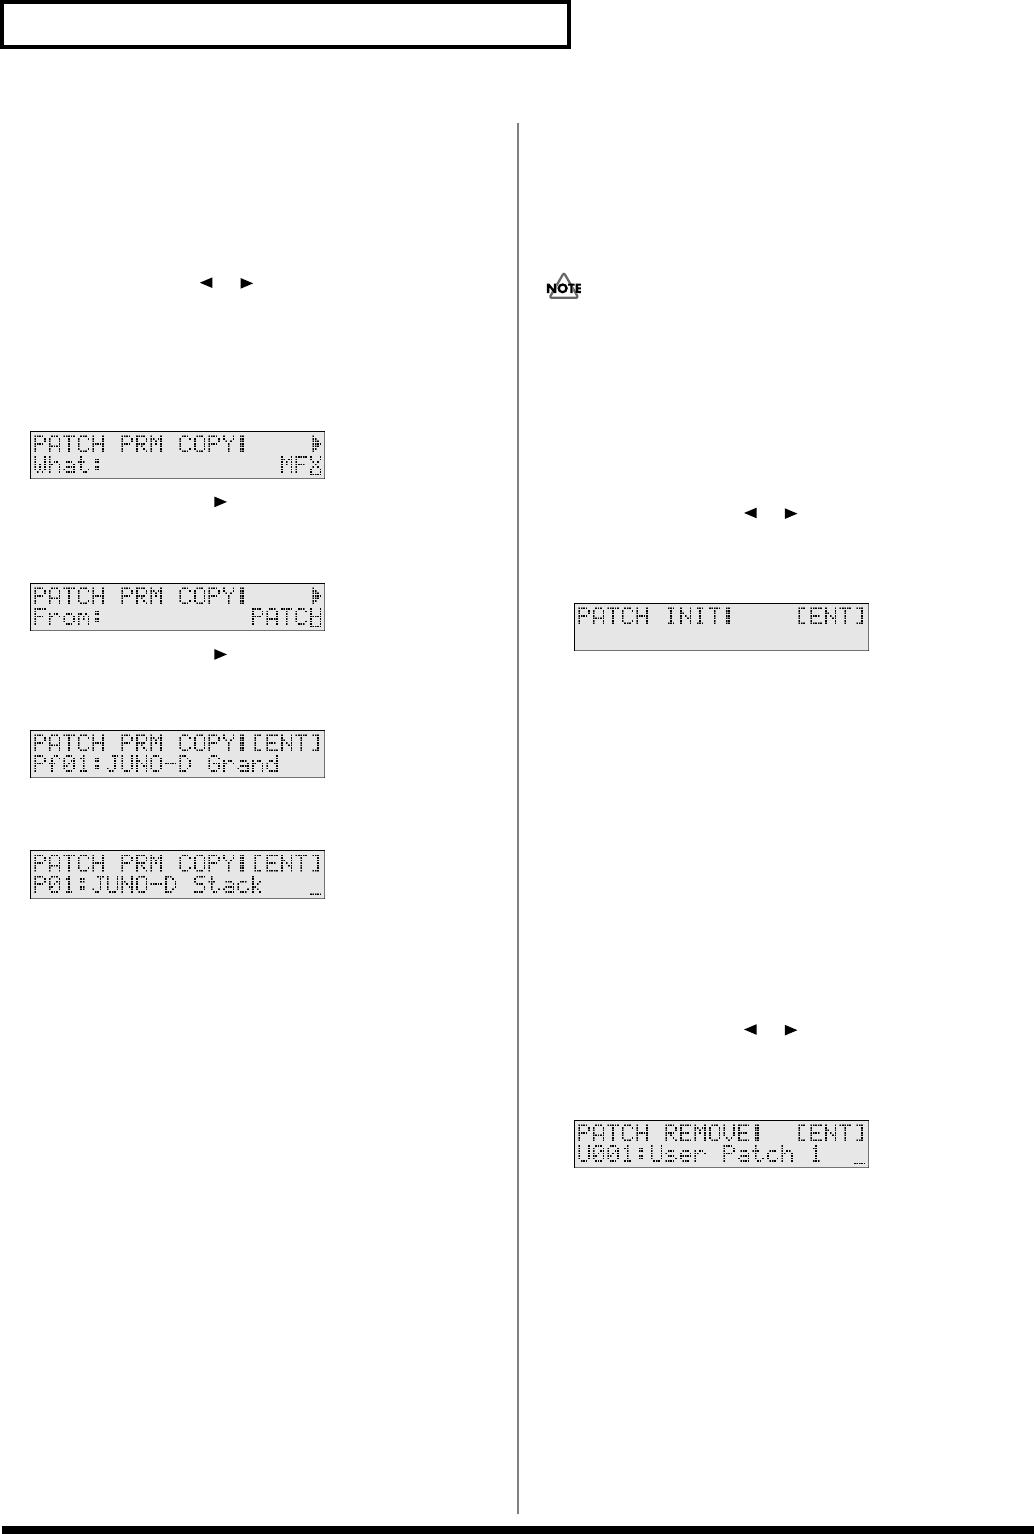
5.
Use VALUE [-]/[+] to select “MFX,” “CHORUS,” or
“REVERB.”
fig.r03-15_40
6.
Press PAGE/CURSOR [ ].
Use VALUE [-]/[+] to specify whether you will copy “PATCH”
effect settings or “PERFORM (Performance)” effect settings.
fig.r03-16_40
7.
Press PAGE/CURSOR [ ].
Copying “PATCH” effect settings
Use VALUE [-]/[+] to select the copy-source patch.
fig.r03-17_40
Copying “PERFORM (Performance)” effect settings
Use VALUE [-]/[+] to select the copy-source performance.
fig.r03-18_40
8.
Press [ENTER].
The effect settings will be copied to the currently selected patch.
When the data has been copied, the display will indicate
“COMPLETED.” This ends the procedure.
Initializing the parameters of a patch
(PATCH INITIALIZE)
This operation initializes the currently selected patch settings.
Since all patch parameters will be initialized, this is convenient when
you want to create a sound from scratch.
The Initialize operation applies only to the currently selected
sound; it will not change the content of sounds stored in user
memory. If you want to restore all settings to the factory-set
condition, execute the Factory Reset operation (p. 17).
1.
Press [PATCH] so it is lit and you are in Patch mode.
Select the patch you want to initialize.
2.
Press [UTILITY].
3.
Use PAGE/CURSOR [ ]/[ ] to select “2:PATCH
INITIALIZE.”
4.
Press [ENTER].
fig.r03-20_40
5.
Press [ENTER] once again to execute.
When initialization is finished, the display will indicate
“COMPLETED.” This ends the procedure.
Erasing a user patch you saved
(PATCH REMOVE)
This operation erases the specified user patch. When you erase a
patch, it will no longer be possible to select the patch of that number
using direct access buttons. If you newly save a patch in that
number, you will again be able to select it.
1.
Press [PATCH] so it is lit and you are in Patch mode.
2.
Press [UTILITY].
3.
Use PAGE/CURSOR [ ]/[ ] to select “3:PATCH
REMOVE.”
4.
Press [ENTER].
ig.r03-22_40
5.
Use VALUE [-]/[+] to select the user patch that you want to
erase.
6.
Press [ENTER].
When the data has been erased, the display will indicate
“COMPLETED.” This ends the procedure.
JUNO-D_e.book 50 ページ 2004年6月11日 金曜日 午後1時21分