


72 TASCAM 2488MKII
8 − Mastering and CD recorder
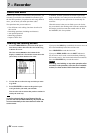
When recording multiple CD tracks at once, you can set
the order in which the tracks are recorded.
Once a CD has been made in this way, no further tracks
can be added, as the CD is automatically finalized at the
end of the operation.
1 Insert a blank CD-R/CD-RW disc in the CD- RW
drive before starting the following procedures.
2 With the 2488MKII stopped in a “normal” mode
(not master check or pre-mastering mode), choose
CD WRITER from the AUDIO CD menu, and
press the YES/ENTER key.
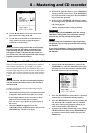
The 2488MKII checks the disc. After verifying that
the disc is recordable, a list of the pre-mastered
songs on the current partition appears on screen.
NOTE
If a song has been recorded, but has not been
mastered, it will not appear in the list.
If you have a song in another partition which you
want to add to the list in the current partition, you
should copy it from the old partition to the current
partition (see “Copying songs” on page 46).
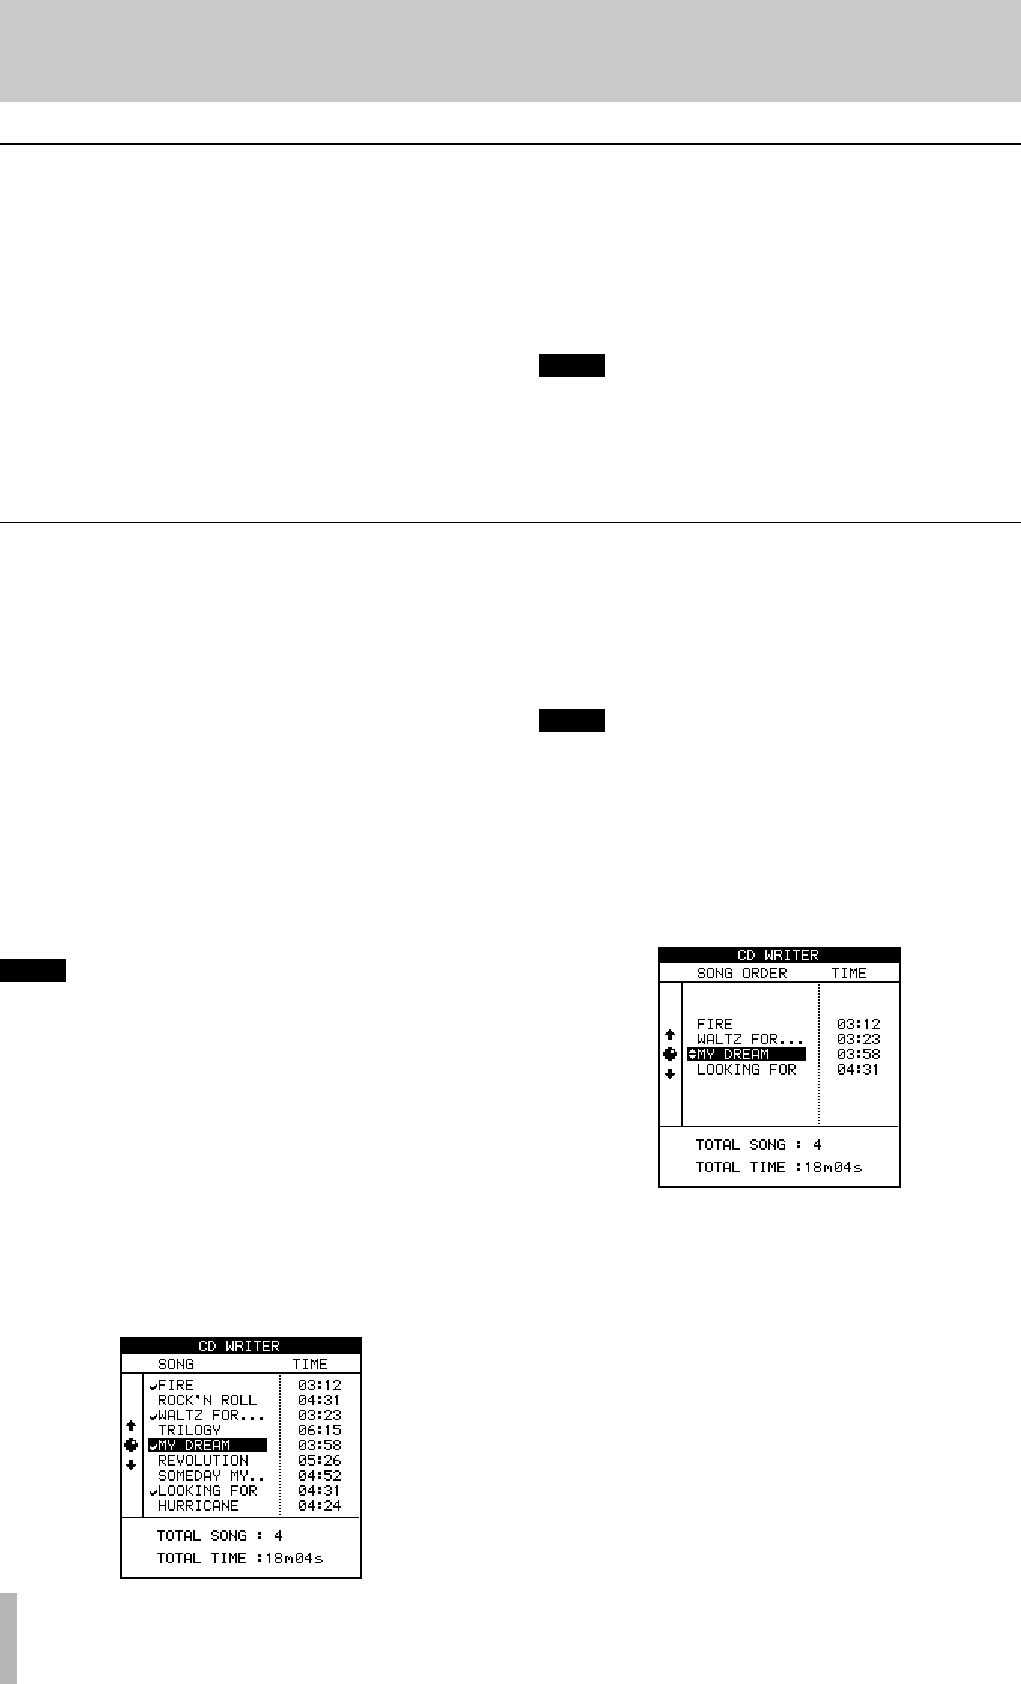
3 Use the dial to scroll through the list of songs, and
when you highlight a song that you wish to add to
the final CD, press the INSERT key.
A check mark appears by the title of every selected
song. There is no need to worry about the final
running order of the CD at this stage.
4 If you have made a mistake in adding a song to the
list, you can remove it by highlighting the title and
pressing the DELETE key.
5 When you have added all the songs to the list that
you want to record on the CD, press YES/ENTER.
NOTE
If you have only selected one song, the procedure
from now is as if you had highlighted the song and
pressed YES/ENTER, as described above. Read that
section, and ignore the remainder of this section.
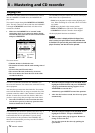
The screen changes to the song order screen (if
you want to return to the song selection screen,
press NO/EXIT).
6 Use the dial to scroll through the list of songs.
7 When a song title is highlighted, use the
§ and ¶
keys to move it up and down in the list. As the song is
moved up and down in the list it remains highlighted.
Select further songs for rearrangement using the dial.
8 Repeat procedures 6 and 7 as necessary.
9
When you have completed the running order,
press YES/ENTER.
The screen changes to the “gap setting” screen.
This allows you to set the gap between tracks
on the CD (press NO/EXIT to return to the song
order screen).
Creating an audio CD using DAO
Finalizing the disc
When you have recorded the last CD track on a disc, you
must finalize it to make it playable on ordinary CD players.
Before finalizing, you can check the recorded CD tracks
using the 2488MKII’s CD PLAYER function.
The CD-RW drive must contain an unfinalized disc before
you start the process.
1 Make sure the 2488MKII is in “normal” mode
(not master check or pre-mastering mode). On the
AUDIO CD menu, move the cursor to FINALIZE
and press YES/ENTER.
2 A pop-up screen asks if you are sure. Press
YES/ENTER to continue, NO/EXIT to stop the
finalize process.
If you continue, the CD session is closed and the
finalizing material (Table of Contents or TOC) is
written to the disc.
NOTE
You cannot add CD tracks to a finalized disc. You
can only finalize a disc once, and you cannot unfi-
nalize a disc.
During finalizing, the CD-RW drive’s eject button
cannot be used.