


37
1
RIGHT
RIGHT
SINGLE/
FINGERED
A B C
3-10
ORCH
ORCH
FULL
KEYBOARD
A B C
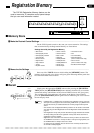
Performance Memory
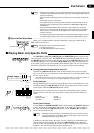
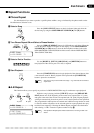
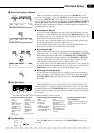
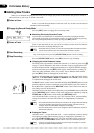
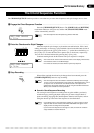
BSelect the Track(s) to Record ................................................................................................................
Only one track can be recorded at a time. If you press [RIGHT/1] you will
record on track number 1. If you press [LEFT/2] you will record on track number
2. If you press [ORCH/3-10], you can choose to record on track 3, 4, 5, 6, 7, 8, 9,
or 10 by selecting the desired track number using the SONG/PHRASE NUMBER
[▲] and [▼] buttons while holding the [ORCH/3-10] button (the selected track
number will appear on the display). When a record track has been selected the cor-
responding indicator will light.
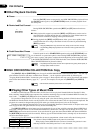
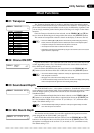
● Recording with Rhythm
To record a rhythm in addition to the part you play on the keyboard, select the
desired style via the STYLE selectors and press the [RHYTHM] button so that
its indicator glows red. “+R” and the style name will appear on the display. The
rhythm data will be recorded on track 15.
If you only want to record the rhythm track, de-select all other selected tracks
by pressing their buttons so that their indicators go out.
If you select the rhythm track for recording, or the rhythm track already con-
tains data, the metronome will sound at the current tempo.
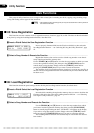
● Recording with ABC
When recording with ABC auto-accompaniment the keyboard part can only be
recorded to track 1 or 2. To record with ABC press the [RIGHT/1] or [LEFT/2]
button and then engage an ABC mode. The [ORCH/3-10] and [RHYTHM]
indicators will light automatically in addition to the [RIGHT/1] or [LEFT/2]
indicator, and the ABC sound will be recorded on tracks 3 through 10 while
what you play on the keyboard will be recorded on track 1 or 2.
If you only want to record the ABC sound, de-select track 1 or 2 by pressing the
appropriate button so that the indicator goes out. In the same way, de-select the
[RHYTHM] track if you don’t want to record the rhythm sound.
● Recording with Solo Styleplay
If you also select solo styleplay, the solo styleplay sound will be recorded on
tracks 11 through 14. Solo Styleplay can be recorded at the same time as SIN-
GLE/FINGERED ABC, but not at the same time as FULL KEYBOARD
mode ABC.
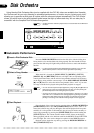
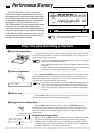
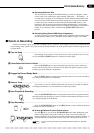
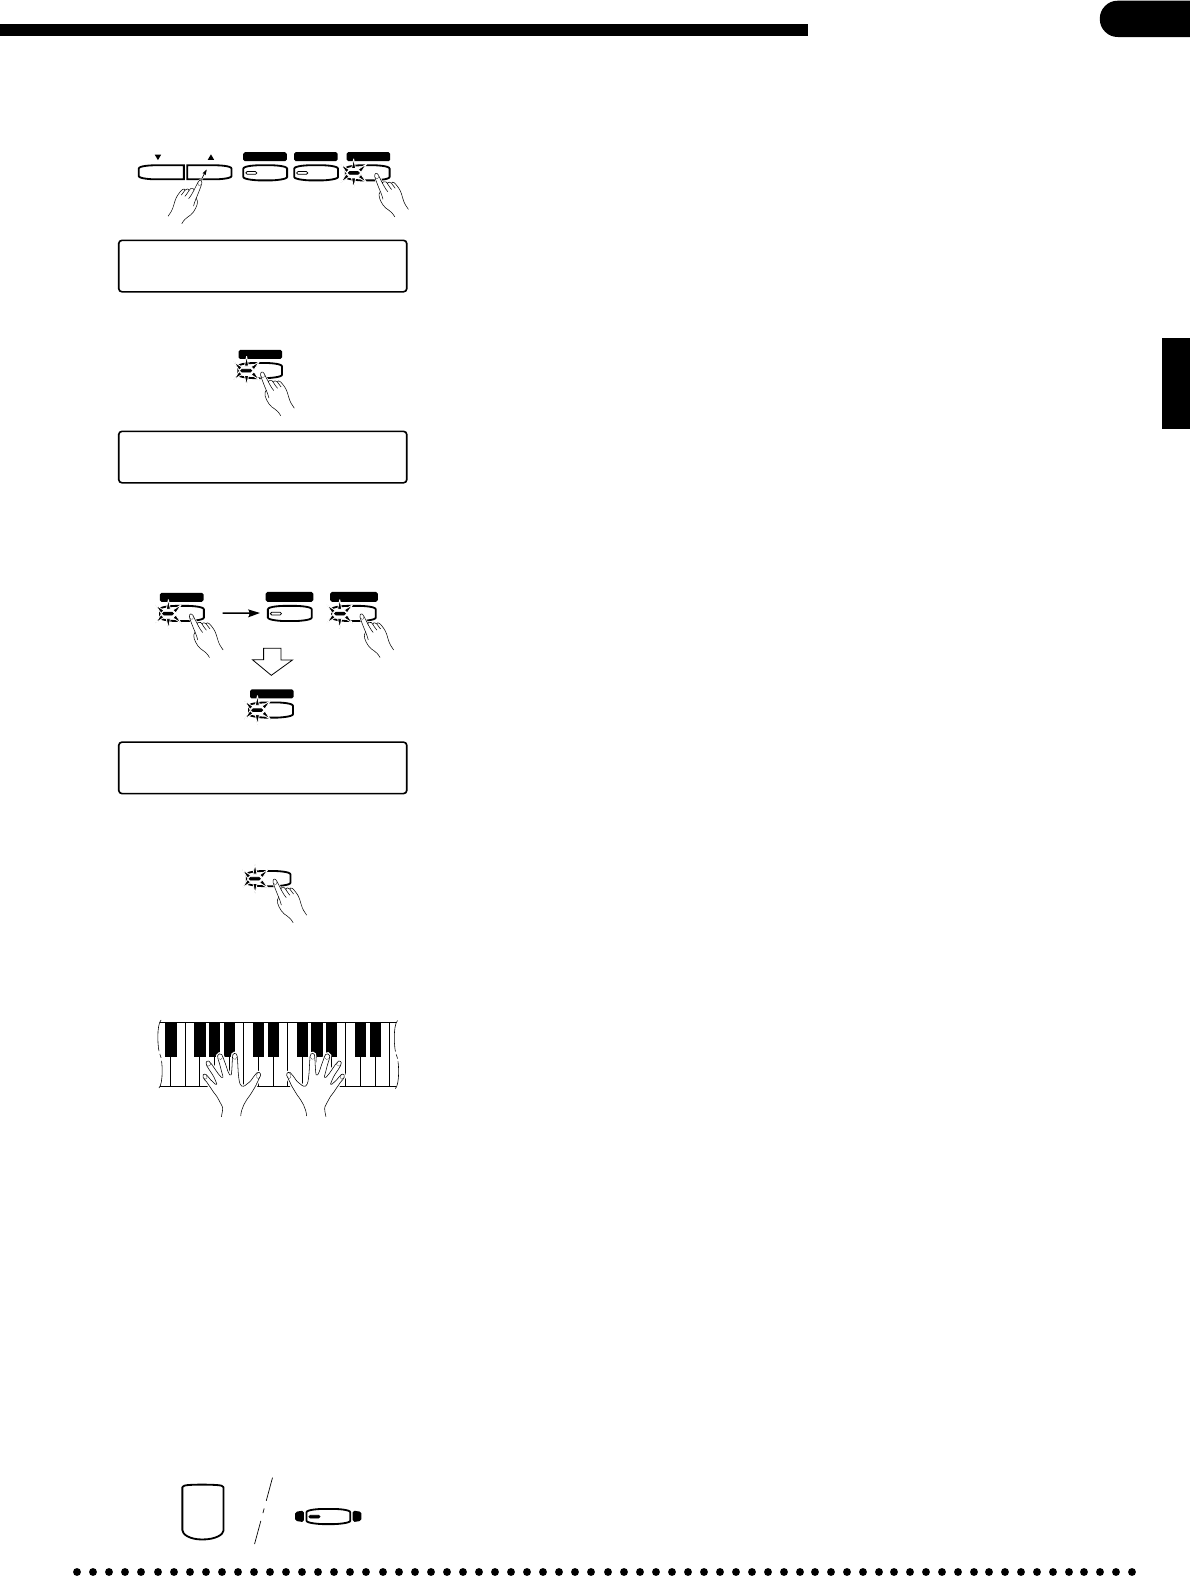
NStart Recording.......................................................................................................................................
The synchronized start mode is automatically selected when the record ready
mode is engaged, so recording will begin automatically as soon as any key on the
keyboard is pressed or the [START/STOP] button is pressed (see page 18 for the
various synchro start modes). The current measure number is shown on the display
as you record.
Parameters recorded for Each Track
• Voice*
• Dual Voice*
• Split Voice*
• Volume* (Initial MIDI
value = 127. Not
changeable during
recording)
• Expression (Not re-
corded as an initial
setting)
• Pan*
• Damper Pedal*
• Soft Pedal*
• Sostenuto Pedal (Not
recorded as an initial
setting)
• Modulation*
• Pitch Bend*
• Reverb Depth*
• Dual Balance*
• Split Balance*
• Chorus*
• Pitch Bend Range
Parameters Recorded for the Entire Song
• Style
• Rhythm Volume*
• Reverb Type*
• Reverb Depth*
• Tempo*
• Intro Mode (Not change-
able during recording)
• Ending Mode (Not recorded
as an initial setting)
• Fill-in
• ABC Mode (Not change-
able during recording)
• ABC Volume*
• Solo Styleplay Mode (Not
changeable during record-
ing)
• Solo Styleplay Variation
(Not changeable during
recording)
Parameters Recorded for Each
Track via MIDI Only
• Coarse Tune (Not recorded as an initial
setting)
• Fine Tune (Not recorded as an initial
setting)
The following parameters will be recorded in addition to notes you play:
SOLO
STYLEPLAY
SONG/PHRASE
NUMBER
1
2
3-10
RIGHT
RIGHT
LEFT
LEFT
ORCH
ORCH
RHYTHM
RHYTHM
[001] REC TRACK 3 680
œ= 78 ‘‘‘‘‘‘‘‘‘‘‘
[001] REC TRACK 3+R 680
œ= 78 Pop 1
[001] REC ABC+R 680
œ= 78 Pop 1
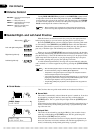
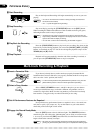
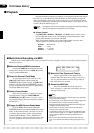
MStop Recording .......................................................................................................................................
Press the [REC] button a second time, or the [START/STOP] button to stop
recording.
START/STOP
REC