


39
Performance Memory
● Recording Without a Disk
The Clavinova has enough internal RAM memory to allow recording for a while
even if a disk is not loaded (up to approximately 2,200 notes — 28 kilobytes — if
no other data is recorded). If you accidentally record without loading a disk, make
sure you use the COPY function (described on page 46) to copy the recorded data
to disk if you want to keep the recorded data (the internal RAM memory is not
backed up). This is necessary because the internal RAM memory is cleared auto-
matically when a Disk Orchestra Collection, Disklavier PianoSoft, or Style Disk is
loaded, or a performance disk is loaded and the [SONG SELECT] button is
pressed.
● Recording Using General MIDI Voice Assignments
It is also possible to use the General MIDI voice assignments when recording with
the Performance Memory. See “The Multi-Timbre Mode” on page 57 for details.
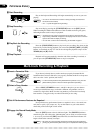
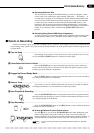
NStop Recording .......................................................................................................................................
Press the [START/STOP] button or the [REC] button to stop recording at the point
at which you want to “punch out”.
1
2
3-10
RIGHT
RIGHT
LEFT
LEFT
ORCH
ORCH
RHYTHM
RHYTHM
START/STOP
START/STOP
REC
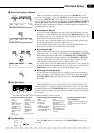
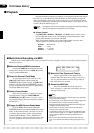
BStart Playback & Recording ..................................................................................................................
Press the [START/STOP] button to start playback from the current pause location,
then begin playing at the point you want to record from. Recording will begin as soon
as you begin playing on the keyboard.
START/STOP
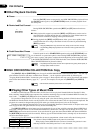
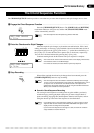
VSelect a Track .........................................................................................................................................
If you want to record on a different track than the one that is currently selected for
recording (red indicator), use the normal track selection procedure.
1
2
3-10
RIGHT
RIGHT
LEFT
LEFT
ORCH
ORCH
RHYTHM
RHYTHM
● Erasing All Material From the Punch-in Point
If at step B, above, you press the [START/STOP] button while holding the track
button corresponding to the track on which you want to record, recording will
begin immediately. If you then stop recording without actually playing anything, all
recorded material from the punch-in point to the end of the track will be erased.
NOTES
• Punch-in recording cannot be used with ABC, SOLO STYLEPLAY, or RHYTHM
tracks.
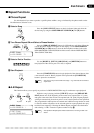
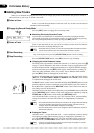
ZPlay the Song ..........................................................................................................................................
Play back the song in order to locate the point you want to punch-in from. You can
also use the [FF] and [REW] buttons to locate the punch-in point.
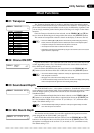
XPause Before the Punch-in Point ..........................................................................................................
Press the [PAUSE] button to pause playback a bit before the point at which you
want to start recording. Leave a measure or more before the punch-in point so you’ll
be able to grasp the timing for the punch in.
START/STOP
PAUSE
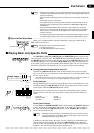
■ Punch-in Recording
“Punch-in recording” allows you to start recording from any “punch-in” point within a previously-recorded track and
stop recording at any “punch -out” point, leaving all recorded material up to the punch-in point and following the punch-
out point intact.
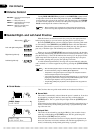
CEngage the Record Ready Mode...........................................................................................................
Press the [REC] button to engage the record ready mode. The last track selected for
recording will automatically be reselected.
REC