


48
■ 13: Disk Format
Utility Functions
The Clavinova uses only 3.5" 2DD floppy disks. We recommend that you use Yamaha 2DD disks. Before you can use a
new disk for recording, the disk must be “formatted” so that the Clavinova can recognize it and correctly write the music
data onto it.
ZInsert the Disk To Be Formatted ...........................................................................................................
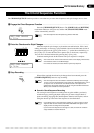
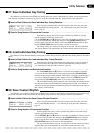
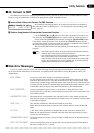
Insert a new blank disk. Make sure that the disk’s write protect tab is set to the
“write” position (tab closed), and insert the new disk into the disk drive unit with the
sliding door facing the drive slot and the label side of the disk facing upward. The disk
should click securely into place, and the disk drive lamp should light briefly.
NOTES
• “UNFORMATTED DISK!” will appear on the display to indicate that a blank
(unformatted) disk or one with a format not recognizable by the CVP-89 is loaded in
the drive. If you press the [UTILITY] button at this point utility function 13: Disk For-
mat will automatically be selected.
• “DISK PROTECTED” will appear if a protected disk that cannot be formatted is
loaded in the drive: a write-protected disk, a Disk Orchestra Collection disk, a
Disklavier disk, or a disk formatted by the Disklavier.
XSelect the Disk Format Function...........................................................................................................
Select the Disk Format function — see “Selecting & Using the Utility Functions”,
page 42.
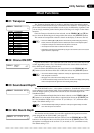
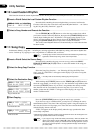
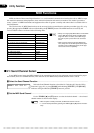
When the Disk Format function is selected, “PRESS [START]” will appear on the
display. Press the [STOP/START] button to begin the disk format procedure.
CConfirm & Start the Format Operation .................................................................................................
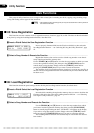
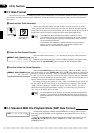
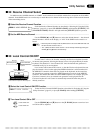
When the [START/STOP] button has been pressed, “ARE YOU SURE?” will ap-
pear on the display. Use the TEMPO [s] (YES) and [t] (NO) buttons to confirm and
continue or cancel the operation. “YES” if you intend to execute the format operation
or “NO” if you wish to cancel the operation. This step is necessary because formatting
completely erases any data that is already on the disk — make sure that the disk you’re
about to format does not contain any important data!
Formatting will begin the instant you select “YES”. The number of each “track” on
the disk will be shown on the display as the format process continues (“F80” through
“END”). When formatting is complete (the display will show “END”), you can go
ahead and record using the performance memory, or use the Song Copy function to
copy songs or Disk Style data to the disk.
NOTES
• The format operation can be aborted at any time prior to actually starting the format
operation (i.e. prior to pressing the TEMPO [
s
] button) by pressing the [UTILITY] or
[START/STOP] button. In this case, the disk will have to be properly formatted again
before use.
■ 14: Standard MIDI File Playback Mode (SMF Data Format)
This function determines whether standard MIDI files on floppy disk are played
back using the General MIDI voice assignments or the standard Clavinova voice as-
signments.
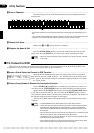
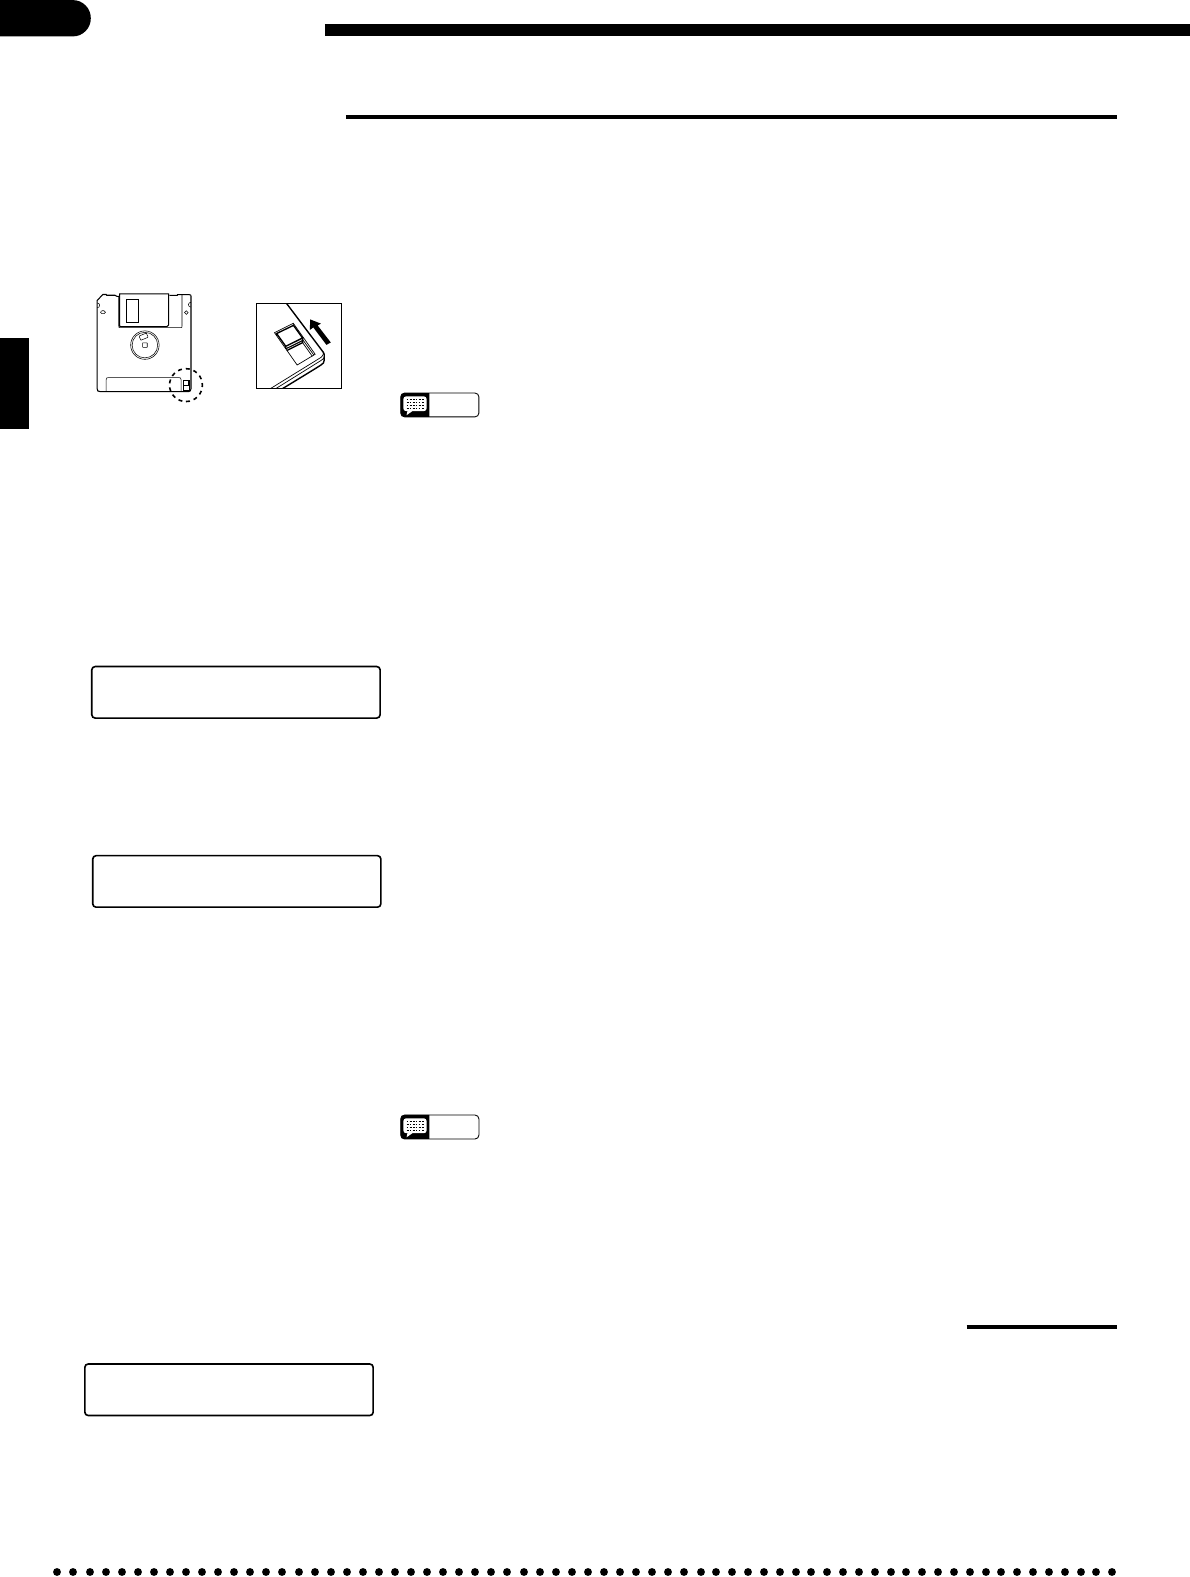
Once the Standard MIDI File Playback Mode function has been selected, use the
TEMPO [s] and [t] buttons to select “NORMAL” or “GM”, then release the
[UTILITY] button.
⁄¤‹›‚13 DISK FORMAT
PRESS [START]
⁄¤‹›‚13 DISK FORMAT
ARE YOU SURE?
⁄¤‹›‚14 SMF VOICE MODE
GM
Write protect tab
closed (unlocked —
write enabled)