


47
• Harmony can not be
turned on when a drum kit
is selected for the R1
voice.
• Harmony can not be
turned on when the Full
Keyboard Auto accompa-
niment fingering mode is
selected even if Auto Ac-
companiment is on. Har-
mony will be automatically
turned off if the Full Key-
board fingering mode is
selected while the Har-
mony effect is on.
• If a drum kit voice is se-
lected for R1 when Har-
mony is turned on, Har-
mony will be automatically
be turned off.
Digital Effects
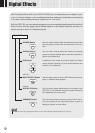
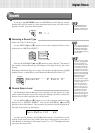
■ Selecting a Harmony Type
Select one of the 16 Harmony types. There are various harmony effects,
depending on the Harmony type, with some adding a number of higher notes to the
note of the pressed key, and some adding a number of lower notes.
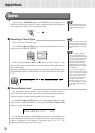
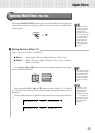
Harmony
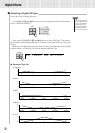
If you press the [HARMONY] button, the HARMONY icon will light up, and
the Harmony effect will be turned on. After setting the Harmony type, it will be
applied to the R1 voice.
The Harmonies except for the types 6, 7 and 9 are applied to the R1 voice
according to the chords detected in the Accompaniment section.
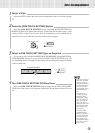
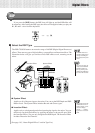
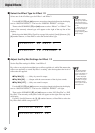
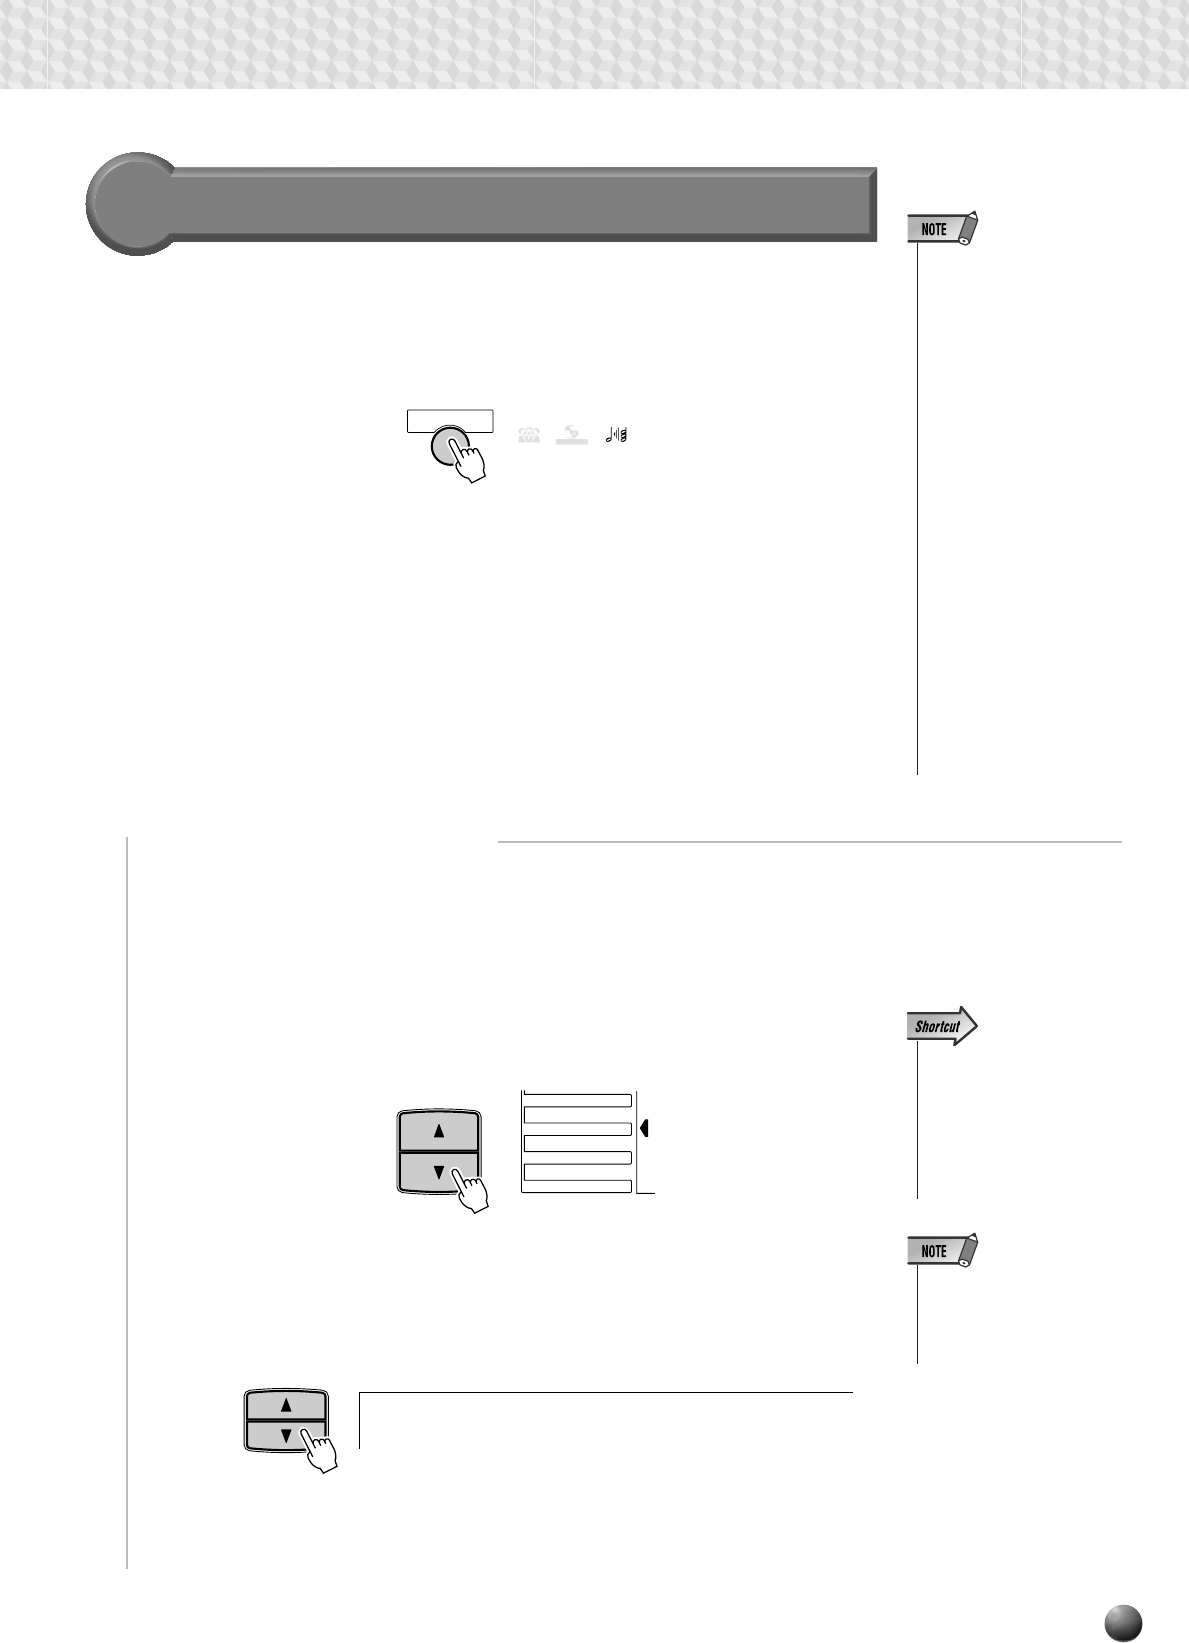
Use the MENU [▲] and [▼] buttons to move the triangular indicator in the
display next to “DIGITAL EFFECT”.
Then use the SUB MENU [▲] and [▼] buttons to select “Harmony”. The name
of the currently selected Harmony type will appear on the right of the top line of
the display.
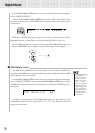
Referring to the Harmony Type List on page 147, use the [–] and [+] buttons, the
[1]–[0] number buttons, or Data Dial to select the desired Harmony effect from 1-
16.
• When the Voice Set func-
tion is ON (see page 116),
the HARMONY type may
change according to the
selected R1 panel voice.
HARMONY
CHORUS DSP
VARIATION
HARMONY
GROOVE&DYNAMICS
MENU
MIDI
DIGITAL EFFECT
OVERALL
SUB MENU
1 DueHarmony: t
• You can also jump directly
to the DIGITAL EFFECT
HARMONY TYPE function
by pressing and holding
the [HARMONY] button
for a few seconds.