


Chapter 5 - Description of Controls
74 Q20 Reference Manual
Global
When the [GLOBAL] button is pressed, its LED will light. The [GLOBAL] button
gives us access to the following settings which affect the entire instrument:
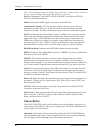
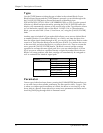
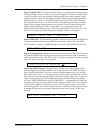
Page 1: Adjust Display Contrast: 1Ð10. This controls the contrast of the LCD
display. The value range is 1Ð10, and the default is 5. Use the [VALUE/ENTER]
knob to adjust the contrast to a comfortable setting.
ADJUST DISPLAY CONTRAST: 5
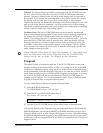
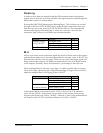
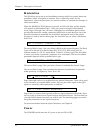
Page 2: Footswitch Range . This page has two values which determine the start and
end point of the range of Programs that are selectable via the [ADVANCE]
footswitch connector. Both values have a range of Preset 00Ñ99, User0 00Ñ99 and
User1 00Ñ99. For more information, see the Footswitch section in Chapter 6.
FOOTSWITCH: Preset 0 0 TO User1-99
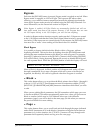
Page 3: VU Meter Peak Hold. When set to ÒONÓ, the VU metersÕ peak LED
indicators will remain lit for about a second.
VU METER PEAK HOLD: O FF
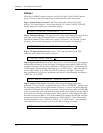
Page 4: Input Audio Source. Normally, this is set to ÒANALOG DATAÓ for using the
analog input connectors on the rear panel. If using the Alesis Optical DIGITAL [IN]
connector, however, this should be switched to ÒOPTICAL DATAÓ. When using the
S/PDIF inputs, this parameter should be set to ÒS/PDIF DATAÓ. When the input is
set for either ADAT or S/PDIF, the [DIG.IN] indicator will light. At the same
time, the Sample Clock Source parameter (see below) is automatically switched to
ÒOPTICALÓ or ÒS/PDIFÓ.
INPUT AUDIO SOURCE: A NALOG DATA
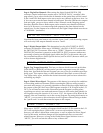
Page 5: Sample Clock Source. Normally, when using the analog inputs, this
parameter is set to Internal, so that the Q20 uses its own ÒINTERNALÓ sample clock
for processing effects in the digital domain. However, if you are recording digitally
onto ADAT using the Q20Õs optical connectors, and you are using either an Alesis BRC
or AI-2 synchronizer, you must feed the master 48 kHz clock signal back to the Q20 so
that it is in sync with the recording system. This is done by connecting a BNC cable
from the clock source (BRC or AI-2) to the [48kHz IN] connector no the Q20, and then
setting the Sample Clock Source parameter to Ò48kHz INPUTÓ. If the Input Audio
Source parameter is set to ÒOPTICAL INPUTÓ or ÒS/PDIF INPUTÓ, this parameter
will automatically be set and you will not be able to change its setting.
SAMPLE CLOCK SOURCE: I NTERNAL