E-29
Applying Effects to Tones
1. After selecting the reverb type you want, use
the [ ] and [ ] CURSOR buttons to display
the parameter whose setting you want to
change.
This displays the parameter setting screen.
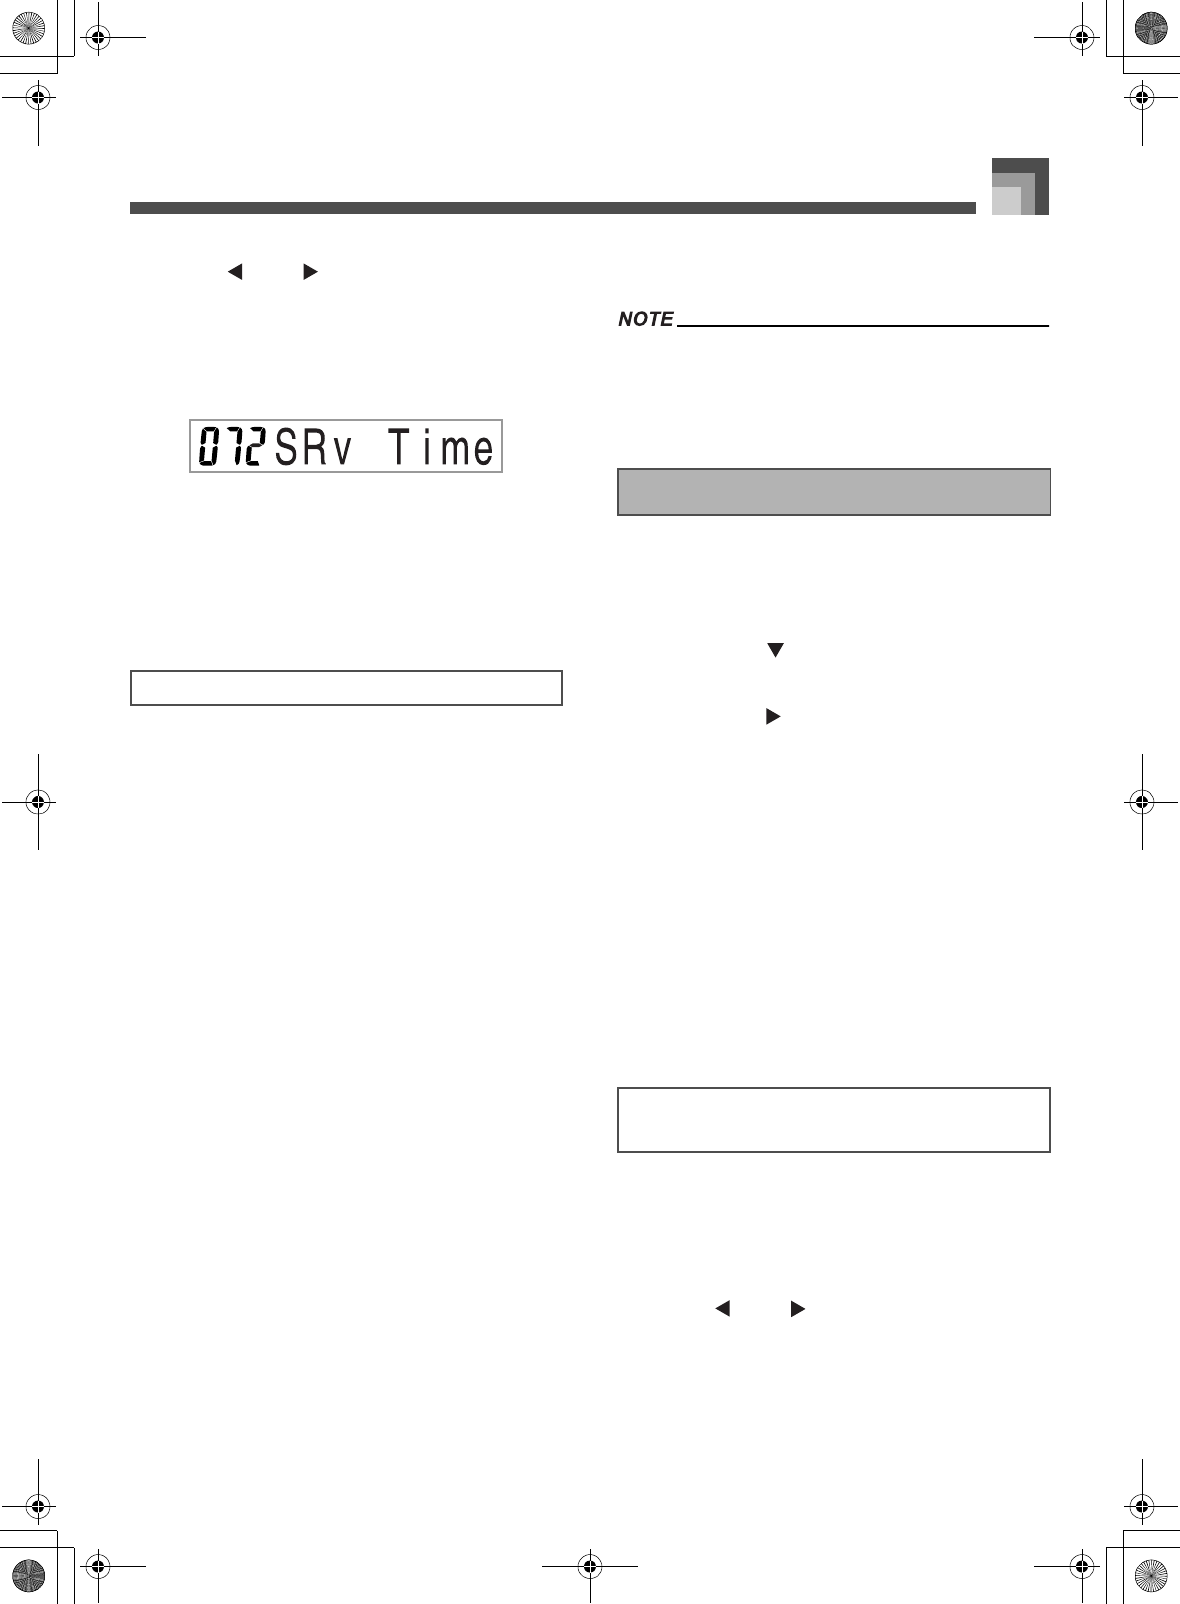
Example:
To set the Reverb Time parameter
2. Use the [
+
] and [–] buttons or the number
buttons to input the parameter setting you want.
3. Press the EFFECT or EXIT button.
This returns to the tone or rhythm selection
screen.
Reverb effects are associated with either a reverb type or
delay type. Parameter settings depend upon the associated
type.
Reverb Type (No. 0 to 5, 8 to 13)
z Reverb Level (Range: 000 to 127)
Controls the reverb size. A larger number produces
larger reverb.
z Reverb Time (Range: 000 to 127)
Controls how long reverb continues. A larger
number produces longer reverb.
z ER Level (Initial Echo Sound) (Range: 000 to 127)
This parameter controls the initial reverb volume.
The initial echo sound is the first sound reflected
from the walls and ceiling when a sound is output
by this keyboard. A larger value specifies a larger
echo sound.
z High Damp (Range: 000 to 127)
Adjusts the damping of high frequency
reverberation (high sound). A smaller value damps
high sounds, creating a dark reverb. A larger value
does not damp high sounds, for a brighter reverb.
Delay Type (No. 6, 7, 14, 15)
z Delay Level (Range: 000 to 127)
Specifies the size of the delay sound. A higher value
produces a larger delay sound.
z Delay Feedback (Range: 000 to 127)
Adjusts delay repeat. A higher value produces a
greater number of repeats.
z ER Level
Same as Reverb Type
z High Damp
Same as Reverb Type
Whether or not an effect is applied to the parts that are
sounding also depends on Mixer Mode Reverb Send,
Chorus Send, and DSP on/off settings. See “Mixer
Function” on page E-39 for more information.
Perform the following steps to select CHORUS.
1. Press the EFFECT button, so the pointer
appears next to EFFECT on the display screen.
2. Press the [ ] CURSOR button twice.
This displays the chorus editing screen.
3. Press the [ ] CURSOR button.
The chorus type setting screen will appear
automatically about fives seconds after you press
the button.
4. Use the [
+
] and [–] buttons or the number
buttons to scroll through the chorus types until
the one you want is displayed, or use the
number buttons to input the chorus number you
want to select.
See the list on page A-18 for information about
the types of CHORUS effects that are available.
Here you could also change the parameters of the
effect you selected, if you want. See “Changing
the Settings of CHORUS Parameters” for more
information.
You can control the relative strength of an effect and how it is
applied. The parameters you can control depend on the effect.
See the following section titled “CHORUS Parameters” for
more information.
1. After selecting the chorus type you want, use
the [ ] and [ ] CURSOR buttons to display
the parameter whose setting you want to
change.
2. Use the [
+
] and [–] buttons or the number
buttons to input the parameter setting you want.
REVERB Parameters
Selecting CHORUS
Changing the Settings of CHORUS
Parameters
705A-E-031A


