


Basic Operation
(continued)
22
Here’s how to verify that an image is correctly output to the TV monitor connected to the PREVIEW OUT connector that
you’re using for previewing.
1
Proceed as described in steps 1–3 of “Outputting Images” (p. 21).
2
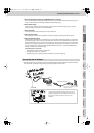
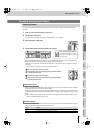
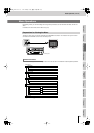
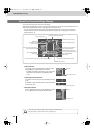
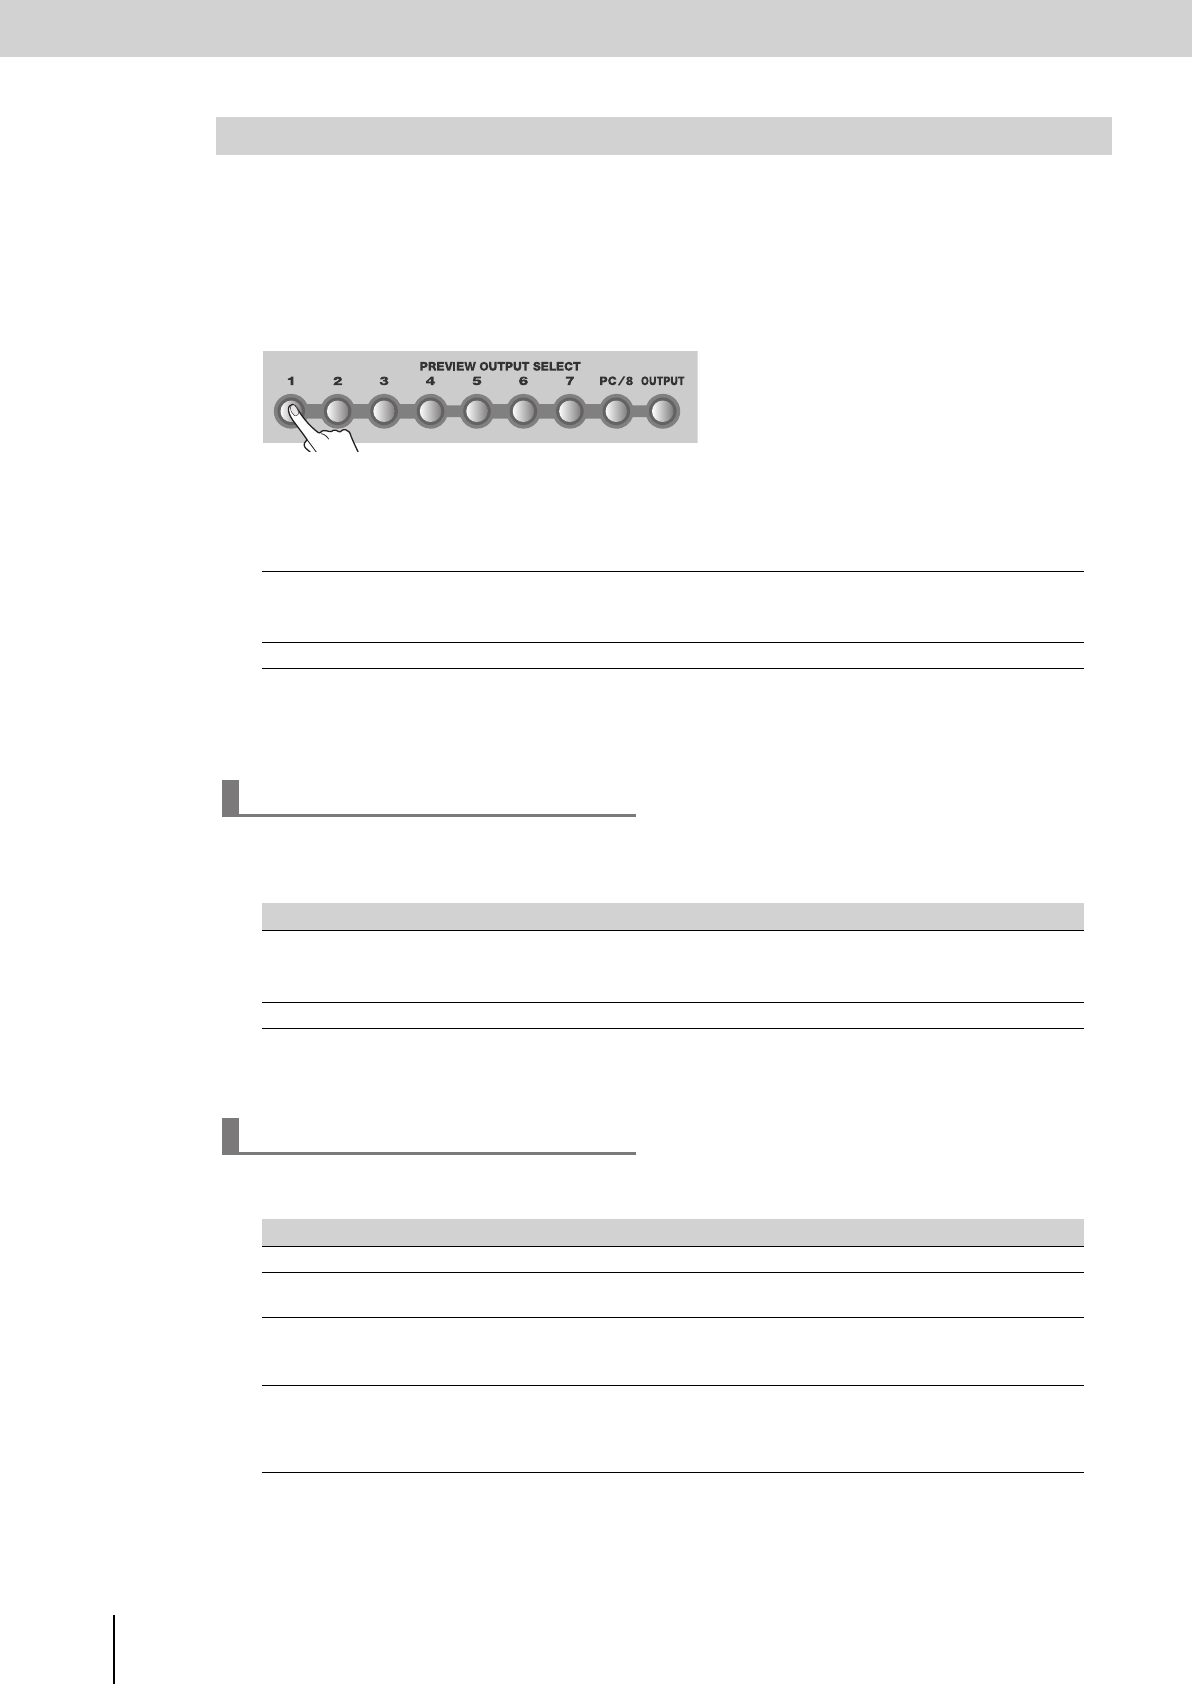
Press the PREVIEW OUTPUT SELECT buttons to switch between preview output channels.
fig.preview-select.eps
Press the PREVIEW OUTPUT SELECT button of a channel into which an image is being input. Verify that the image
is correctly shown in the television monitor (preview monitor) connected to the PREVIEW OUT connector.
Successively press the PREVIEW OUTPUT SELECT [1]–[PC/8] and [OUTPUT] buttons, and verify that the image in
the preview monitor is switched.
* The image in the preview monitor will momentarily be distorted when you switch the preview output, but this will not
affect the final output.
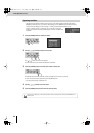
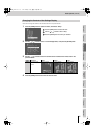
With the factory settings, selecting a channel for which there is no input will cause the indication “No Signal” to appear
in the preview monitor. You can use the “Utility” menu item “Preview Signal Check” to turn the “No Signal” indication
on/off.
* For details on menu operations, refer to “Menu Operations” (p. 23).
You can use the “Utility” menu item “Preview Switch Pattern” to change the way in which the preview output is
selected.
* For details on menu operations, refer to “Menu Operations” (p. 23).
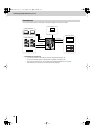
Outputting a Preview Image
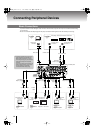
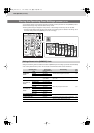
[1]–[PC/8] buttons
Sends the video being input via the INPUT 1–8/PC1/PC2connectors to the preview output.
* For channels 5–8, the input from the S-video connectors will take priority.
* Use the [PC INPUT SELECT] switch to change between the PC1/PC2 connector inputs.
[OUTPUT] button
Sends the final image to the preview output.
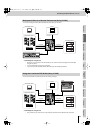
Preview output when there is no signal
Value Details
On
The “No Signal” indication will be output when there is no signal.
You can change the background color by setting the “Utility” menu item “Preview No Signal Color.”
* You can’t change the “No Signal” indication and background color for channel 8.
Off
A black image will be output if there is no signal.
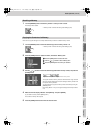
Selecting the preview output
Value Details
Manual
The image selected by the PREVIEW OUT SELECT button will be sent to preview output.
Prev Auto
The image of the bus (A or B) not being sent to the final output will be sent to preview output. For example,
if the bus A image is being sent to the final output, the bus B image will be sent to preview output.
Always-1–8,
Always-Out
The preview output will be fixed at channel 1–8 or at the final output.
While you hold down a PREVIEW OUT SELECT button, the image selected by the button will be sent
from the preview output.
Auto1-2–1-8,
Auto1-Out
The preview output will be switched automatically. For example, if you set this to “Auto1-4,” channels 1–4
will be switched automatically and sent to preview output.
You can use the “Utility” menu item “Preview Auto Speed” to change the time at which the preview output
is switched.
V-8_e.book 22 ページ 2010年4月16日 金曜日 午後5時14分