


56
Assigning MIDI Messages (EDIT Mode)
By using this function, a message assigned to a controller can be copied to a different
controller.
For example, if you want to assign similar messages to multiple controllers, assign the
desired MIDI message to one of the controllers, and then use this function to copy that
message to the assignment of the other controllers.
* Unexpected results may occur if you copy an assigned message between controllers
of different types (e.g., between a button and a knob).
For example, if a note message assigned to a pad is copied to a knob, the result will
not be as you expect.
If a rotary encoder simulation assigned to a knob is copied to a button, it will not
operate.
When copying an assigned message, please be aware of the controller types and the
content of the message.
1 Simultaneously press the [ACT] button and the [ ] button.
2 Choose the copy-destination controller, and move it slightly.
If it’s a button, press it. The controller number will appear in the display.
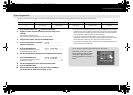
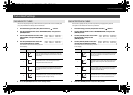
3 Make sure that the display indicates and press the [ENTER] button.
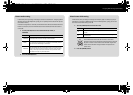
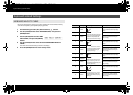
fig.lcd-copyfromto.eps
4 Slightly move the copy-source
controller. If it’s a button, press it.
The display will indicate the copy-source
and copy-destination controller numbers.
5 Verify in the display, and press the [ENTER] button.
Here’s how to clear the MIDI message assigned to a controller. No MIDI message will be
transmitted when you move a controller whose assignment was cleared.
If you clear the assignment for bender, modulation, aftertouch
(AFTERTOUCH), HOLD (P1), or EXPRESSION (P2), the respective
controller will control its own original function. In this case, it will use
the current channel as its MIDI transmit channel.
1 Simultaneously press the [ACT] button and the [ ] button.
2 Choose the controller whose assignment you want to clear, and
move it slightly.
If it’s a button, press it. The controller number will appear in the display.
3 Verify that the correct controller number is shown in the display,
and press the [ENTER] button.
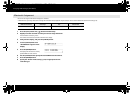
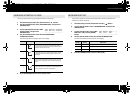
fig.lcd-noassign.eps
4 Turn the [VALUE] knob until “NO
ASSIGN” appears in the display,
then press the [ENTER] button.
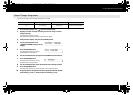
fig.lcd-yes.eps
5 The indication “YES” will blink in the
display; press the [ENTER] button
once again.
Convenient Functions
Copying an Assignment Clearing an Assignment (NO ASSIGN)
A-300_500_800C_e.book 56 ページ 2010年2月22日 月曜日 午後9時13分