


Adding pictures to the music
50
r
Backing Keyboard BK-5
12. Adding pictures to the music
You can connect an external display or a television to the BK-5, and use it to watch a slide show, a notation, or video
footage from another device connected to the BK-5.
Displaying photos automatically
The BK-5 can display photos in succession. You can
have the photos switch automatically, somewhat like
watching a movie. In addition, you can choose a picture,
which will be used as background on an external screen.
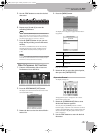
Enjoying a VIMA TUNES slide show
You can watch a slide show while listening to a song on
an optional “VIMA TUNES” CD-ROM (produced for the
VIMA series).
Songs on “VIMA TUNES” CD-ROMs provide slide show
images suitable for each song, making it easy for you to
enjoy a slide show without having to provide your own
photos.
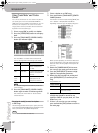
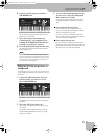
1.
Connect an external screen to the BK-5 (see
p. 18).
2.
Connect an optional CD player to the BK-5’s
USB MEMORY port.
3.
Insert the desired “VIMA TUNES” CD-ROM
into the CD drive.
NOTE
“VIMA TUNES” songs are sold on CD-ROMs available from
your Roland dealer.
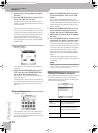
The BK-5 now displays a list of the songs on the
CD-ROM. If you don’t see that list, press the
[USB MEMORY] button.
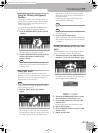
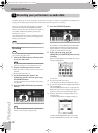
4.
Select the song you want to play back by
first rotating the [CURSOR÷VALUE] dial and
then pressing the [ENTER/SELECT] button to
confirm your selection.
The [USB MEMORY] button’s indicator lights.
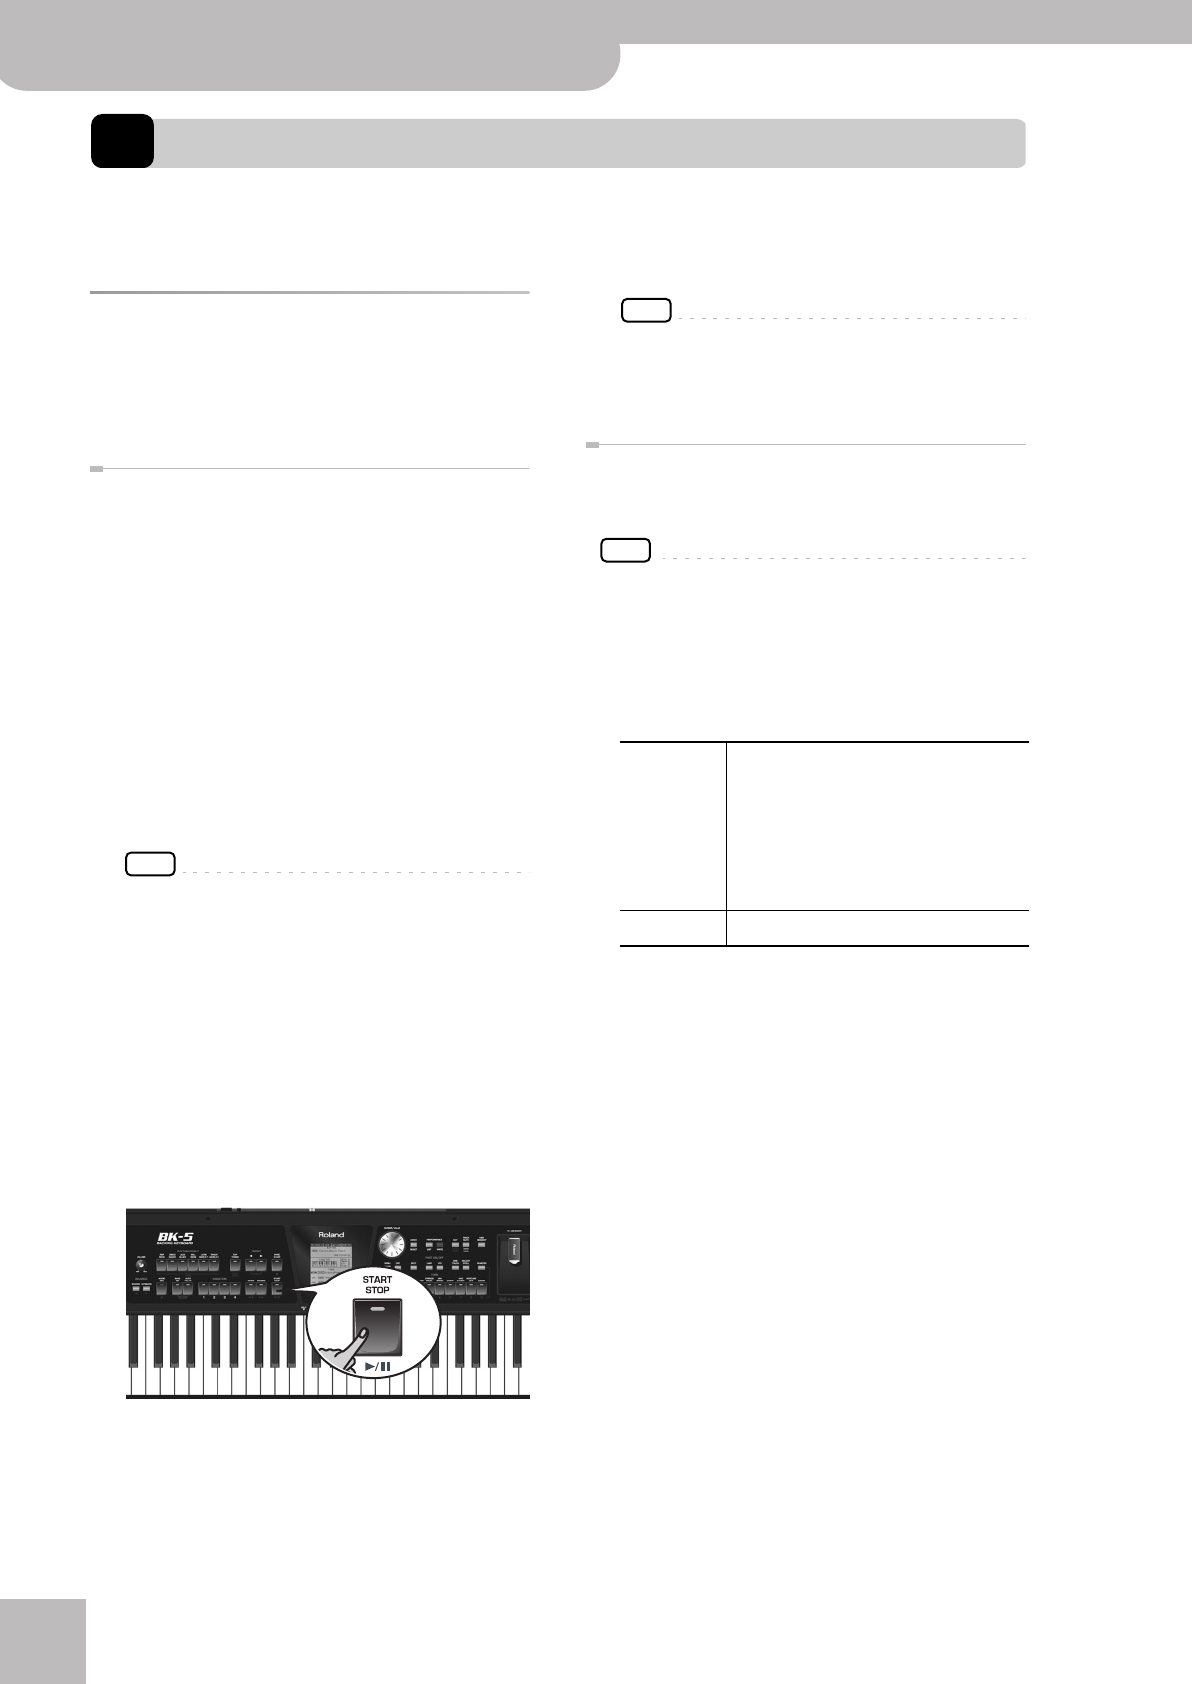
5.
Press the [START/STOP] (®÷π) button to play
back the song.
A slide show suitable for the character of the song
will be shown on the external display or television set
connected to the BK-5.
NOTE
When you press the [SYNC START] (■) button to stop song
playback, the slideshow also stops. When you load another
“VIMA TUNES” song, the previous slideshow stops and the
display shows the first picture for the new song.
Enjoying a slide show of your own pictures
You can watch a slide show while listening to a song on
a USB storage device.
NOTE
The slide show only starts if the folder that contains the
desired pictures has the same name as the song file you
selected. Also, the folder must be located on the same level
within the USB memory’s file hierarchy.
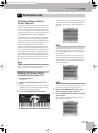
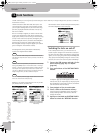
1.
Use a graphic program on your computer to
prepare the pictures you want to use.
Image data that can be displayed:
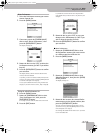
2.
Connect the USB memory to your computer
and create a folder named “Amazing Grace”
(for example) on the USB storage device.
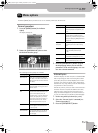
3.
Copy the pictures you want to display for
this song to the “Amazing Grace” folder.
4.
Copy the song “Amazing Grace” to the same
level as the folder of the same name.
Do not put the song file inside the folder.
5.
Disconnect the USB memory from your com-
puter in accordance with the standard pro-
cedure for the operating system you are
using.
Size Recommended: 512 x 384 or 1024 x 768
pixels.
(Images of 4096 x 3072 pixels or smaller
and 4MB or less are supported).
Note: If you use images that are larger
than the recommended size, it may take
longer to switch images.
Format JPEG format (.JPG)
BK-5_US.book Page 50 Monday, November 14, 2011 12:43 PM