15
Names and Functions of Controls on Screen
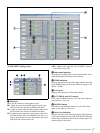
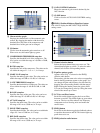
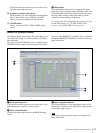
Left-click to turn the equalizer on or off. When set to
ON, this button lights up green.
E Equalizer parameter setup boxes
Set the frequency, Q-value, and gain for each equalizer
band. Values can be set by clicking on the S/s
buttons or by entering numerical value directly.
F CLOSE button
Click to close the OUTPUT EQUALIZER setting
screen.
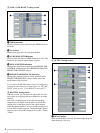
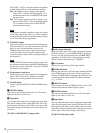
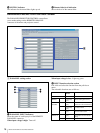
i Output fader
You can adjust the output level by dragging the output
fader. The yellow triangular marker displayed on the side
of the fader indicates the fader position which is the sum of
the output fader setting, remote fader setting, and the
output level control settings on the mixer.
For details on the index name indication, level meters, and
the MUTING button, see “A MIC INPUT setting
section” of the OVER VIEW screen (page 10).
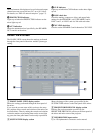
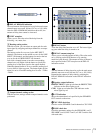
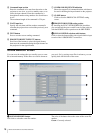
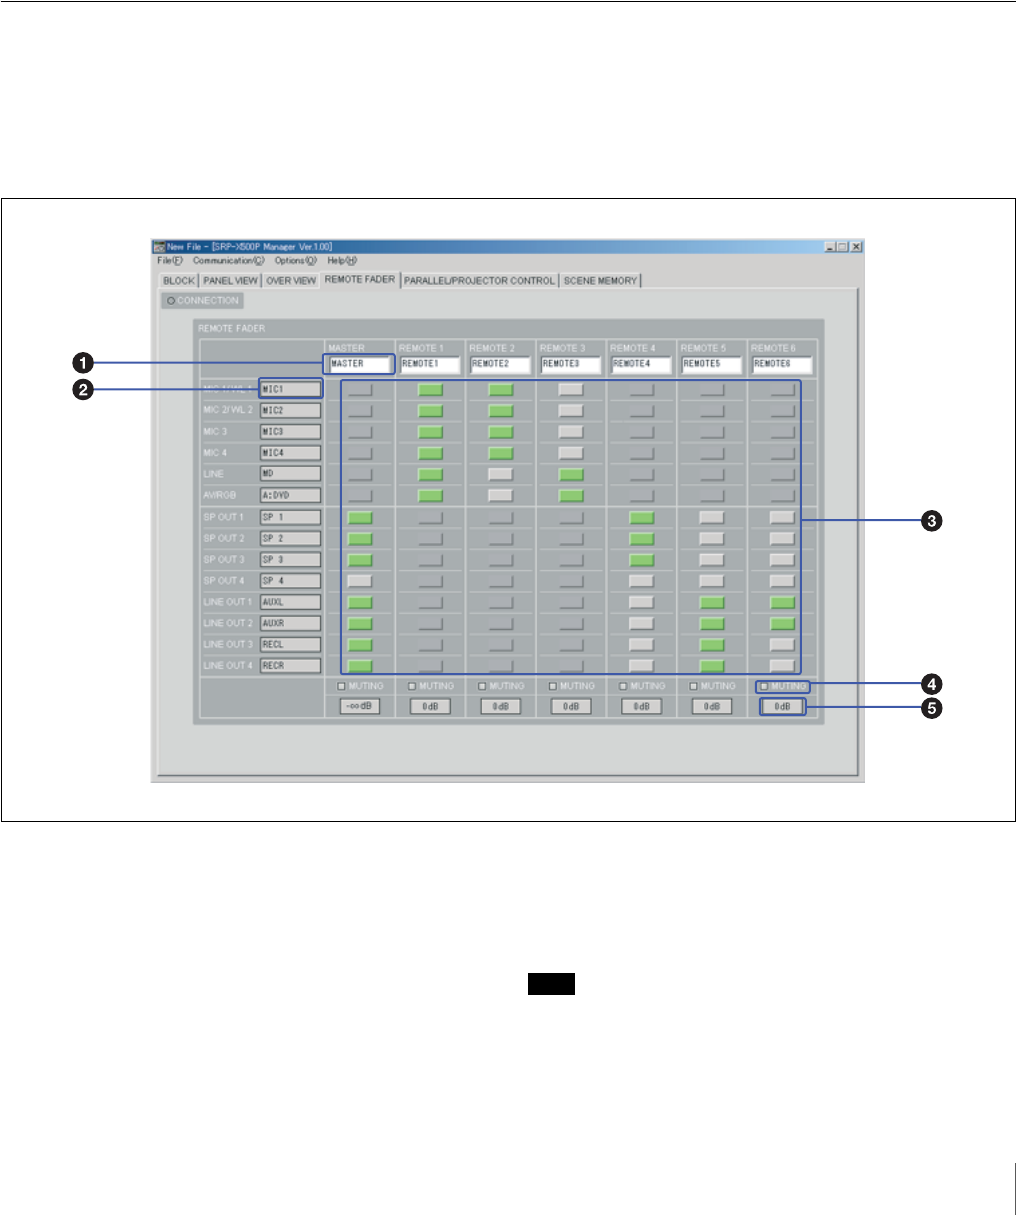
REMOTE FADER screen
By assigning input/output faders to the remote faders, you
can control the volume of asssined channels with single
fader operation.
The level of the MASTER fader can be controlled by the
MASTER volume control on the front panel of the mixer.
The level of the REMOTE 1 to 6 faders can be controlled
through the REMOTE PARALLEL connector on the rear
panel of the mixer.
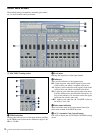
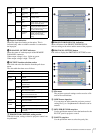
a Index name input box
You can enter an index name for each remote fader. Up to
eight alphanumeric characters can be entered.
b Index name indication
Displays the index name entered in the BLOCK setting
screen.
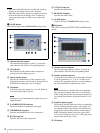
c Fader assignment buttons
Left-click the button to assign input/output faders to the
remote fader. The buttons corresponding to assigned input/
output faders light up green.
Note
Input faders and output faders cannot be assigned to the
same remote fader.


