18
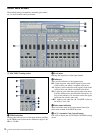
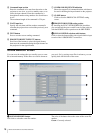
Names and Functions of Controls on Screen
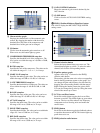
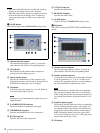
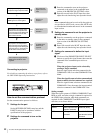
E Command input section
Enter the commands to be sent from the mixer to the
projector to turn it on, to set it to standby status, or to
select the input channel. Enter the command as a
hexadecimal number using numbers 0 to 9 and letters
A to F.
The maximum length of the command is 32 bytes.
F WAIT input box
Specify the wait time until the another command is
sent after the projector has received the previously sent
command.
G TEST button
Press to run the test on sending command.
H PROJECTOR INPUT SELECT buttons
Press one of the buttons to select the signal format,
then enter the command defining the input channel on
the projector for the signal format.
I COMMAND SEQUENCE indication
Shows the sequence of commands and the wait time to
be sent for defining the input channel on the projector.
J CLOSE button
Click to close the PROTOCOL SETTING setting
screen.
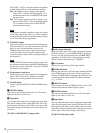
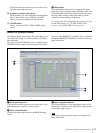
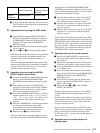
c PROJECTOR POWER setting section
By checking the SYNC WITH POWER ON checkbox,
you can interlock the power on/off control of the projector
with the POWER switch operation on the SRP-X500P.
d SIGNAL DEFINE selection radio buttons
Click to select the format of the video signal which is input
to each of the AV/RGB INPUT connectors.
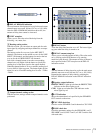
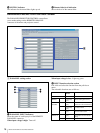
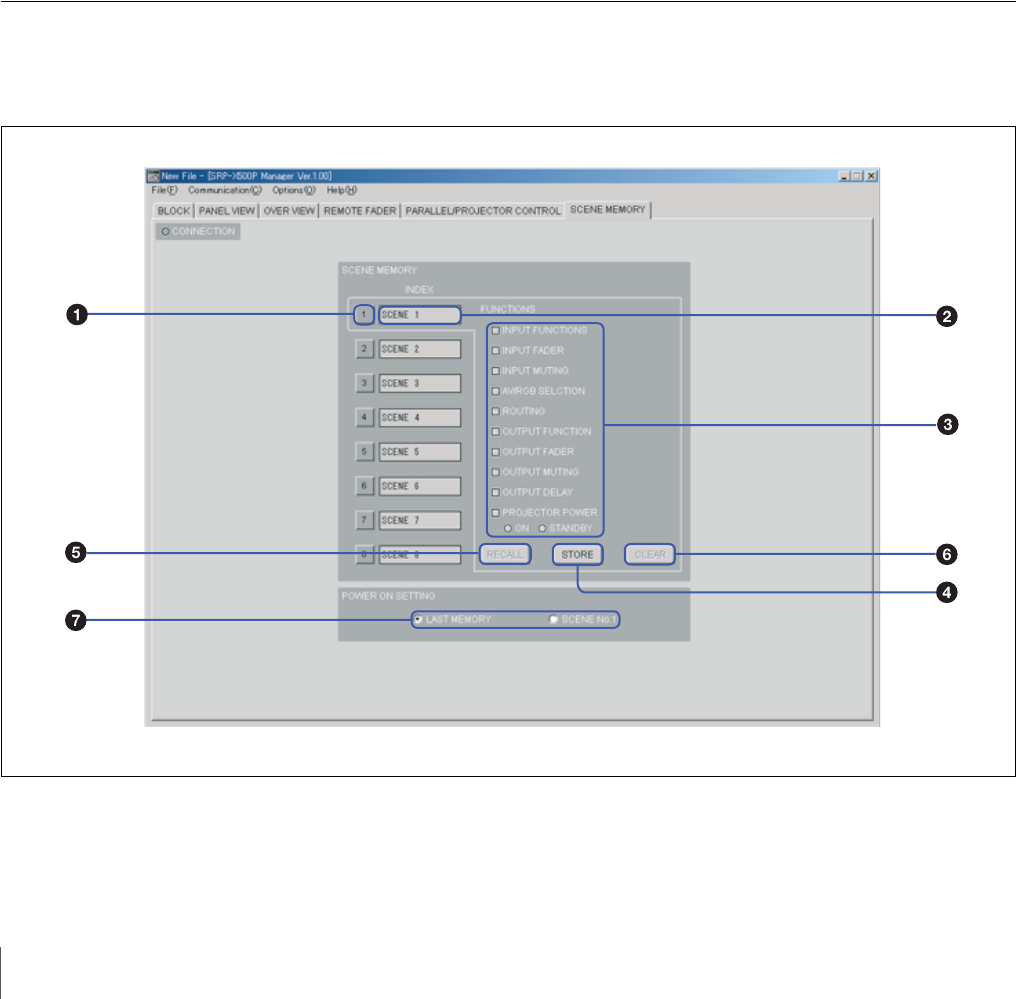
SCENE MEMORY screen
You can store the settings that you usually use as a scene
file to internal memory of the mixer to recall it whenever
you use it. Or, by storing scene files in advance, you can
quickly deal with division of the room.
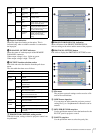
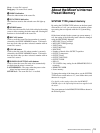
a SCENE MEMORY button
Left-click to select the scene file number.
The color of the button shows the status of the scene file
number.
Green: Currently selected.


