21
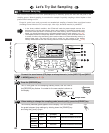
Let's Try Out Sampling
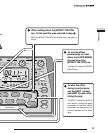
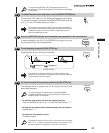
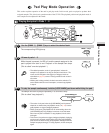
If you press the [CAPACITY] key, the approximate remaining
sampling time in seconds (calculated for HiFi and Mono) will appear
on the display.
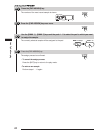
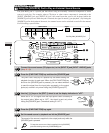
The indication "Mn" (Mono) or "St" (Stereo) will appear on the display.
To change the setting, hold down the [MONO/STEREO] key and use
the [-] or [+] key. (The default setting is "Mono".)
The grade and mono/stereo selection can be made individually for
each sample. Remember that using stereo sampling will reduce the
available sampling time and the number of samples that can be
played simultaneously by half.
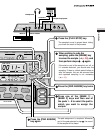
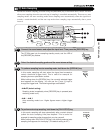
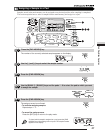
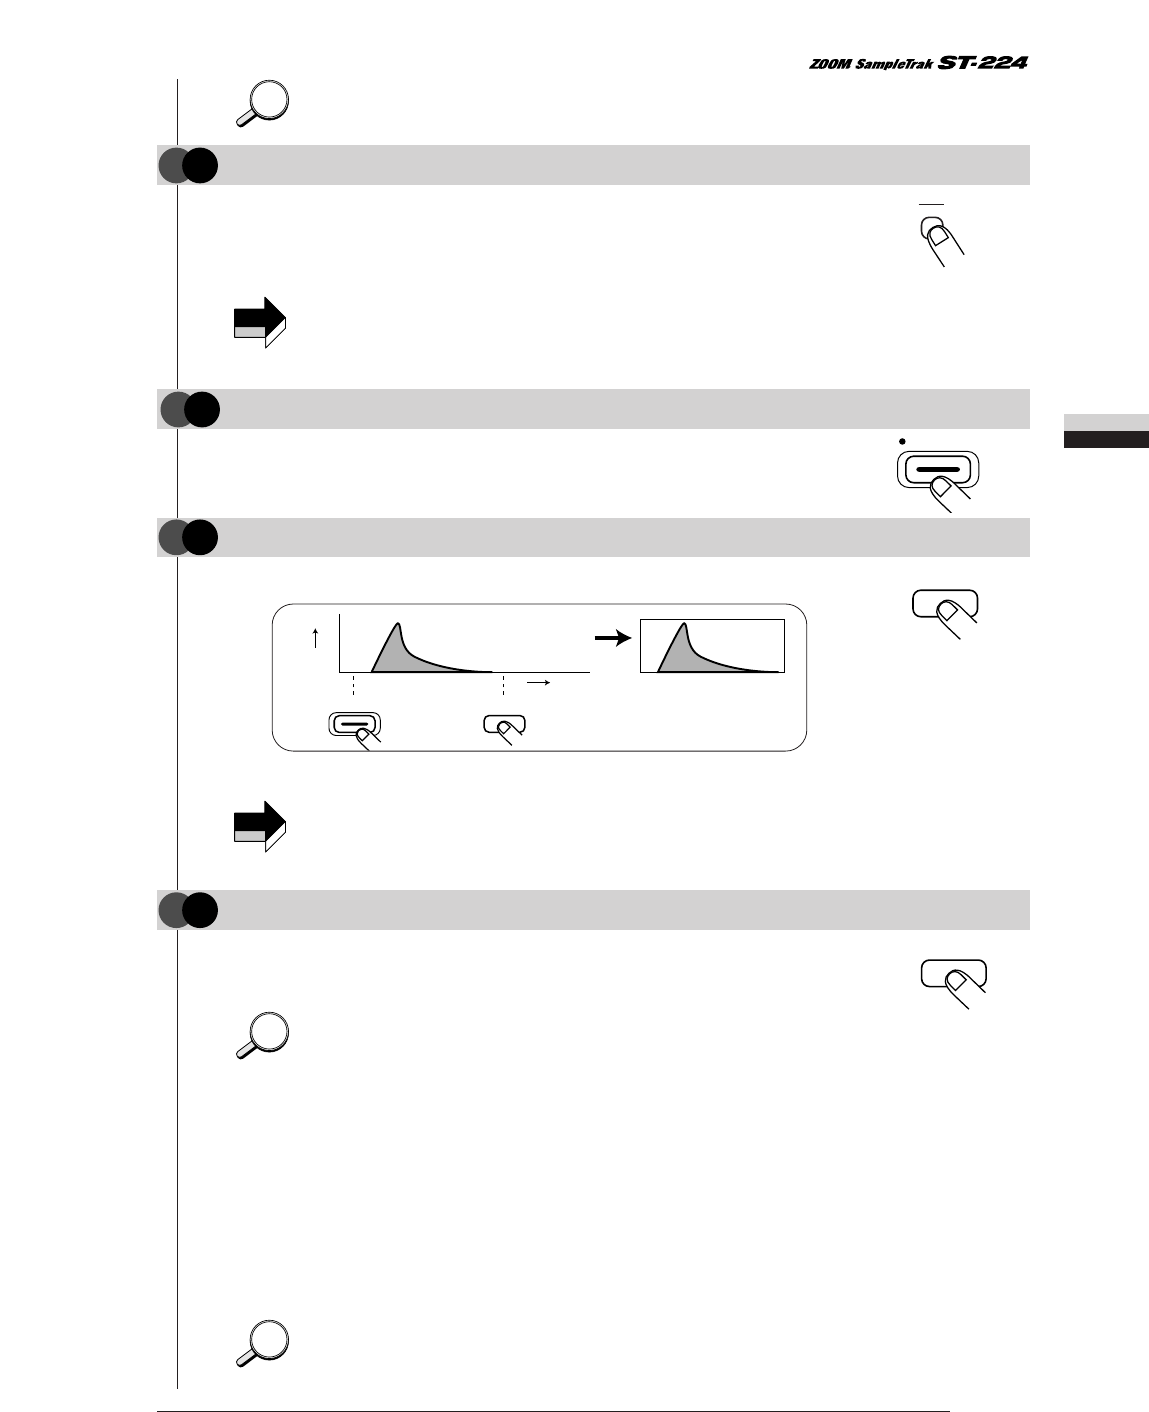
In manual sampling, the LED of the [RECORD] key stays lit as soon
as you press the key, and sampling starts.
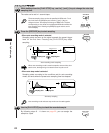
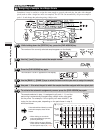
Sampling ends as soon as the key is pressed.
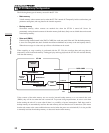
If sampling is not stopped manually, it continues until the main
memory is full or the maximum sampling time is reached. Sampling
will automatically end at that point.
The sampled sound is played back for as long as the key is held
down (gate playback).
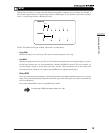
To check the status of sampled sound, press the [GRADE]
(or [MONO/STEREO]) key then the value with the number of the
sample is shown on the display.
•To erase the new sample and redo the sampling process
Press the [ERASE] key twice (
➔
p.36), and then repeat steps 2 - 7.
•To keep the new sample and continue sampling the same source
Repeat steps 2 - 7.
•To assign the new sample to a pad
Proceed to step 8.
The playback start time and end time in the sample can be changed
later (
➔
p. 29). Therefore repeated sampling is not necessary even
if there is a blank at the beginning or the end of the sample.
HINTHINT
HINTHINT
NOTE
NOTE
HINTHINT
Press the [RECORD] key and then immediately start playback of the sound source.
5
STEP
To end sampling, press the [PLAY/STOP] key.
6
STEP
To check the result of the process, press the [PLAY/STOP] key.
7
STEP
MONO
STEREO
RECORD
PLAY/STOP
PLAY/STOP
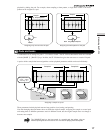
Sampling start
Level
Sampling end
Time
Sample
PLAY/STOP
RECORD
Manual sampling
To switch between mono and stereo, use the [MONO/STEREO] key.
4
STEP


