29
Basic Application (Basic Recording and Playback)
1
2
3
4
5
6
7
8
8
9
10
11
EQ
EQ
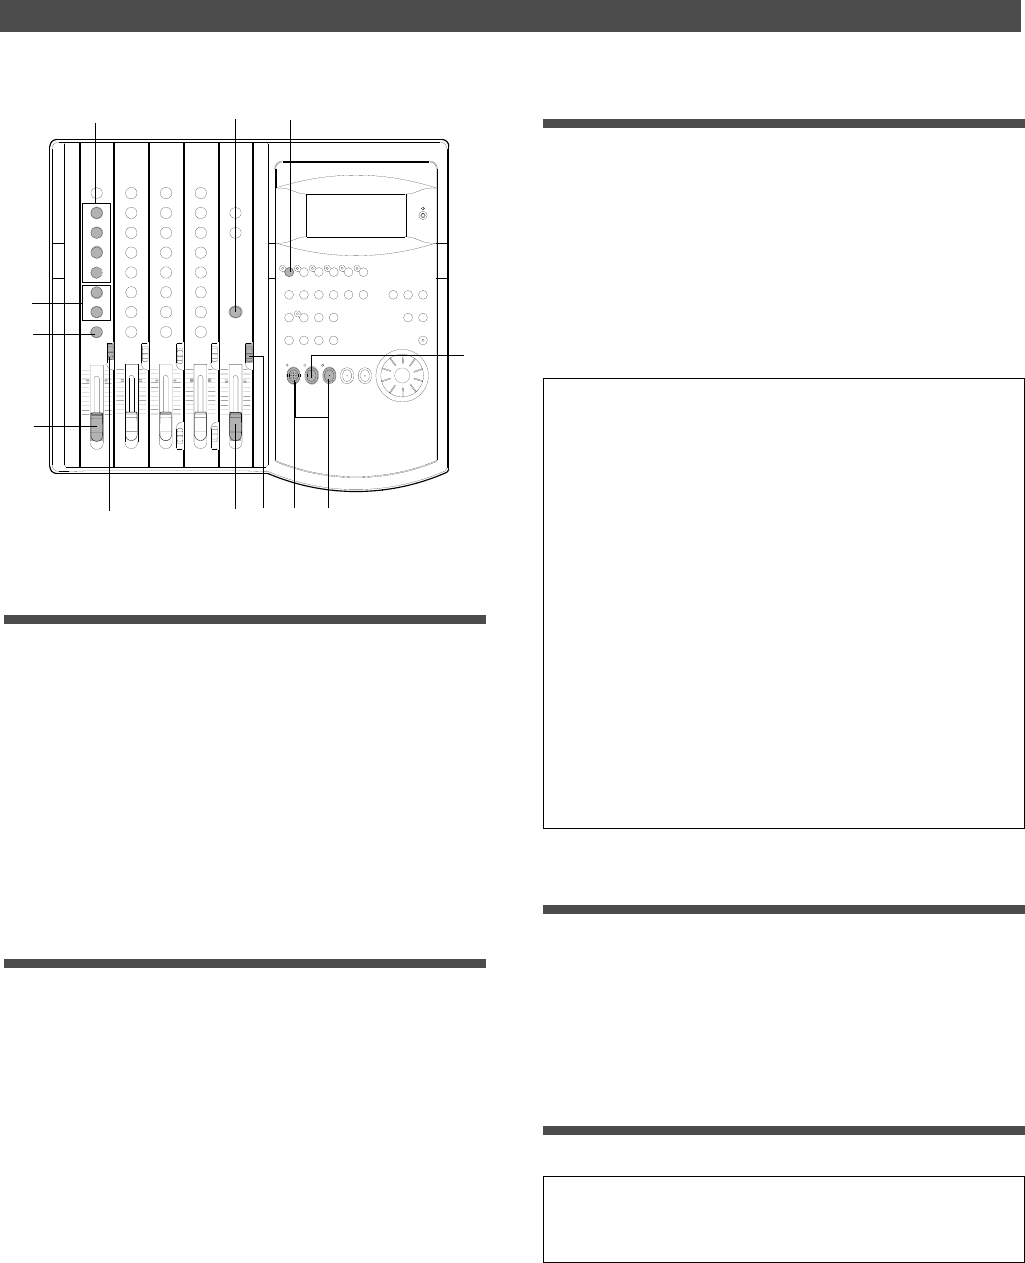
Setting the switch and knob
1. Set the channel 1 INPUT SEL switch to [INPUT].
The electric guitar signal is routed to the input channel 1
fader. If you connect the instrument to another input
jack, set the INPUT SEL switch of the corresponding
channel to [INPUT].
2. Turn the channel 1 PAN knob to [L] all the way.
The electric guitar signal is routed to the stereo bus L.
3. Press the RECORD RACK select key [1/L] so that the [1/L]
LED will flash.
Track 1 becomes READY mode.
Adjusting the recording level
4. Raise the master fader L/R to the [7–8] position.
5. Set the SELECTOR in the monitor section to [MON].
6. Press the RECORD button.
The RECORD LED flashes and track 1 enters input
monitoring mode.
In this mode, the electric guitar signal routed to track 1 is
output through the recorder track 1 output.
7. While playing the guitar, raise the input channel 1 fader to
[7–8], and adjust the recording level while checking the level
meter 1.
When you raise the input fader, the level meter L also
moves. This meter indicates the output level of the
stereo bus L.
Adjust the input fader so that the level meter will
occasionally reach the [0] point of the meter at
maximum volume. (Make sure that the meter at the [OL]
section will not light up.)
Monitoring the recording signal
8. Turn the MON knob in the MON mix section of channel 1
toward [TRK] and turn the MASTER knob in the monitor
section to adjust the monitoring level
Use the MON PAN knob in the MON mix section to adjust
the stereo image of the monitoring sound.
9. Adjust the equalizer for channel 1 if necessary.
If equalizing changes the level and the [OL] section of the
meter lights up, lower the level using the input channel 1
fader.
<Using the SELECTOR switch while monitoring>
* You can select the type of monitoring sound using the SELEC-
TOR in the monitor section. Set the SELECTOR to [MON] to moni-
tor the recording sound, and turn the MON knob in the MON mix
section for the channel that corresponds to the real track toward
[TRK]. Since we are now monitoring the track 1 recorder output,
use the MON mix section of channel 1. At this time, by turning the
MON knob toward [INPUT], you can monitor the pre-fader signal
routed from the input jack (the signal that is unaffected by the input
fader and equalizer).
* If you set the SELECTOR to [L/R], you can monitor the signal
routed to the recorder (the signal that is going to be recorded). Since
the level of the monitoring sound changes with the input fader posi-
tion, regardless of the MON mix section setting, you need to use the
MASTER knob in the monitor section to adjust the monitoring level.
* If you set the SELECTOR to [L/R+MON], you can monitor both
signals with the [MON] and [L/R] settings.
Starting recording
10. Press the PLAY button while holding down the RECORD
button.
The flashing RECORD LED and the LED of the READY track
remain lit, indicating that the track is now recording.
At this time, the recording Real track is in input
monitoring mode.
Stopping recording
11. To stop recording, press the STOP button.
<Note>
After you finish recording, press the STOP button immediately. If
you keep recording silence, you will waste disk space.
Now you have recorded the guitar sound in Real track 1 via
the input jack 1. We can use the same method to record
other sound sources to other tracks.
The next table shows guideline settings for track 2–4 re-
cording. You can connect any sound sources to any input
jacks.
