


7
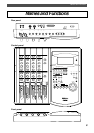
Recording preparation
DRIVE
AUTO A.PUNCH
SYNC OUT
CLK
SCSI
44.1kHz
SMF
PGM
ABS
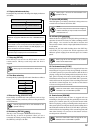
The current drive
is a SCSI drive.
1
44.1kHz
SETUP
SURE?
DRIVE
AUTO A.PUNCH
SYNC OUT
SCSI
44.1kHz
SETUP
SURE?
DRIVE
AUTO A.PUNCH
SYNC OUT
SCSI
44.1kHz
SETUP
SURE?
DRIVE
AUTO A.PUNCH
SYNC OUT
SCSI
SETUP
COMPLETED
!
DRIVE
AUTO A.PUNCH
SYNC OUT
CLK
SCSI
UNDO/
PUNCH
AUTO
PITCH
VARI
RL
SHIFT
4/R3/L2/R
SELDISP SEL
1/L
CLIPBOARD PLAY
LOCATE ABS 0
LOCATE REC END
F FWDREWINDPLAYSTOP
RECORD
REDOEDIT
START IN OUT
AUTO PLAY
EXECUTE
/YES
EXIT
/NO
HOLD/ STORE
END IN OUT
PGM SEL
AUTO RTN
SETUP
TIME BASE
ACCESS
CLIPBOARD
AUTO PUNCH
AUTO RTN
ADD. TRACK
PREVIEW
RECORD TRACK
P. EDIT
SHUTTLE
JOG
ELECT
LOC MEM
LOCATE
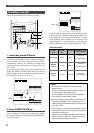
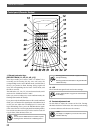
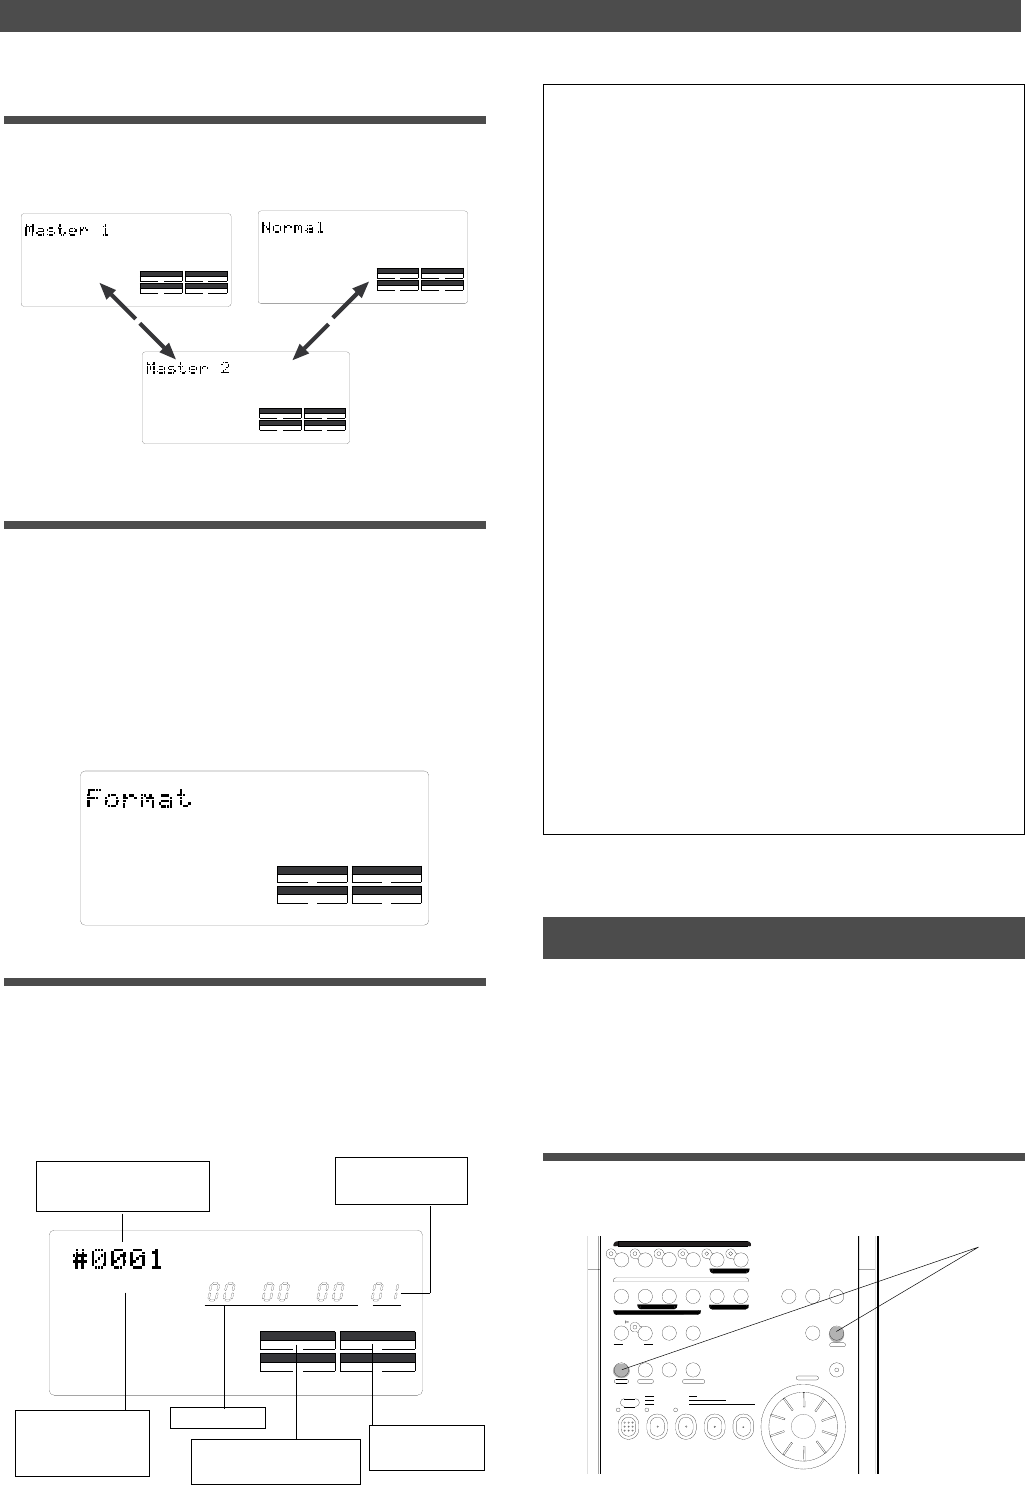
3. Turn the JOG dial to select a recording mode.
Turning the JOG dial counter-clockwise (to the left) will
display the recording mode indication in the order of [Nor-
mal] -> [Master 2] -> [Master 1].
<Note 1>
When you format a disk, a Program is named “temporary title.”
You can edit this title as you wish. For more information, refer to “Edit-
ing a Program title” of the “Handling Programs” chapter on page 39.
<Note 2>
Formatting will automatically create one Program on the disk. You can
create up to 99 Programs, depending on the available disk space.
You can also select a desired Program from multiple Programs.
For more information, refer to “Managing songs by Program Change
function” in the “Before Starting” chapter on page 25. For more infor-
mation, refer to “Using a Program Change function” on page 37.
<Note 3>
If you format a disk in Master 1 or Master 2 recording mode, the sam-
pling rate indicator [44.1kHz] lights up. If you select Normal mode,
nothing lights up.
<Note 4>
After formatting the disk, the FD-4 automatically selects ABS as Time
Base. You can select ABS, MTC time, or BAR/BEAT/CLK as the Time
Base. For more information, refer to the “Display Section” in the “Names
and Functions” chapter on page 21.
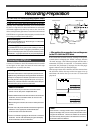
<Note 5>
The indicated “SYNC OUT” setting ([CLK]) means that clock signals
(MIDI clock signal and Song Position Pointer) are output as a sync
signal from the FD-4’s MIDI OUT connector to an external MIDI de-
vice. You may change this setting, if necessary, when you are using
the FD-4 to sync with an external MIDI device. For more information,
refer to “SYNC OUT setting” in the “Changing the Initial Settings” chap-
ter on page 86.
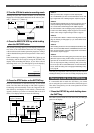
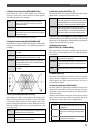
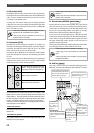
4. Press the EXECUTE/YES key while holding
down the RECORD button.
The [Format ?] message lights up on the display, and a nega-
tive value of the unformatted disk area size (Megabytes)
will count down as the format operation progresses. All keys
will be disabled during the format operation. Please wait a
while.
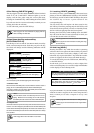
When formatting is complete, [COMPLETED !] lights up on
the display, and the FD-4 stops accessing the SCSI disk. The
display looks something like below. (If you have selected
Mastering mode 1 or 2, [44.1kHz] lights up on the display.)
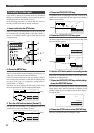
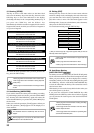
5. Press the STOP button or the EXIT/NO key.
Press the STOP button or the EXIT/NO key to exit SETUP
mode. The Time Base will change to ABS (ABS 0 appears).
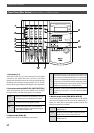
Formatting will automatically create one Program on the
disk (PGM 01), and display its title (#0001). (This title also
appears whenever you insert a formatted disk in the SCSI
drive.) The display indicators mean the following:
“Temporary title” for
Program 1 (See Note 1.)
Program number
(See Note 2.)
ABS is selected as
Time Base. (See
Note 4.)
ABS time 0
The default setting of
SYNC OUT (See Note 5.)
Now that you completed connecting the SCSI drive and for-
matting the disk, you can start recording and playing back.
Removing a disk from the SCSI drive
If a removable disk is inside the SCSI drive, you cannot
eject it using the eject switch on the drive. Follow the proce-
dure below using the key on the control panel of the FD-4
to eject the disk.
1. Press the EXIT/NO key while holding down
the SHIFT key.
The disk is ejected from the SCSI drive and [No Disk] ap-
pears on the display.