129
Edit mode (EDIT)
■ AFTERTOUCH ASSIGN
Here’s how to assign an Aftertouch message to a controller.
Basic mode
fig.edt
1
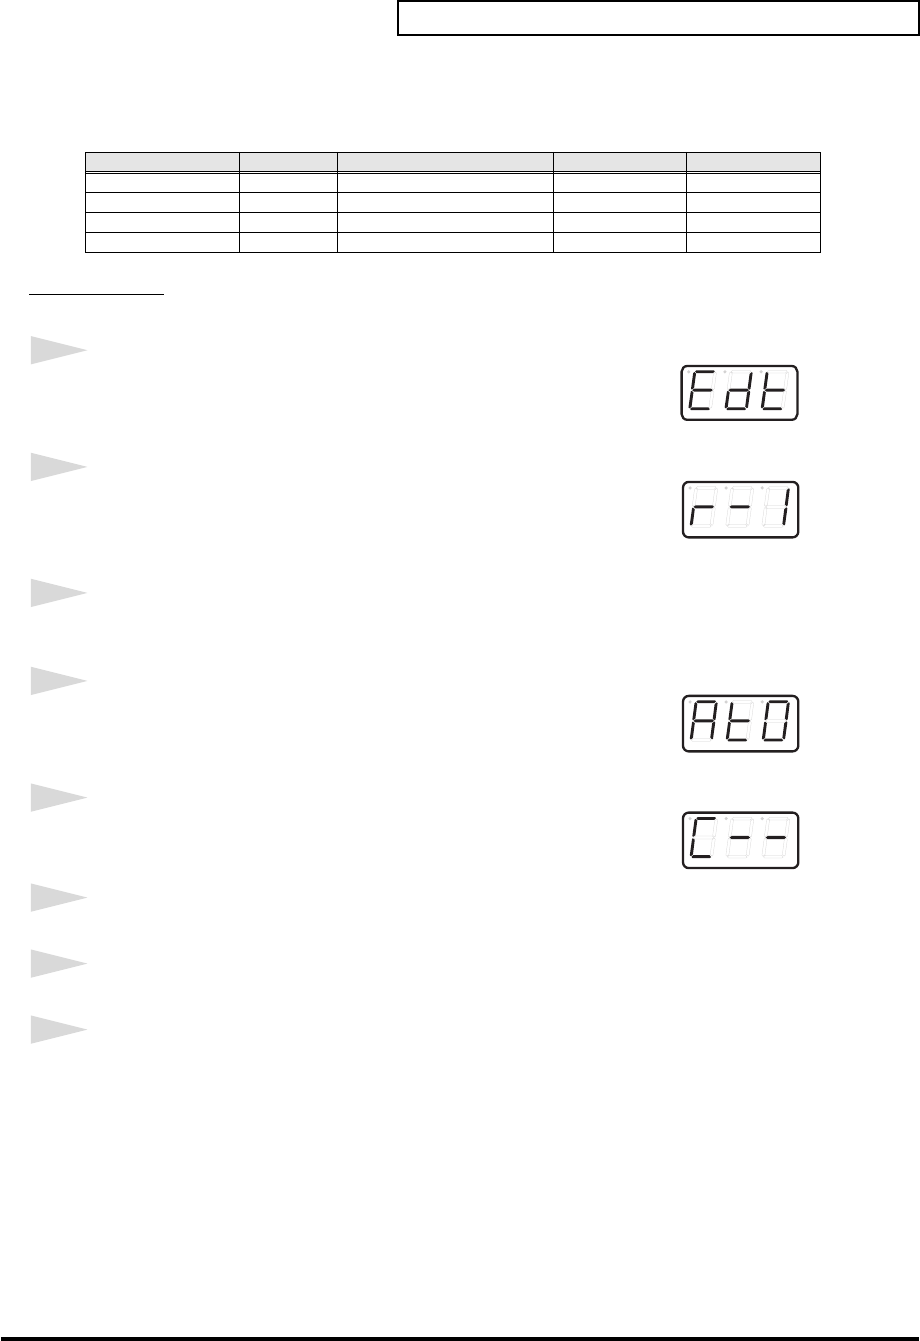
Press the [EDIT] button.
The display will indicate “EDT.”
fig.r-1
2
Slightly move the controller to which you want to assign an Aftertouch
message. In the case of a button, press that button.
The display will indicate the number of the selected controller.
3
Verify that the display shows the correct controller number, and press the [ENTER] button.
fig.at0
4
Press the [AFTERTOUCH] key.
The display will indicate “AT0”.
fig.c
5
Verify that the display is correct, and press the [ENTER] button.
The display will indicate “C--”.
*1 Reference
6
Input the channel. Use the [DEC][INC] buttons or the [0]–[F] keys to specify the channel.
7
Press the [ENTER] button.
8
If you are making an assignment for a button, specify the button mode. (➔“Specifying the
button mode” (p. 158))
Mode Keyboard Message Value range Port
Basic mode 0 Channel Pressure 00–7FH Port 1
Advanced mode 1 1 Channel Pressure Assignable Assignable
Advanced mode 2 2 Polyphonic Key Pressure 00–7FH Port 1
Advanced mode 3 3 Polyphonic Key Pressure Assignable Assignable
*1 The -- area displays the currently set value. If it has not been set, the default setting will be displayed. Even if you change the type or mode
of the MIDI message that is assigned, the default setting will be displayed. This will be lit if the value is the same as the currently set value,
or will blink if the value is different.
