


148
Chapter 4 Creating Patches
Creating Multi-Partial
Patches
When creating and playing Multi-Partial Patches, you must
have a separate device to load samples from a sampler
library or other source to the XV-5080.
First, load a Patch or Performance from the sound library
(such as the optional L-CDX Series). Then, if needed, make
changes to the parameter settings.
Applying the XV-5080’s internal effects is also effective.
* When editing or playing Multi-Partial Patches, you must
have a separate device to load samples from a sampler library
or other source to the XV-5080.
* Another way is to automatically create a Patch from the
Sample, .WAV., or .AIF wave data loaded from the sampler
library.
* Do not change the Patch type (Patch Type, p. 125) while using
Patch Edit. Since the composition of sounds and parameters
used differ for each type, unless you go back and redo these
settings, no sound will be produced.
The following shows the basic setting procedure.
1. Select the Patch you’re going to use.
2. Press [F2]–[F5], whichever has the parameter you wish to
set assigned to it, and select the display group.
3. Then press [F1]–[F4] to access the desired page.
4. Press [ ]/[ ]/[ ]/[ ] to move the cursor to
the parameter you want to set.
5. Turn the VALUE dial or press [INC]/[DEC] to select the
desired value.
* If you make a mistake when setting a parameter’s value, or you
don’t like the change you have made, just press [UNDO] to
restore the original value of the parameter.
6. Repeat Steps 2–5 to finish setting up the Patch.
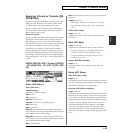
7. Press [EXIT] to return to the PATCH PLAY page.
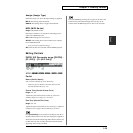
A “*” symbol will appear at the left of the Patch name,
indicating that its settings have been modified.
fig.04-058.e_70
* If you turn off the power or select another Patch while the “*”
symbol is displayed, your new Patch settings will be lost. If
you wish to preserve them, save the modified Patch using the
Write operation. (p. 194)
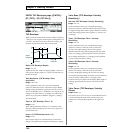
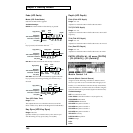
Assigning Partials
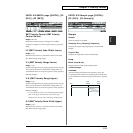
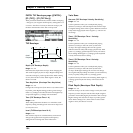
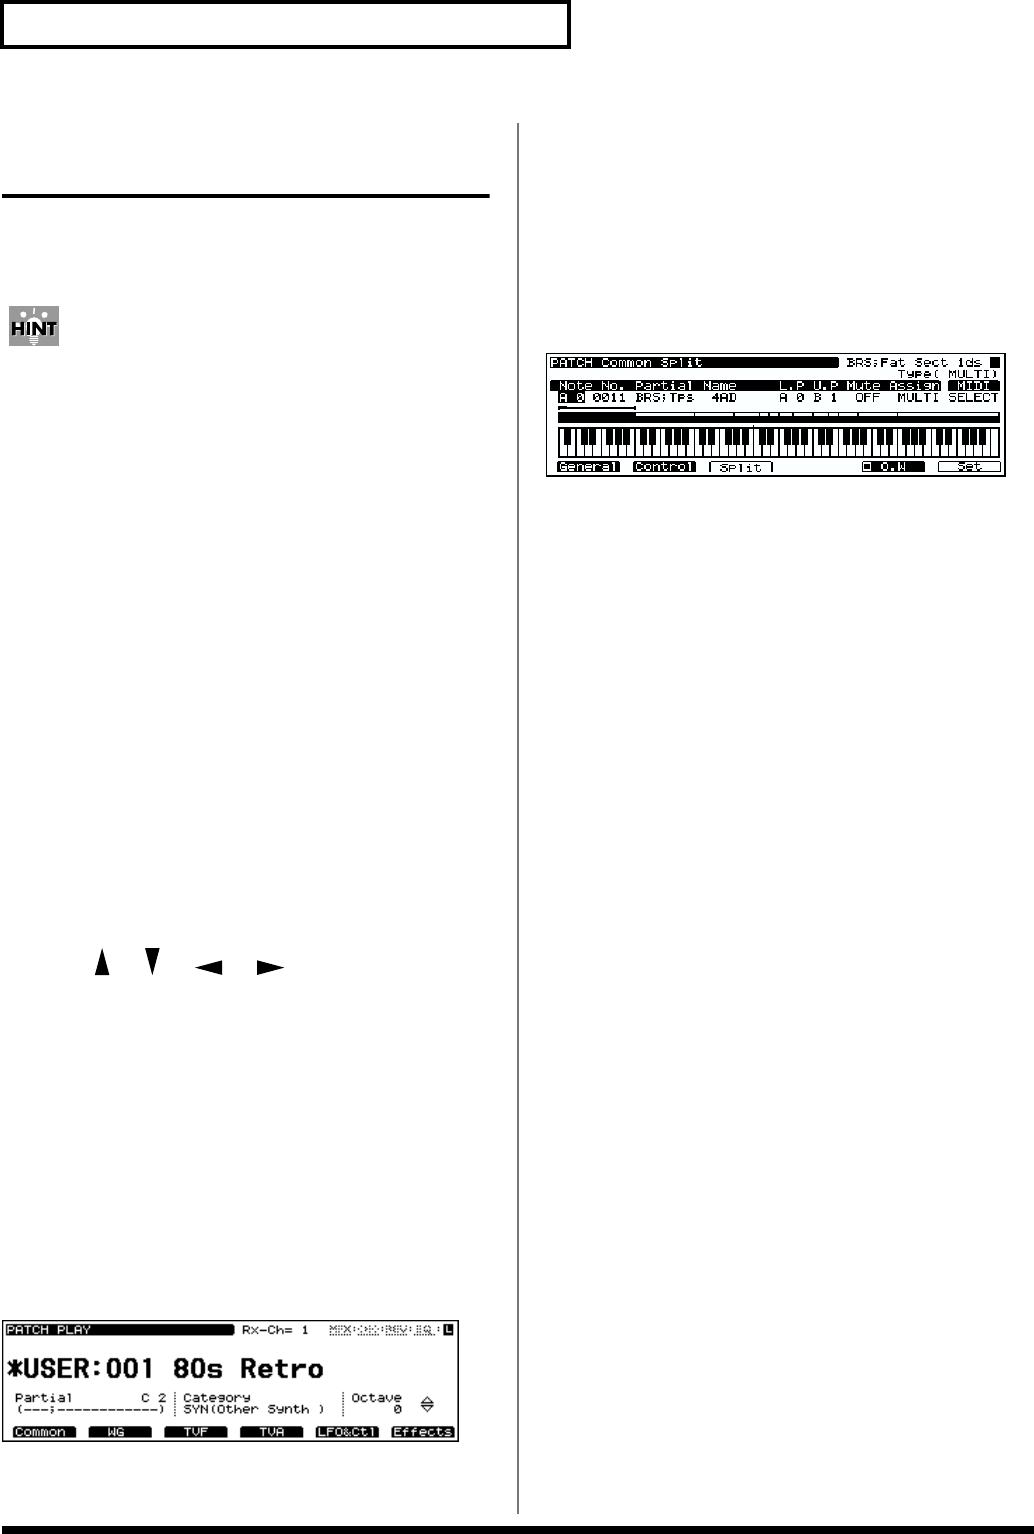
PATCH Common Split page ([PATCH] -
[F2 (WG)] - [F3 (Split)])
fig.04-059.e_70
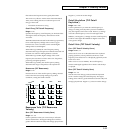
* Press [F5] to select the mode when using the split settings.
Each time you press this button, the display will change as
follows. Press [F6 (Set)] to execute.
O.W: The specified area will be overwritten.
Move: The split area that is already split will be modified.
1Key: The split will consist only of the specified key.
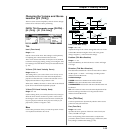
Note (Note Number)
Range: A0–C8
Sets the key you wish to assign to the Partial.
No. (Partial Number)
Selects the Partial to be assigned.
Partial Name
The Partial name is displayed.
L.P (Lower Key Point)
Range: A0–C8
Specifies the lowest note at which the Partial can be sounded.
U.P (Upper Key Point)
Range: A0–C8
Specifies the highest note at which the Partial can be
sounded.
Mute (Mute Group)
Range: OFF/1–31
Allows you to specify certain Partials that will be prevented
from playing at the same time. Whichever Partials that you
assign to the same Mute Group will not be played at the
same time.
* This works only for the most recently played tones, since last
note priority is used for playing the sounds.