18
Preparing to use the SI-24
Using the digital input
The output of a digital audio device (e.g., electronic musical instrument, DAT
recorder, or the Roland VS series) connected to the SI-24 can be input to RPC-1 while
still in digital form.
If you want to use the DIGITAL IN input, use the following procedure to change the
settings.
1. Connect the SI-24’s DIGITAL IN connector to the digital out connector of your
digital audio device.
2. Press [DIGITAL IN] to turn it on (lit).
* In case [DIGITAL IN] blinks after pressing, no digital signal is coming to DIGITAL IN jack. (The
blinking of [DIGITAL IN] stops after a while and turns off.) Please check the connection or signal
from digital audio devices in such case.
3. Change the RPC-1 settings.
3-1. Access the RPC-1 Control Panel.
For details on operation, refer to the column “How to open the RPC-1 control
panel” (p. 20).
3-2. Select the “Hardware Settings” tab.
fig.digital-**
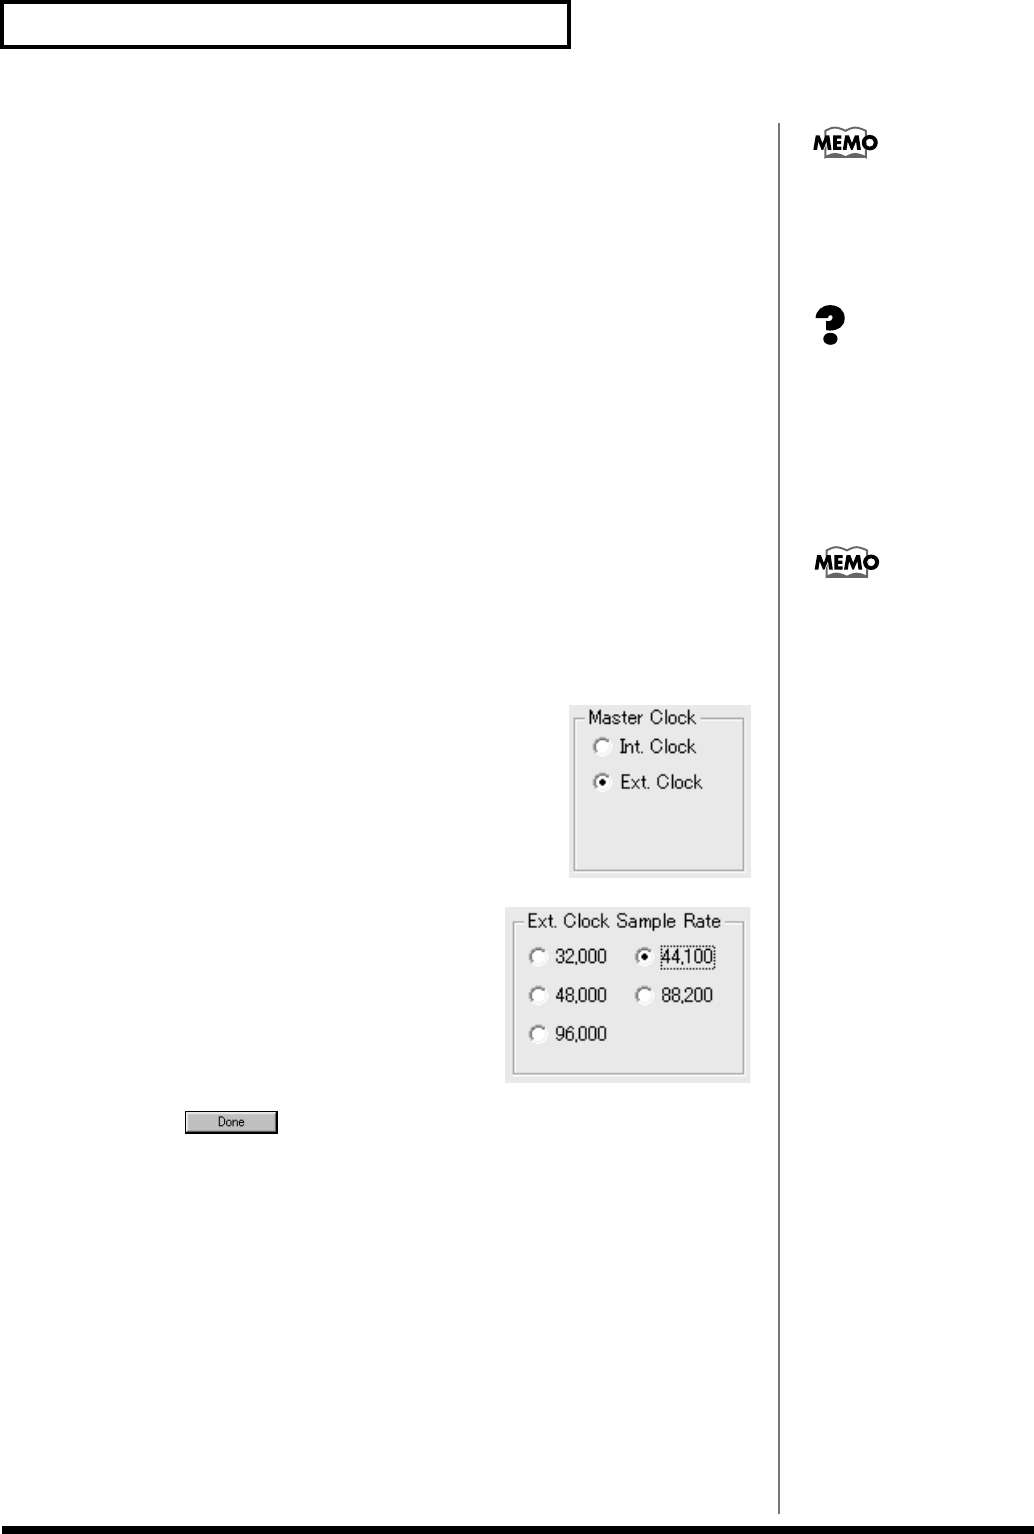
3-3. Change the “Master Clock” setting from
“Int. Clock” (Internal Clock) to “Ext. Clock”
(External Clock).
fig.digital-**
3-4. Change the “Ext. Clock Sample Rate”
setting the same frequency as the output of
the digital audio device.
3-5. Click to close the RPC-1 Control Panel.
When you have finished making RPC-1 settings, the input from DIGITAL IN
will be sent to the RPC-1, instead of the analog input from INPUT 7–8.
4. If you want to use the input from INPUT 7–8, turn [DIGITAL IN] off (dark). Then
change the RPC-1’s “Master Clock” setting to “Int. Clock.”
The SI-24’s digital interface
complies with IEC60958
(consumer format). If you
want to use the digital input,
use a digital audio device that
IEC (p. 46)
How word clock is handled
on the SI-24
When [DIGITAL IN] is off
(dark), the SI-24 will
synchronize to the word clock
of the RPC-1. However, when
[DIGITAL IN] is on (lit), the
SI-24 will synchronize to the
word clock of the digital audio
device. In this case, the RPC-1
will also need to synchronize
to the word clock of the digital
audio device. In order for this
to happen, you must change
the settings of the RPC-1
(step 3).
