35
Controlling Logic RPC Pro
Controlling Logic RPC Pro
Controlling the bus send levels
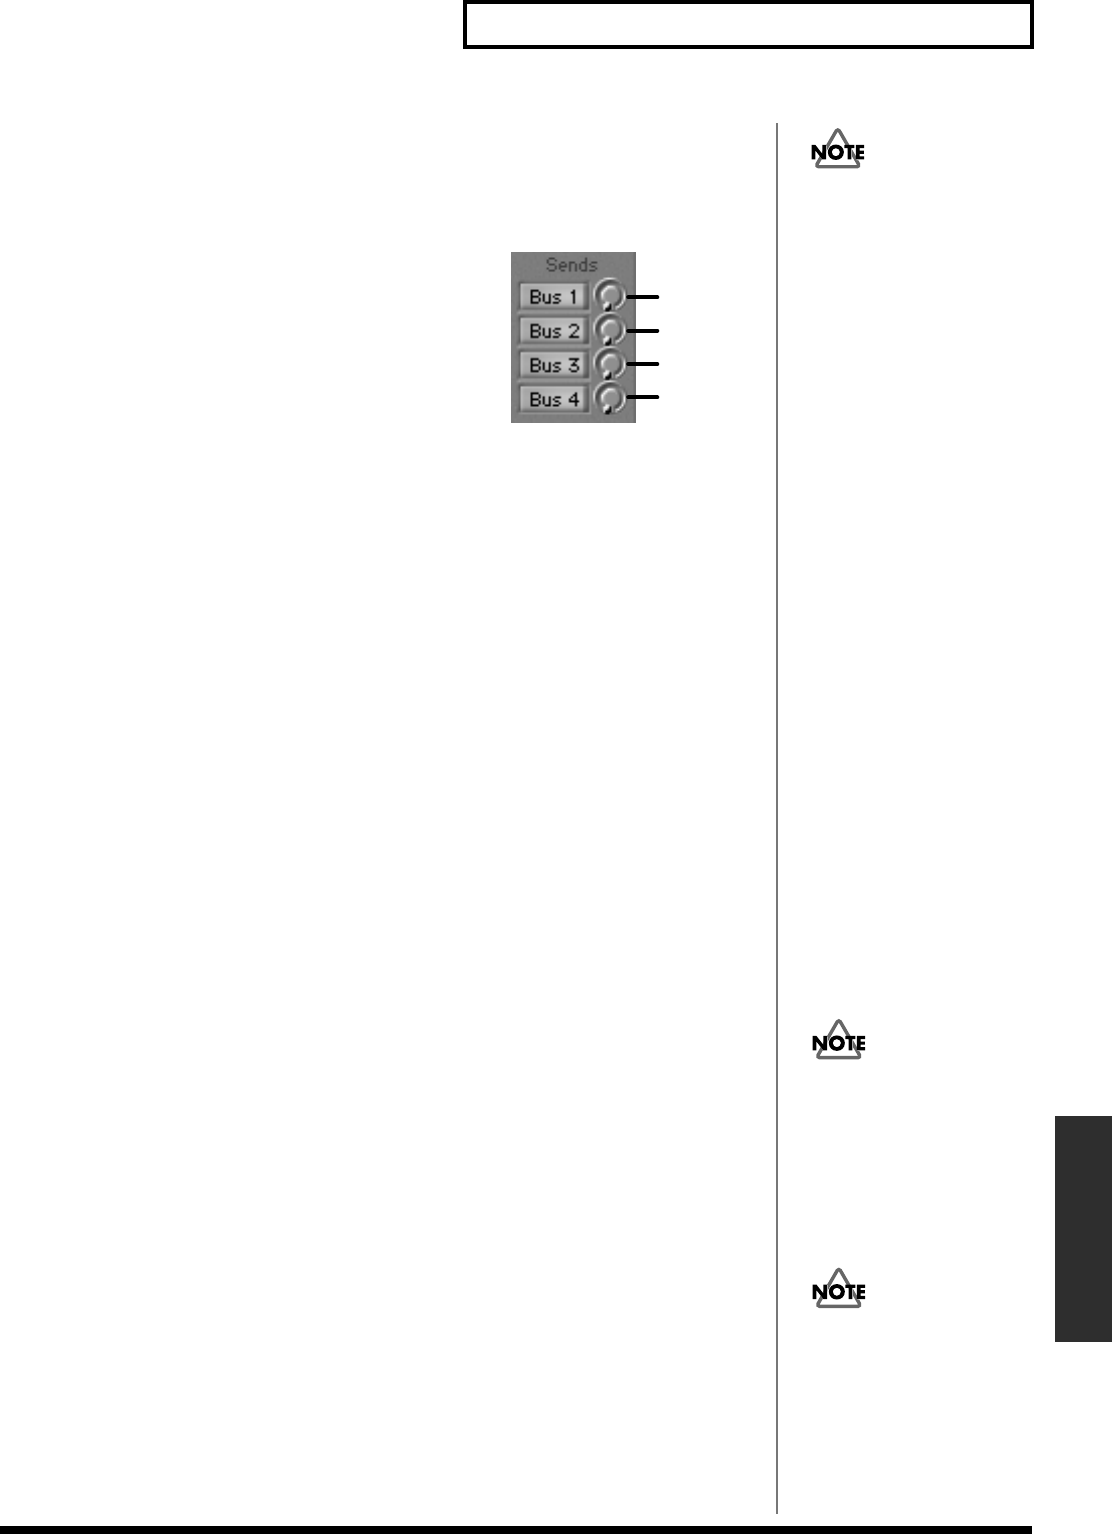
The send levels to four buses can be controlled from the SI-24.
PAN knobs 9–12 will control the send levels to the buses.
Knob 9 ➔ SEND 1
Knob 10 ➔ SEND 2
Knob 11 ➔ SEND 3
Knob 12 ➔ SEND 4
Use the following procedure to control the send levels.
1. Press [EQ/SEND] to turn it on (lit).
2. As described in “Selecting channels” (p. 32), select the channel that you want to
control.
The [CHANNEL SELECT] of the selected channel will light.
3. Use knobs 9–12 to adjust the send levels (SEND 1–4).
Controlling plug-ins
Logic RPC Pro lets you insert up to two plug-ins into each channel. An inserted plug-
in can be controlled from the SI-24.
EQ [ON 1] – [ON 2] will act as [INS 1] – [INS 2] to select the plug-in that you want
to edit.
[INS 1] (EQ [ON 1]) ➔ First plug-in
[INS 2] (EQ [ON 2]) ➔ Second plug-in
PAN knobs 1–11 will control the parameters of the plug-in.
Knobs 1–10 ➔ The parameters of the plug-in will automatically be
assigned to each knob.
Knob 11 ➔ Bypass function
1. As described in “Selecting channels” (p. 32), select the channel that you want to
control.
[CH SELECT] of the selected channel will light.
2. Press [PLUG-IN] to turn it on (lit).
3. Use [INS 1] – [INS 2] to select which plug-in you want to edit.
The PLUG-IN screen for the selected plug-in will appear.
4. Use knobs 1–11 to edit the parameters of the plug-in.
SEND 1
SEND 2
SEND 3
SEND 4
In order to control send levels
from the SI-24, you must first
make settings in Logic RPC
Pro to specify the buses to
which SEND 1–4 will be
assigned. For details on the
procedure, refer to the Logic
RPC Pro owner’s manual.
A maximum of ten plug-in
parameters can be controlled
from the SI-24.
If no plug-in has been inserted
into the channel you selected
in step 2, [PLUG-IN] will not
turn on (light).
