32
Making a Multi-Track Recording
fig.03-01_50
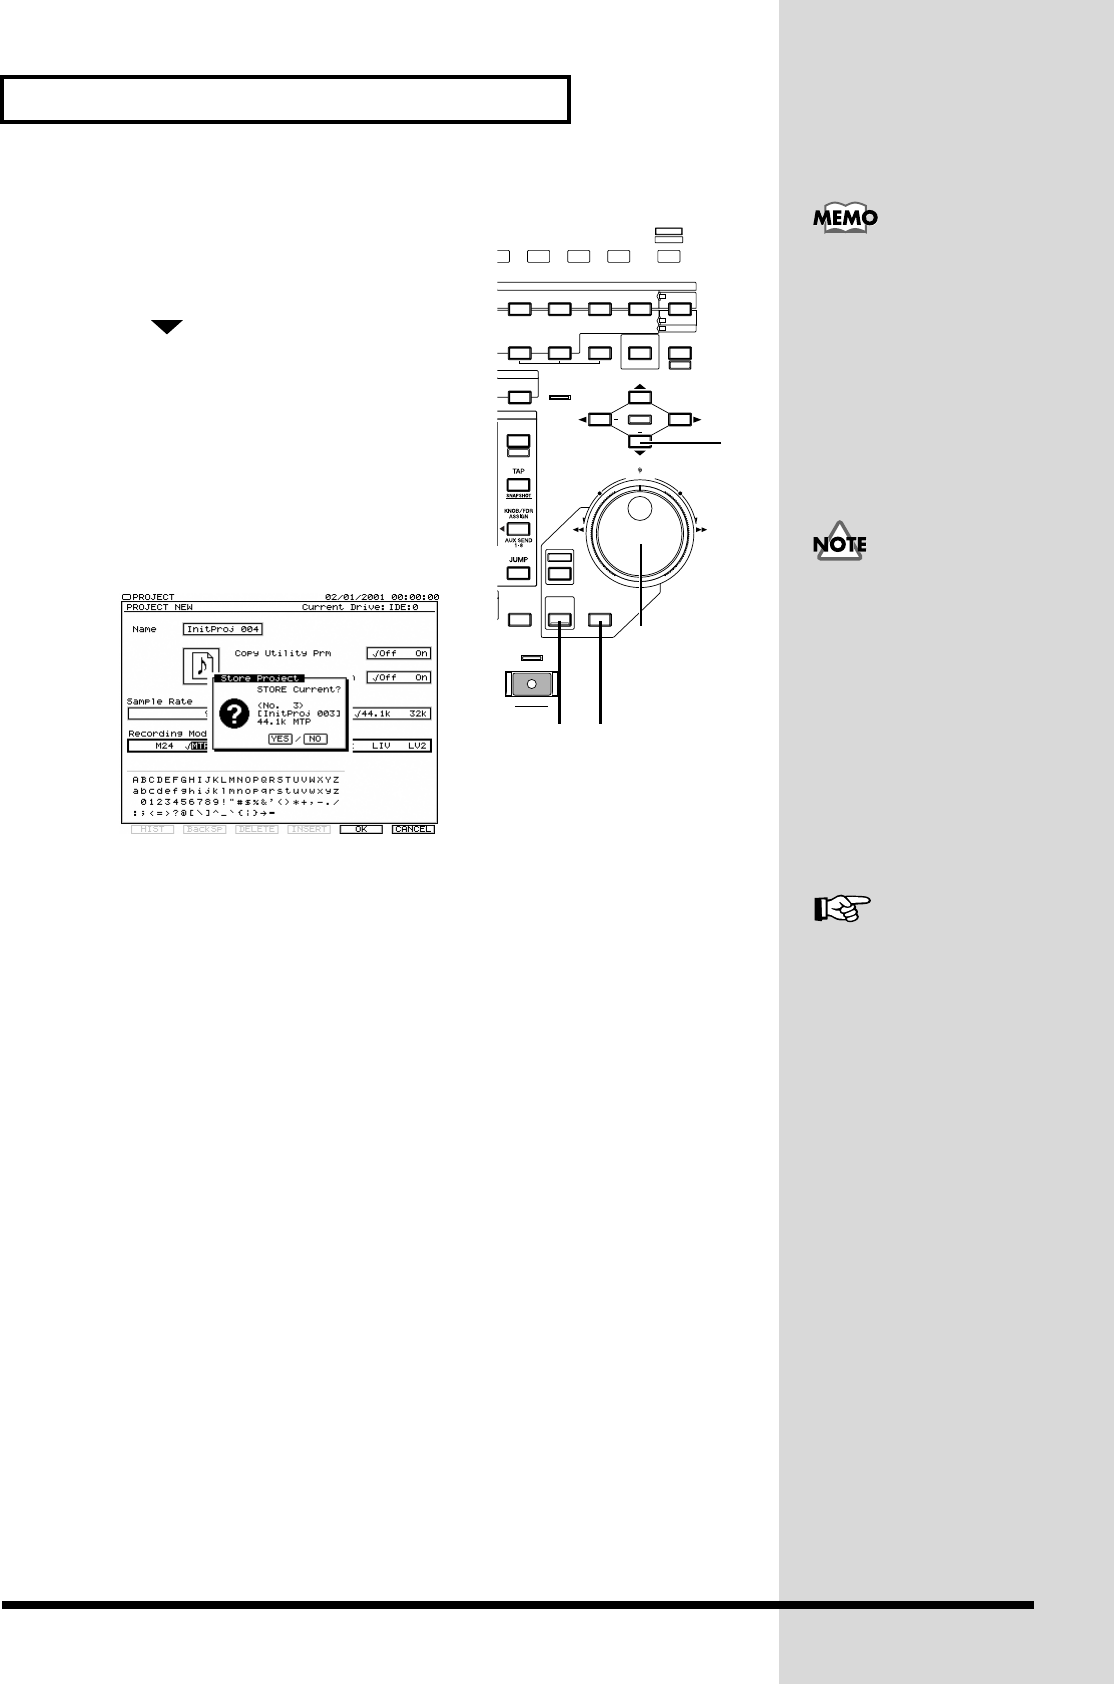
6. Use TIME/VALUE dial to select the Sample
Rate (96kHz, 88.2kHz, 64kHz, 48kHz,
44.1kHz, 32kHz). Normally, choose “44.1k.”
7. Press [] to move the cursor to “Record
Mode.”
8. Use TIME/VALUE dial to select the
Recording Mode (M24, MTP, CDR, M16,
MT1, MT2, LIV, LV2). Normally, choose
“MTP.”
9. Press [F5 (OK)]. “STORE Current?” message
will appear.
fig.dialog- current
store
10. If you wish to store the current project, press [ENTER/YES]. If not, press
[EXIT/NO].
11. Home Condition screen will appear.
SHUTTLE
TRACK EDIT
AUTOMIX REC
REC
EXT SYNC
CUT ERASE COMP / EXP.
IMPORT
LOOPTOFROM
WAVE DISP
REDO
UNDO
SHIFT
UTILITY
TRIM OUT DELETE SPLIT NEW
YES NO
ENTER EXIT
REGION
PHRASE
AUTOMIX
ZOOM
GRADATION
MIDI DISK
/
TIME / VALUE
/ /
+
+
3F4F5F6 HOME
DISPLAY
7
6,8
9
10 10
SCENE
BANK
When 96kHz, 88.2kHz or
64kHz is selected and M24,
M16 or CDR is selected,
simultaneous
recording/playback is
limited to eight tracks.
For details refer to Owner’s
Manual “About Recording
Mode.” (Owner’s Manual
p. 74)
The demo performance are
protected so that their
contents cannot be
modified (Project Protect,
Owner’s Manual). They
cannot be recorded, edited,
or saved. If a demo
performance is selected, the
“STORE Current?”
message will not appear,
and step 10 will not be
necessary.
For details refer to
“Creating a New Project
(Project New).”
