35
Making a Multi-Track Recording
Making a Multi-Track
Recording
Adjusting the Input Sensitivity
fig.03-06_50
1. Press [HOME (DISPLAY)]. Home Condition screen will appear.
2. Press [PAGE] several times until “INPUT” will be appeared at the [F1].
3. Press [F1 (INPUT)]. At this time, the level meters will show the volume
level of the input source.
fig.03-07_30
4. If a line device is connected, press [PAD] located below the ANALOG
INPUT jack. This will apply a 20 dB attenuation to the input from the line
device. If a mic is connected, press [PAD]
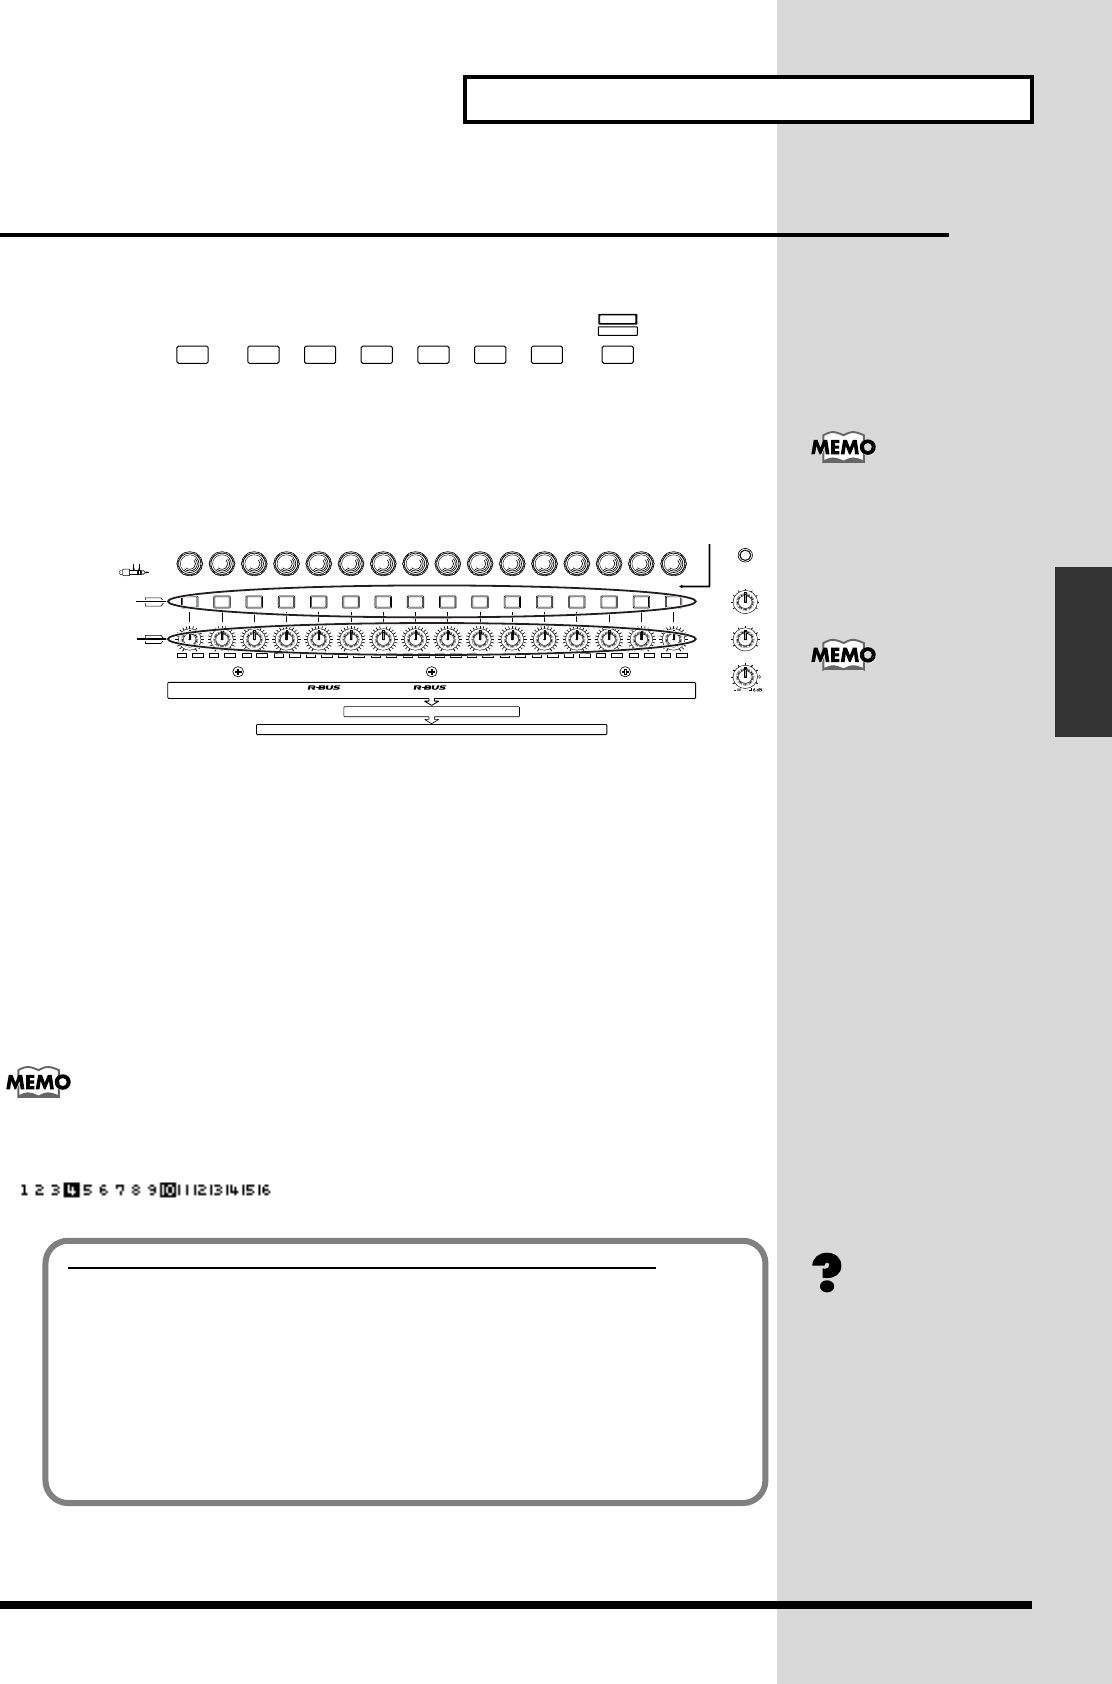
5. While singing or playing into the mic, gradually raise the SENS knob for
the jack to which the mic is connected. For example if the mic is connected
to INPUT 1, play your guitar or sing while you adjust the SENS 1 knob.
6. Verify that the level meter moves and that sound is output.
To record with the best possible audio quality, use the SENS knob to adjust the level
as high as possible so that the level meter moves in the range of -12– 0 dB.
If the previously specified level is exceeded, the analog input peak indicator will light. The
analog input peak indicator is displayed between the time code and level meters in the screen.
PA GE
F1 F2 F3 F4 F5 F6
HOME
DISPLAY
1
32
For details on Phantom
power, refer to Owner’s
Manual “System Parameter
screen.” (Owner’s Manual
p. 118)
PUSH
20dB
010
PHONES 2
010
PHONES 1
MONITOR
(
TIP
)
(
RING
)
(
SLEEVE
)
HOT
COLDGND
PA D
dBu
SENS
12345678910111213141516
12345678910111213141516
-
6
-
64
-
6
-
64
-
6
-
64
-
6
-
64
-
6
-
64
-
6
-
64
-
6
-
64
-
6
-
64
-
6
-
64
-
6
-
64
-
6
-
64
-
6
-
64
-
6
-
64
-
6
-
64
-
6
-
64
-
6
-
64
PATCH BAY
INPUT MIXER
ANALOG INPUT
1
1
-
8
2
1
-
8
COAXIAL
OPTICAL
1-16 L/R L/R
+
14
+
14
+
14
+
14
+
14
+
14
+
14
+
14
+
14
+
14
+
14
+
14
+
14
+
14
+
14
+
14
-
44
-
44
-
44
-
44
-
44
-
44
-
44
-
44
-
44
-
44
-
44
-
44
-
44
-
44
-
44
-
44
4
5,6
If [PAD] is pressed in, the
SENS knob has a range of
-44– +14 dBu. If [PAD] is in
the out position, the SENS
knob has a range of -64– -6
dBu.
Connecting an Instrument Other than a Microphone
If you are connecting an electric guitar or electric bass directly, connect it to the
GUITAR Hi-Z jack. In this case, you will generally set the INPUT 16 knob in the 9
o’clock region.
The ANALOG INPUT 16 jack and the GUITAR Hi-Z jack cannot be used
simultaneously.
If the [ON] switch located at the right of the GUITAR Hi-Z jack is pressed in, the
GUITAR Hi-Z jack will be given priority.
If you wish to use the ANALOG INPUT 16 jack, press [ON] so it is released.
GUITER Hi-Z (Appendices
p. 12)


