


66 TASCAM DP-03
Disconnecting
Use the following procedures to disconnect the USB
connection correctly.
NOTE
When disconnecting from a computer, the procedure
on the computer might be called “eject”, “unmount” or
“remove.”
CAUTION
When transferring data, do not disconnect the unit or
remove the USB cable. Doing so could cause data on the
computer or this unit to be damaged.
Disconnecting from Windows XP/Windows Vista/
Windows 7
Follow the procedures below to disconnect computers
that use Windows XP, Windows Vista, or Windows 7
operating systems.
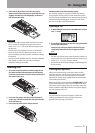
A PC card icon and arrow appear in the taskbar (usually at
the bottom right of the screen).
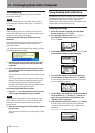
1 Left-click on this icon to open a pop-up bar. Click
this pop-up bar to disconnect this unit from the
computer.
2 After a message appears on the computer screen
saying that this unit can be disconnected, remove
the USB cable.
This unit restarts and the Home Screen appears on the
display.
If a message appears on the computer screen saying
that this unit cannot be disconnected safely, do not
disconnect the USB cable. Close all the computer
programs and windows that are accessing files on this
unit, and then try the operation again.
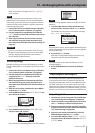
Disconnecting from Macintosh systems
1 Drag the DP-03 icon that represents this unit to the
Trash, or type Command-E to eject the DP-03.
TIP
Depending on the OS version or OS settings you might
also be able to eject the DP-03 icon by clicking an eject
button next to it in the Finder window or by using a
control button.
2 After the icon disappears from the desktop, remove
the USB cable.
This unit restarts and the Home Screen appears on the
display.
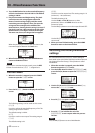
Song backup and restoration
Song backup saves not only audio tracks, but also backs
up editing data and other song data. Song restoration
is the reverse of this process. In short, song data is
transferred from the computer to the FAT partition of the
unit and then used to restore the song.
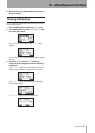
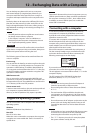
Backing-up songs
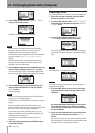
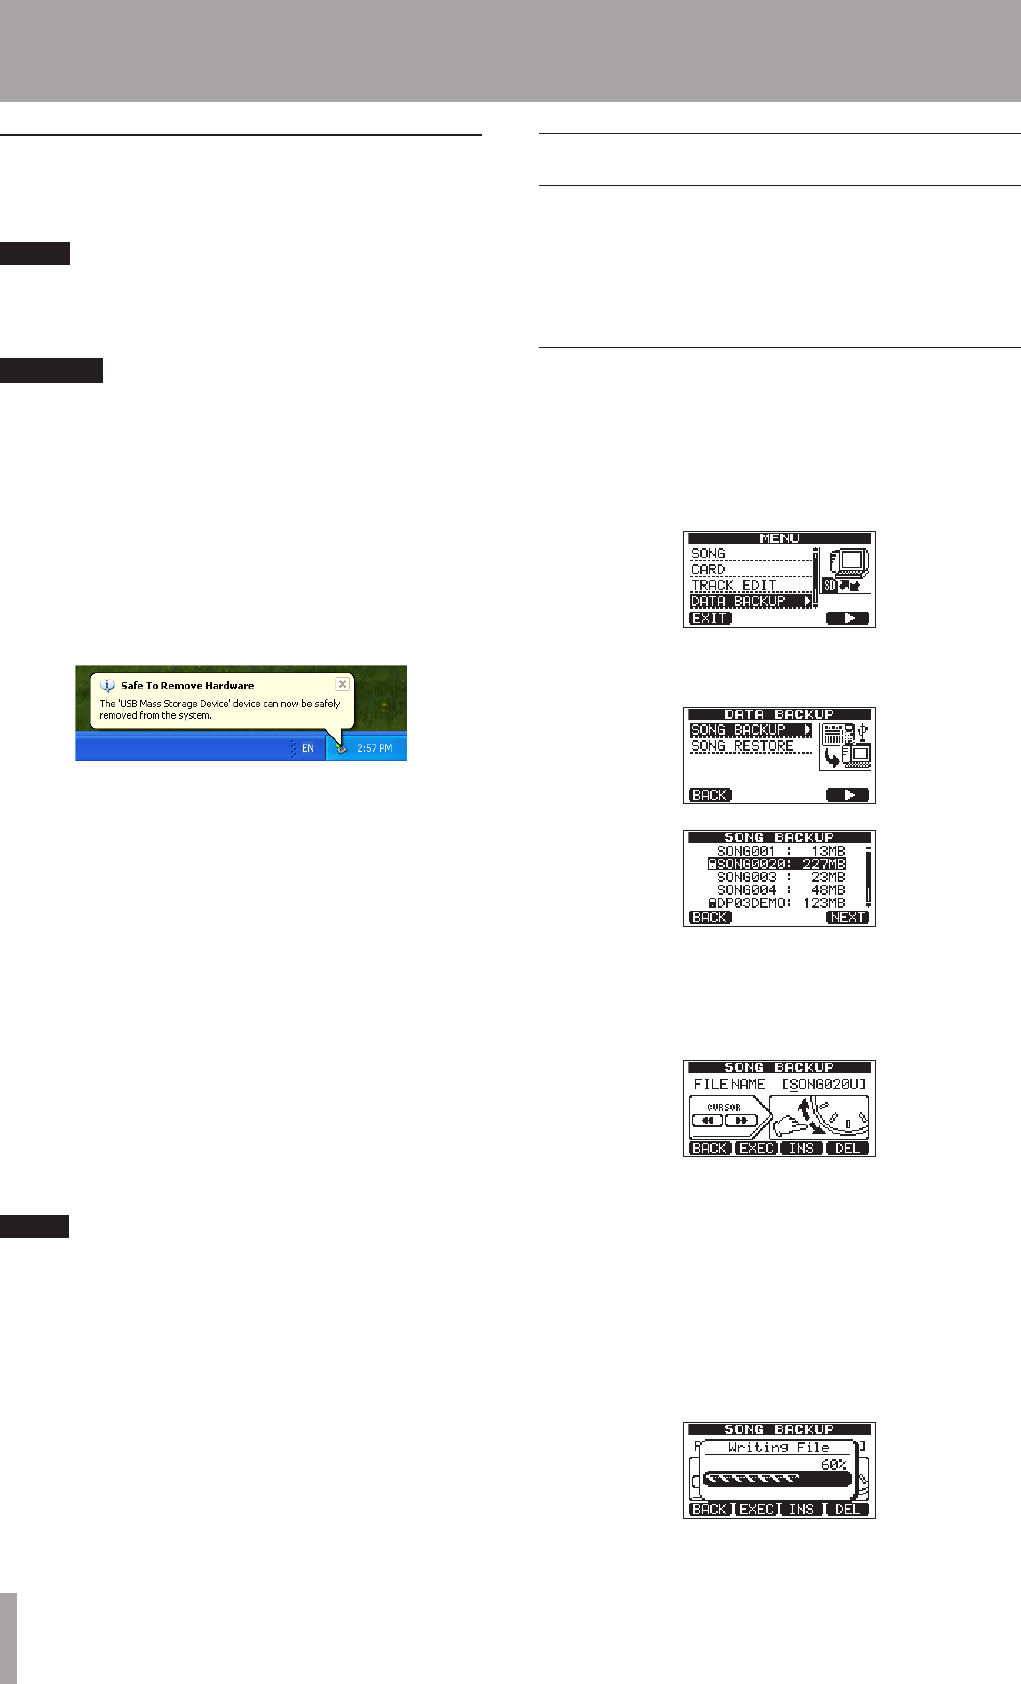
1 When the recorder is stopped, press the MENU
button to open the
MENU
screen.
2. Turn the DATA wheel to select
DATA BACKUP
.
Press the F4 (¥) button to open the
DATA
BACKUP
menu.
3 Use the DATA wheel to select
SONG BACKUP
, and
press the F4 (¥) button to open a song list.
4 Turn the DATA wheel to select the song that you
want to backup, and press the F4 (
NEXT
) button.
A screen appears that allows you to set the file name
for the song being backed up.
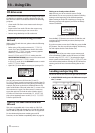
5 Use the REW (
Ô
)
/
F FWD (
) buttons, the DATA
wheel and the F3 (
INS
) and F4 (
DEL
) buttons, to
name the song (maximum of 8 characters) (see
“Editing names” on page 35).
6 After setting the name, press the F2 (
EXEC
) button.
A backup copy of the song on the active partition
is made on the FAT partition (
.001
is added as an
extension).
Writing File
appears on the display.
12 – Exchanging Data with a Computer