


57
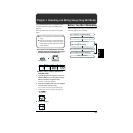
Chapter 3 Recording and Editing Patterns (Pattern Edit Mode)
Chapter
3
■ (6-1B) Do Step Recording
Step Recording of the Drum Part
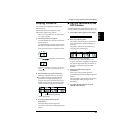
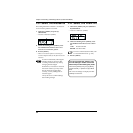
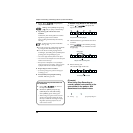
1. Press [REC].
The REC indicator flashes, and the dot “●”
in the Pattern display flashes as well. The
flashing dot is for the step being recorded.
Either “A” or “B” flashes according to
whether the step being recorded is in the
first or second measure.
fig.03-13
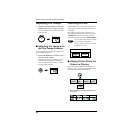
2. Press [DRUM A/B] to select the drum bank
for the instrument to be recorded.
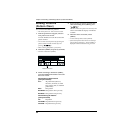
3. Press [ ] [ ] to specify the
step to be recorded.
Holding down [SHIFT] and pressing
[ ] lets you jump to the first step.
Jump to the final step by holding down
[SHIFT] and pressing [ ].
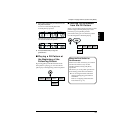
4. Tap the key pad for the instrument to be
recorded.
At this time, the force used to tap the key
pads is recorded as velocity.
The recording automatically advances by
one step.
◆ You can check a sound, playing but not
recording it, by holding down [VOICE] and
pressing the corresponding key pad. The
instrument indicated in the pattern display
is specified simultaneously.
◆ You can record rolls and flams by holding
down [ROLL] or [FLAM] while tapping the
key pads.
* When recording rolls in Step Recording, the roll
settings (Roll Type; p. 77) are disabled, and the
steps in the interval from the time you press a key
pad to the moment you release it are recorded one
sound at a time.
* When playing flams, the flam settings (Flam
Interval/Ratio; p. 78) are not recorded. Changing
these settings after recording also changes the
way the flam sounds.
* You cannot record multiple notes to the same pad
number at the same step.
5. Repeat Steps 2 through 4 as needed.
* If necessary, change the Quantize settings for
recording (p. 55).
6. Press [STOP] to stop recording.
The REC indicator goes out.
* Note that pressing [START] during Step
Recording (while the REC indicator is lit)
switches the DR-670 to Realtime Recording.
Step Recording of the Bass Part
1. Press [REC].
The REC indicator flashes, and the dot “●”
in the Pattern display flashes as well. The
flashing dot is for the step being recorded.
Either “A” or “B” flashes according to
whether the step being recorded is in the
first or second measure.
2. Press [BASS] to select the bass part.
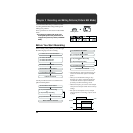
To Erase Previously Recorded Sounds
As You Record
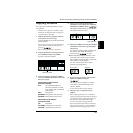
Hold down [SHIFT] and press [2]
(DELETE), then while still holding down
[SHIFT], press one key pad.
All of the sounds, regardless of the pitch,
are erased as long as you hold down
[SHIFT] and the key pad.
* When erasing long note sounds, press the
key pad at the point the sound begins to
play. Regardless of the length of the note, the
entire sound recorded at that time is erased.
To Erase Previously Recorded Sounds
As You Record
a. Press [ ] [ ] to move to
the step to be deleted.
b. Hold down [SHIFT] and press [2]
(DELETE), then while still holding
down [SHIFT], press the key pad to
which the instrument you want to erase
is assigned.