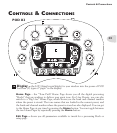
Controls & Connections
3•9
2
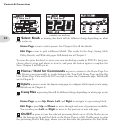
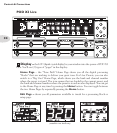
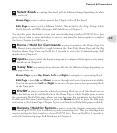
Select Knob – turning this knob will do different things depending on what
page you’re on.
Home Page – turn to select presets. See Chapter 4 for all the detail.
Edit Page – turn to pick a different Model. This works for the Amp, Stomp, Mod,
Delay, Reverb, and Wah edit pages. Full details are in Chapter 5.
You can also press this knob to store your own tweaked-up sounds in POD X3 Live. Just
press, choose what to store and where to store it, and press the button again to complete
the Save. Chapter 4 will fill you in.
3
Home / Hold for Commands – press to return to the Home Page. For
User Presets, press repeatedly to toggle between the Tone Path Home Page and the Big
Number Home Page. Press and hold for 2 seconds to enter the Commands page. Full
details are in Chapter 6.
4
Inputs – press to enter the Inputs setup page to configure which inputs you’re using.
Full details are in Chapter 6.
5
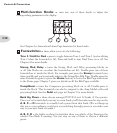
4-way Nav – pressing these buttons will also do different things depending on
what page you’re on.
Home Page – press Up, Down, Left, and Right to navigate to a processing block.
Edit Page – press Up and Down to move through each row of parameters available.
You can also press the Left and Right to move to the previous or next processing block
in the Tone path.
6
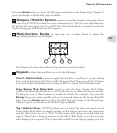
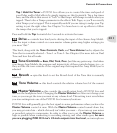
On/Off – press to turn the selected processing block on or off (the blocks are on
when the buttons are lit and the block on the Home Page is solid). Double-press to enter
the processing block’s Edit page, where you can fine-tune the parameters for that block.
Double-press the same button again (or press the Home button) to leave the Edit page
and return to the Home Page. Chapter 5 gives you details on all the Edit pages available.
7
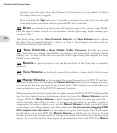
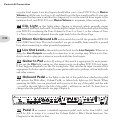
Outputs / Hold for System – press to enter the Outputs setup page, where
you can set up POD X3 Live for whatever you’re connecting it to. This is a very important
step for getting the best sound out of your POD X3 Live. Press and hold for 2 seconds to
enter the System setup page. Full details are in Chapter 6.


