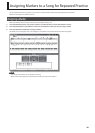
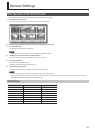
81
Other Operations
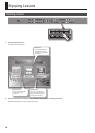
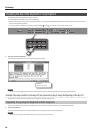
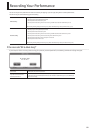
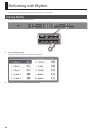
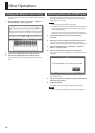
Recording Each Part
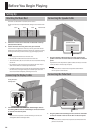
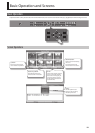
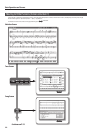
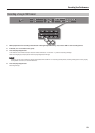
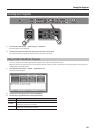
1. Use the cursor buttons to select the part that you want to
edit.
2. Use the [Bwd] [Fwd] buttons to move to the measure at
which you want to record.
3. Specify the recording tempo (p. 45) and metronome settings
(p. 29). Also select the tone (p. 27) you’ll use when recording.
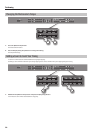
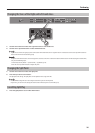
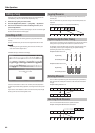
4. Press the [Rec] (
) button.
The HPi-7F will enter recording-standby mode.
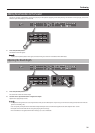
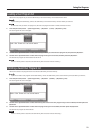
5. Press the [Play/Stop] ( ) button to start recording.
A count will be heard, and then recording will start.
6. To stop recording, press the [Play/Stop] ( ) button.
7. If you want to record additional parts, repeat step 2 and
following as many times as necessary.
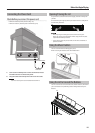
NOTE
The song you recorded will disappear when you turn o the power.
If you don’t want to lose your song, save it to the Favorites or to USB
memory.
For details, refer to “Saving a Recorded Performance” (p. 55).
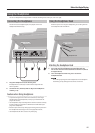
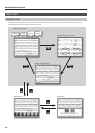
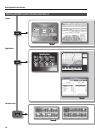
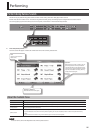
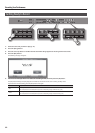
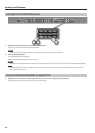
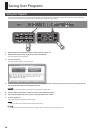
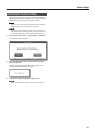
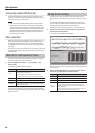
Changing the Recording Mode
The HPi-7F lets you choose either of the following two recording
modes.
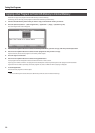
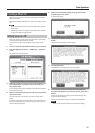
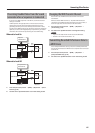
Replace Recording
This is the conventional recording method. Previously recorded notes
will be erased and replaced by the newly recorded notes.
MEMO
Immediately after the power is turned on, Replace Recording will
be selected.
Mix Recording
Notes will be overdubbed without erasing the previously recorded
notes.
This method is convenient when you want to overdub a melody onto
the accompaniment you recorded.
MEMO
For details on overdubbing, refer to “Editing the Part Settings” (p. 80).
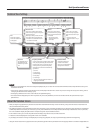
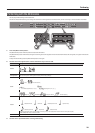
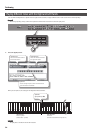
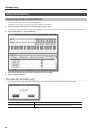
Changing the Recording Mode
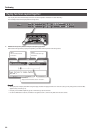
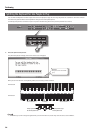
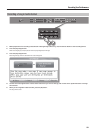
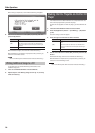
1. Press the [Function] button ➝ [Rec Mode] ➝ [O] button (p. 24).
2. Use the cursor up/down buttons to select the recording
mode.