


113
Attaching the Floppy Disk Drive
When connecting an optional Roland floppy disk drive to the HPi-6, be sure to install the unit as described below.
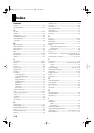
Checking the Parts
Before you begin attaching the floppy disk drive, check that
all the parts were supplied. You will also need to have a
Phillips screwdriver.
Attaching the Floppy Disk Drive
NOTE
To prevent malfunction and/or damage to speakers or other
devices, always turn down the volume, and turn off the
power on all devices before making any connections.
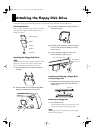
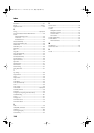
1.
Place the floppy disk drive and the cushion on
the holder.
2.
Attach the holder to the underside of the HPi-6
using the included screws (in four places).
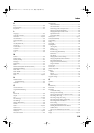
3.
Attach the cord hook, then arrange the cable as
shown in the figure.
4.
Rotate the External Memory connector holder to
the left so that the External Memory connector
faces to the left.
5.
Connect the floppy disk drive cable to the
External Memory connector (p. 21).
=
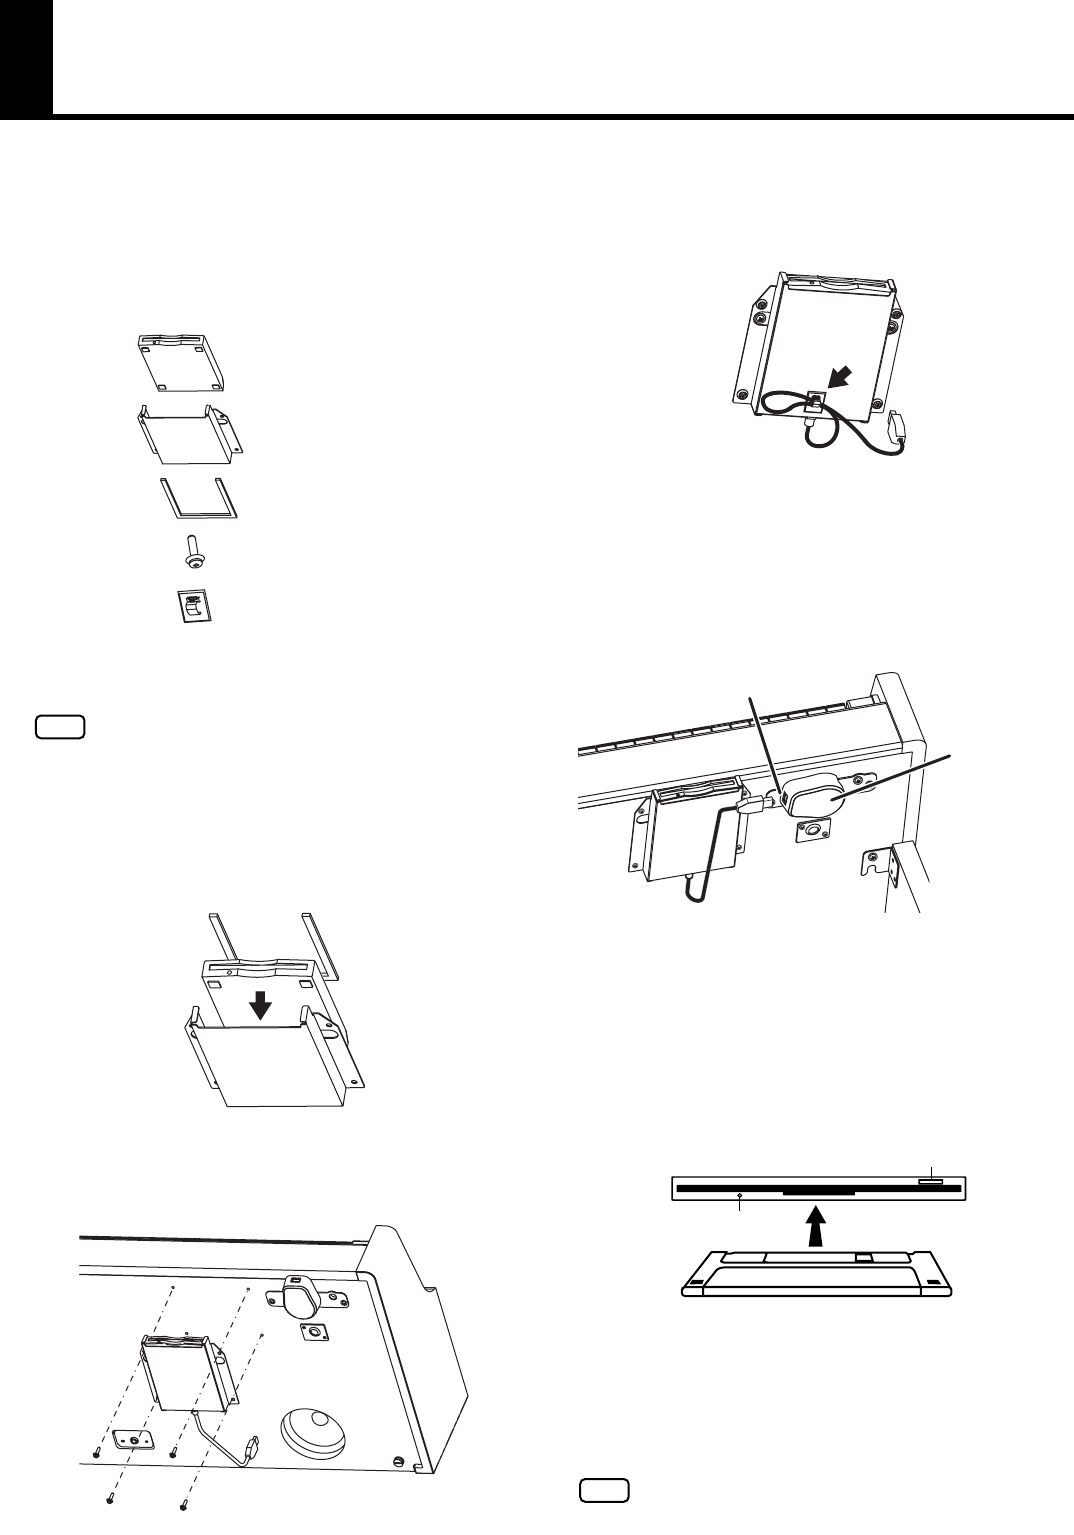
Inserting and Ejecting a Floppy Disk
Inserting a floppy disk
1.
With the front of the floppy disk facing up, insert
the disk in the disk drive slot until there is an
audible click.
Removing a floppy disk
1.
Press the Eject button.
The end of the floppy disk comes out of the slot. Grasp
the edge of the floppy disk and gently pull it out.
NOTE
For the floppy disk drive specifications, refer to the floppy
disk drive Owner’s Manual.
Holder
Cushion
Screw x 4
Cord Hook
Floppy Disk Drive
External Memory
Connector Holder
External Memory Connector
Indicator
Eject Button
Floppy Disk
HPi-6-e.book 113 ページ 2005年11月15日 火曜日 午後3時49分