


52
Adding Variety to Your Performances
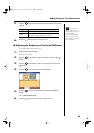
fig.splitpoint-e
The split point key is included in the left-hand keyboard area.
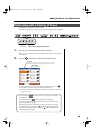
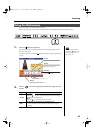
1.
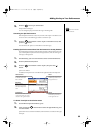
Press the [Menu/Lesson] button.
The Menu screen appears.
2.
Press the cursor button to select <Split>, then press the [ ]
button.
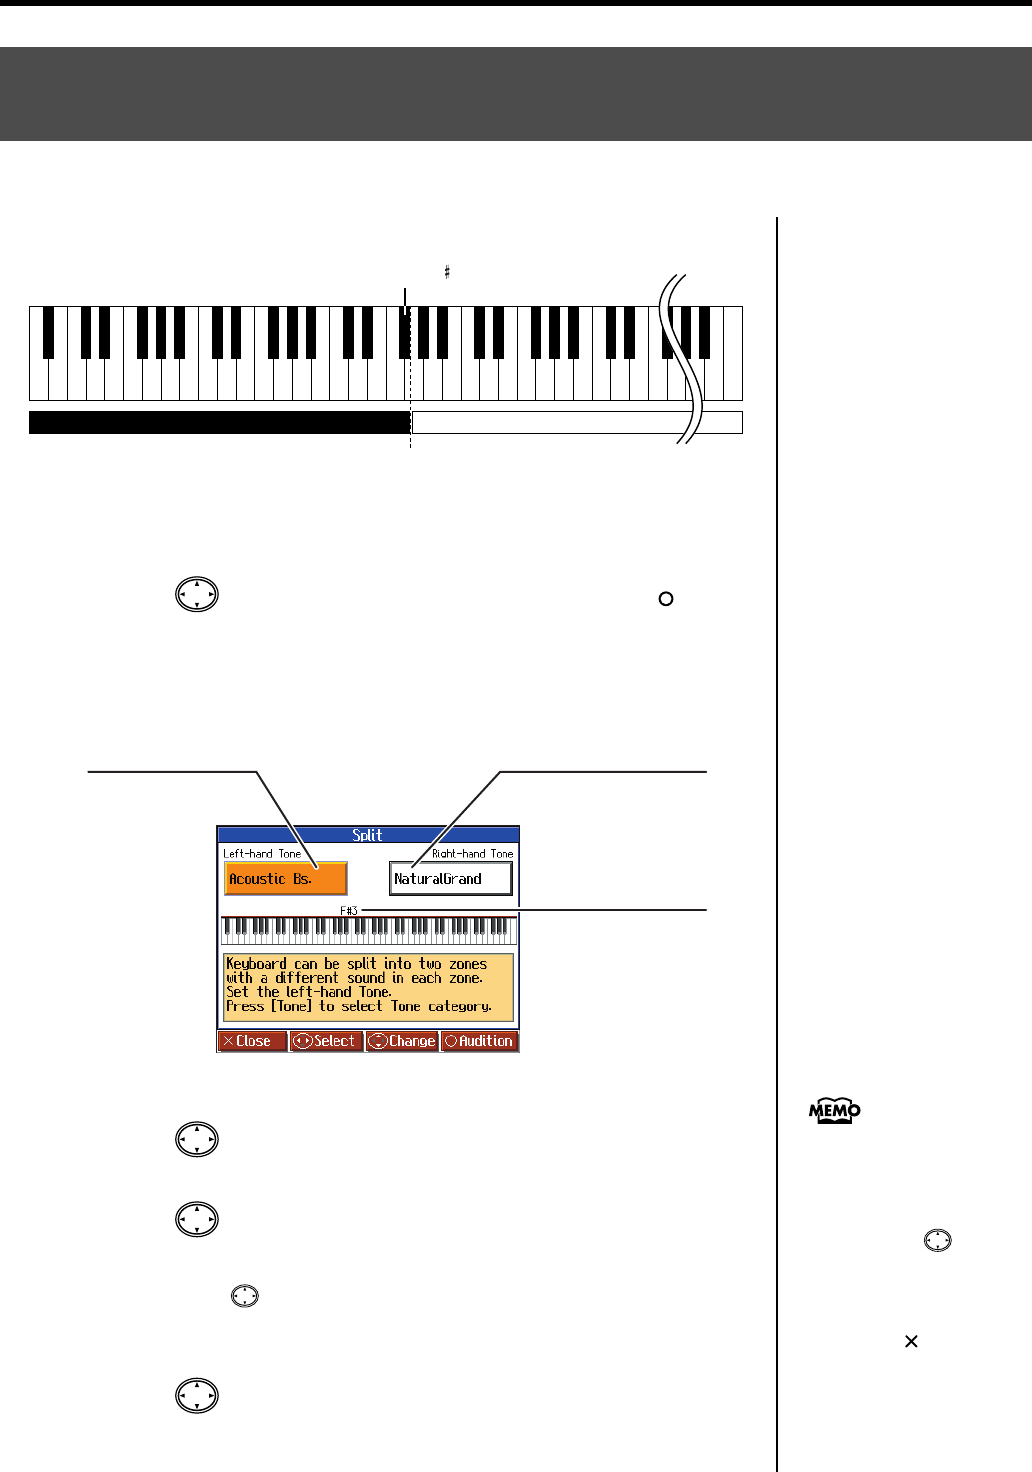
Split performance is enabled. The tone selected before the performance is set as the
“Right-hand Tone”; the “Left-hand Tone” is selected automatically.
The following screen appears.
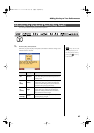
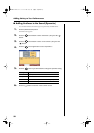
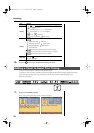
Changing Tones
1.
Press the cursor left or right button to select <Left-hand Tone> or
<Right-hand Tone>.
2.
Press the cursor up or down button to select the tone.
When the tone names of <Left-hand Tone> or <Right-hand Tone> are highlighted,
you can press the cursor button to select tones within the same tone group.
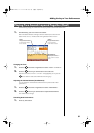
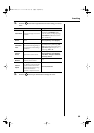
Changing the Split Point
1.
Press the cursor left or right button to select the keyboard layout
(split point).
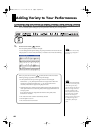
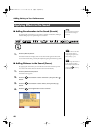
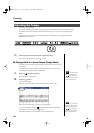
Playing Different Sounds in the Right and Left Hand
(Split)
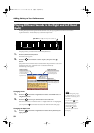
Dividing the keyboard into right-hand and left-hand areas, then playing different sounds in each is called
“Split Performance.” The boundary key is called the “Split Point.”
Split Point (set to F 3, when the power is turned on.)
C1 D1 E1 F1 G1 A1 B1A0 B0 C2 C3 C4 C5 C8B7
…
Left-hand Tone Right-hand Tone
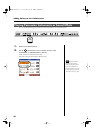
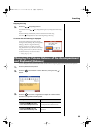
Split Point
Displays the key
between the right-hand
and left-hand keyboard
areas.
Left-hand Tone
Displays the name
of the tone selected
for the left-hand
keyboard area.
Right-hand Tone
Displays the name of the
tone selected for the
right-hand keyboard
When switching tone groups,
if <Right-hand Tone> or <Left-
hand Tone> is selected, press a
tone button.
You can use the
cursor
b
utton to select tones within
the selected tone group.
After changing the tone,
pressing the [ ] button
returns the “Split” screen to
the display.
HPi-6-e.book 52 ページ 2005年11月15日 火曜日 午後3時49分