


142
Chapter 8 Creating and Editing Songs
Chapter 8
■
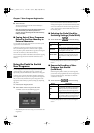
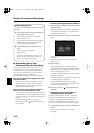
Re-Recording Part of Your
Performance (Punch-in Recording)
You can re-record part of a passage as you listen to a
recorded performance. This recording method is called
“Punch-in Recording.” This convenient function lets you
record over a specified points in a part as you listen to a
prerecorded performance in another section.
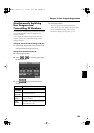
User Punch-In Recording by the following two methods:
Recording the Region Defined by Markers A and B
(Auto Punch-In/Out)
Before you start recording, place markers A and B to
define the passage you want to re-record. Make the
setting for punch-in recording, and re-record just the
passage between markers A and B.
Recording From the Point at Which the Pedal or
Buttons Are Pressed (Manual Punch-In/Out)
You can play back a performance and depress the pedal
at the desired place to start re-recording. Depressing the
pedal a second time cancels recording and returns you to
playback.
Instead of pressing the pedal, you can press a
performance pad or the[ (Rec)] button to start and
cancel recording.
❍
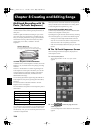
Recording a Passage Specified by Markers
1.
Before you start re-recording, place markers A and B to
define the passage.
Following the procedures described in “Setting Markers
for Repeated Practice (Marker)” (p. 98), use Markers A
and B to specify the passage.
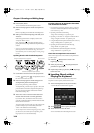
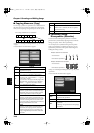
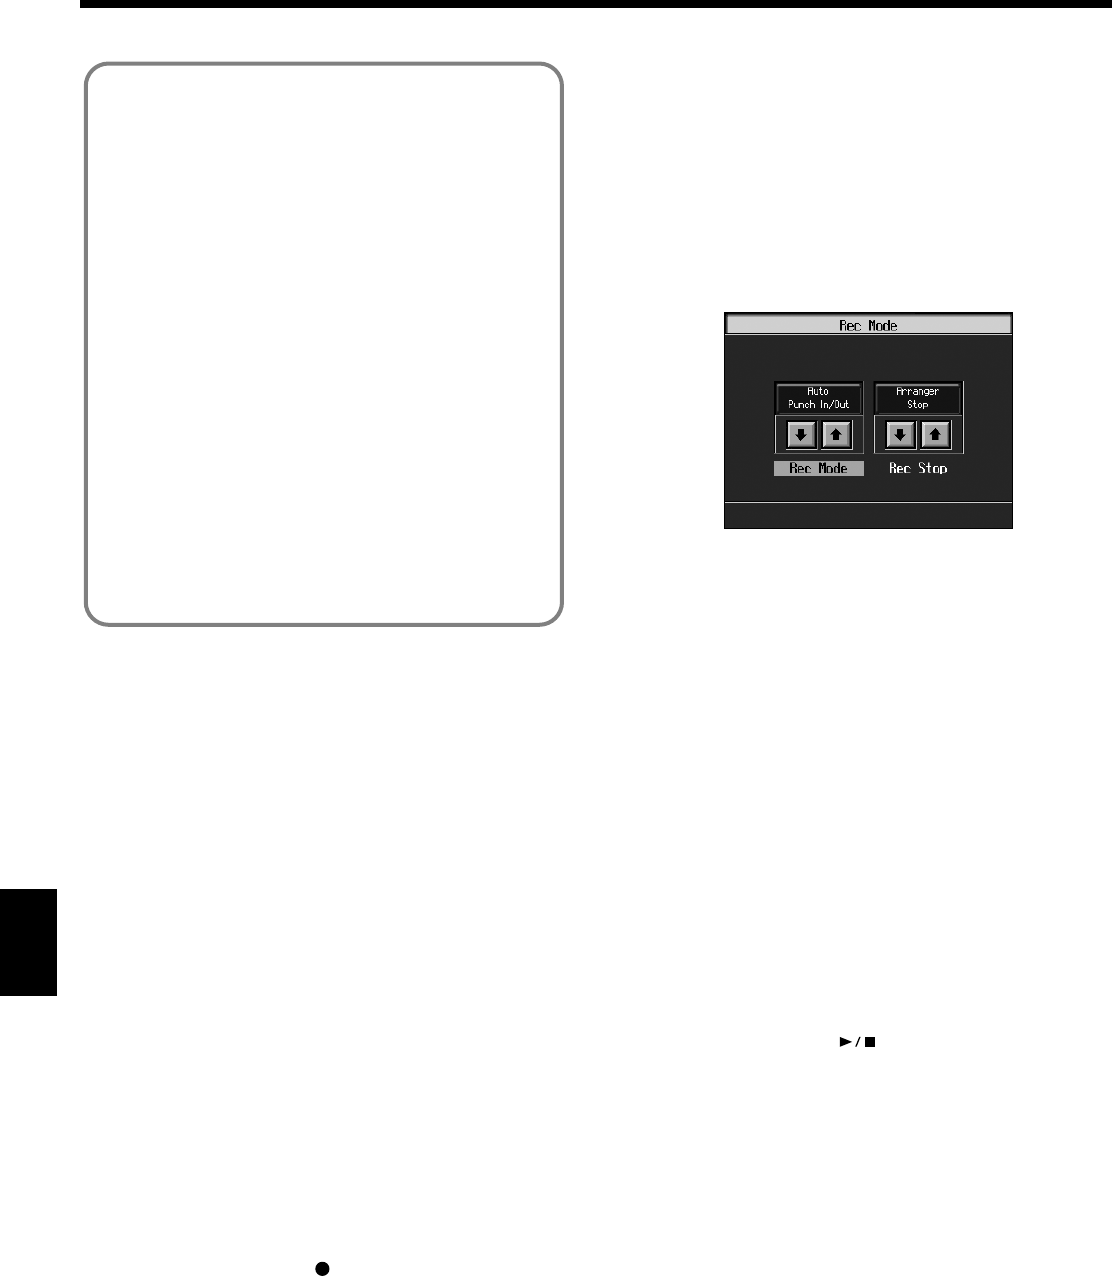
2.
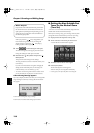
In the Rec Mode screen (p. 140), select <Auto Punch In/
Out>.
fig.d-rec-punch.eps_50
This changes the recording mode to “Punch-In
Recording.”
Press the [Exit] button to return to The “Composer
Menu” screen.
3.
Begin recording.
Begin recording using the procedures described in
“Recording While Selecting the Track Buttons (Redoing
Recordings)” (p. 110) or “Multitrack Recording with 16
Parts (16-Track Sequencer)” (p. 136).
Up until the specified passage, the previously recorded
performance plays back.
When you reach the specified passage, sounds are erased
as recording starts; begin playing now.
When you reach the end of the specified passage,
recording stops, and the KR returns to playback of the
previously recorded performance.
4.
When you press the [ (Play/Stop)] button, the
song stops.
❍
Starting Recording from the Measure
Specified by Buttons and Pedals
If using the Performance Pads or pedals, you must first
change the function of the pedals and Pads. Follow the
procedures in “Assigning Functions to Pedals and
Performance Pads (Pedal Setting/User Functions)” (p. 167),
and assign <Auto Punch In/Out> to the buttons or pedal.
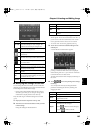
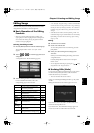
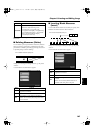
1.
In the Rec Mode screen (p. 140), select <Manual Punch
In/Out>.
This changes the recording mode to “Punch-In
Recording.”
Loop Recording Shortcut
You can also use the method described below to set Loop
Recording.
1. Place A and B markers at the beginning and end of
the passage you want to record.
Take a look at “Setting Markers for Repeated
Practice (Marker)” (p. 98).
If you haven’t recorded anything yet, then perform
“Blank Recording” for the necessary number of
measures before placing the markers.
2. Touch the <Repeat> icon in the Marker screen
(p. 99).
This sets the loop recording mode.
Start a recording.
* After you have finished with loop recording, touch the
<Repeat> icon in the “Marker screen” once more to
return to the usual replace recording mode.
KR117_r_e.book 142 ページ 2005年11月8日 火曜日 午後4時20分