


171
Chapter 10 Various Settings
Chapter10
fig.d-usrimage2.eps_50
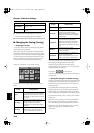
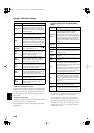
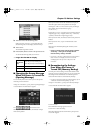
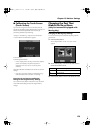
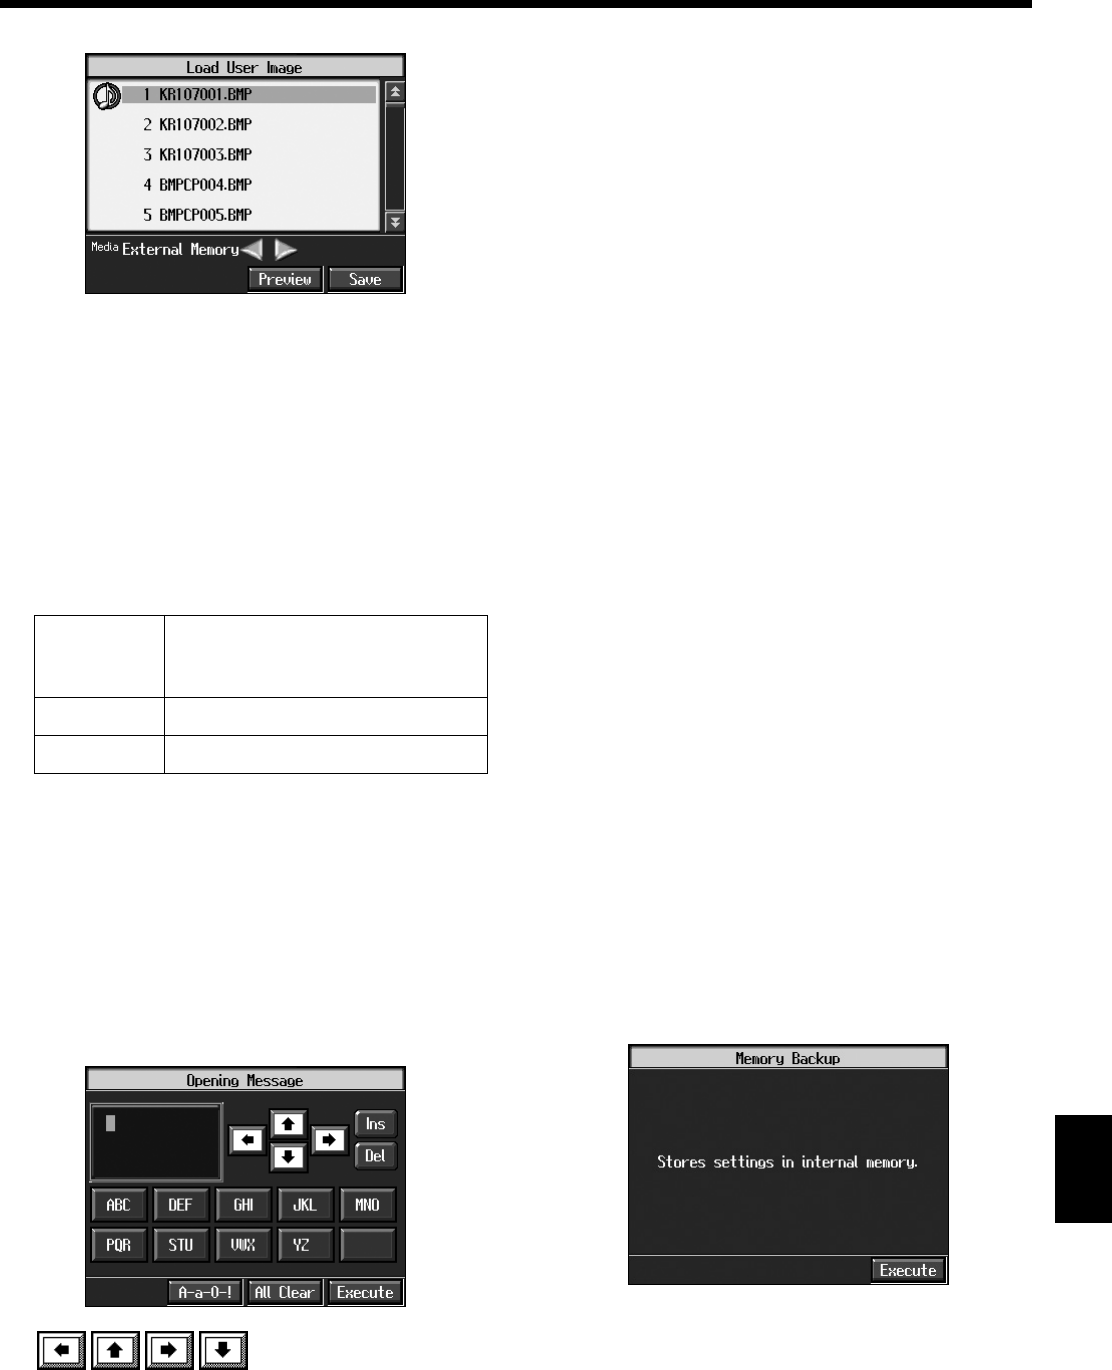
3.
Touch the name of the stored image data.
When you touch <Preview>, you can then show the
selected image data on the display selected in Step 1.
4.
Touch <Save>.
The selected image data is stored.
5.
Press the [Exit] button to return to the previous screen.
To clear the stored image data, touch <Erase>.
❍
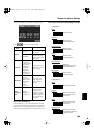
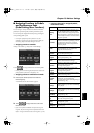
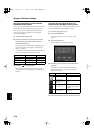
Image data that KR can display
■
Changing the Screen Message
When the Power Is Turned On
(Opening Message)
You can modify this screen to show your favorite phrase
when the power is turned on.
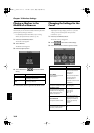
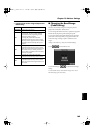
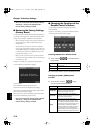
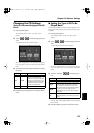
At Step 3 in “Procedure” (p. 165), touch <Opening Message>.
A screen like the one shown below appears.
fig.d-openmsg.eps_50
Use to move the cursor.
When you touch the character icon, the character is input
where at the position.
When you touch the icon for the character to be input, the
character appears at the cursor position. For example,
touching the <ABC> icon in succession cycles you through
the available choices in that character group
(A
→
B
→
C
→
A...).
Each touch of <A-a-0-!> cycles the type of characters through
“English (upper case),” “English (lower case),” “numerals,”
“symbols,” then back to “English (upper case).”
When you touch <Del>, the character at the cursor position is
deleted.
When you touch <Ins>, a space is inserted at the cursor
position.
When you have finished inputting the characters, touch
<Execute>.
*
Never turn off the power while the display indicates
<Executing...>. Doing so will damage the KR’s
internal memory, making it unusable.
→
If you touch <All Clear> at the bottom of the screen and then
touch <Execute>, the display reverts to the screen that
normally appears when you turn on the power to the
instrument.
■
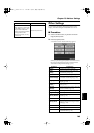
Remembering the Settings
Even When the Power is
Turned Off (Memory Backup)
Normally, the various settings revert to their default values
when the power is turned off. However, you can specify that
the settings will be remembered even when the power is
turned off. This function is called “Memory Backup.”
→
For more on the settings stored using Memory Backup, refer to
“Parameters Stored in Memory Backup” (p. 216).
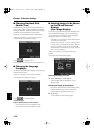
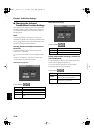
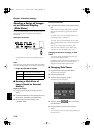
At step 3 in “Procedure” (p. 165), touch <Memory Backup>.
A screen like the one shown below appears.
fig.d-memory.eps_50
Touch <Execute>.
The confirmation message appears on screen.
Touch <OK> to store the setting.
When the setting has been stored in memory, the previous
screen will reappear.
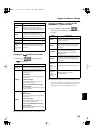
Size
(Recommen
ded)
320 x 240 pixels (for KR display)
640 x 480 pixels (for external display)
Format
BMP format, JPEG format
Extension
“.bmp”, “.jpg”
KR117_r_e.book 171 ページ 2005年11月8日 火曜日 午後4時20分