2
Bosch Security Systems | 04-2003 | 3922 988 43318 en
Digital Congress Network | Installation and Operating Manual | Chapter 2 - Contribution Equipment
en | 2-11
Flush-mounted Contribution equipment
2.8 Flush-mounted Contribution equipment
DCN’s broad range of flush mounted units form the building blocks for creating individual system
contribution units for use in custom built solutions. The flush-mounted units are intended for use in
fixed installations, where portability is not required. The units can be neatly installed in to either table-
tops or seat armrests. The range of flush-mounted units available, provides all the functions and
facilities offered by the table-top contribution units. For example a delegate unit can be created by
combining a Multi-purpose connection unit LBB 3540/15 or Dual Audio Interface Unit LBB 3535/00.
These units being the main components when creating flush-mounted solutions in combination with
the following units:
* Applicable to Multi-purpose Connection Unit LBB 3540/15 only
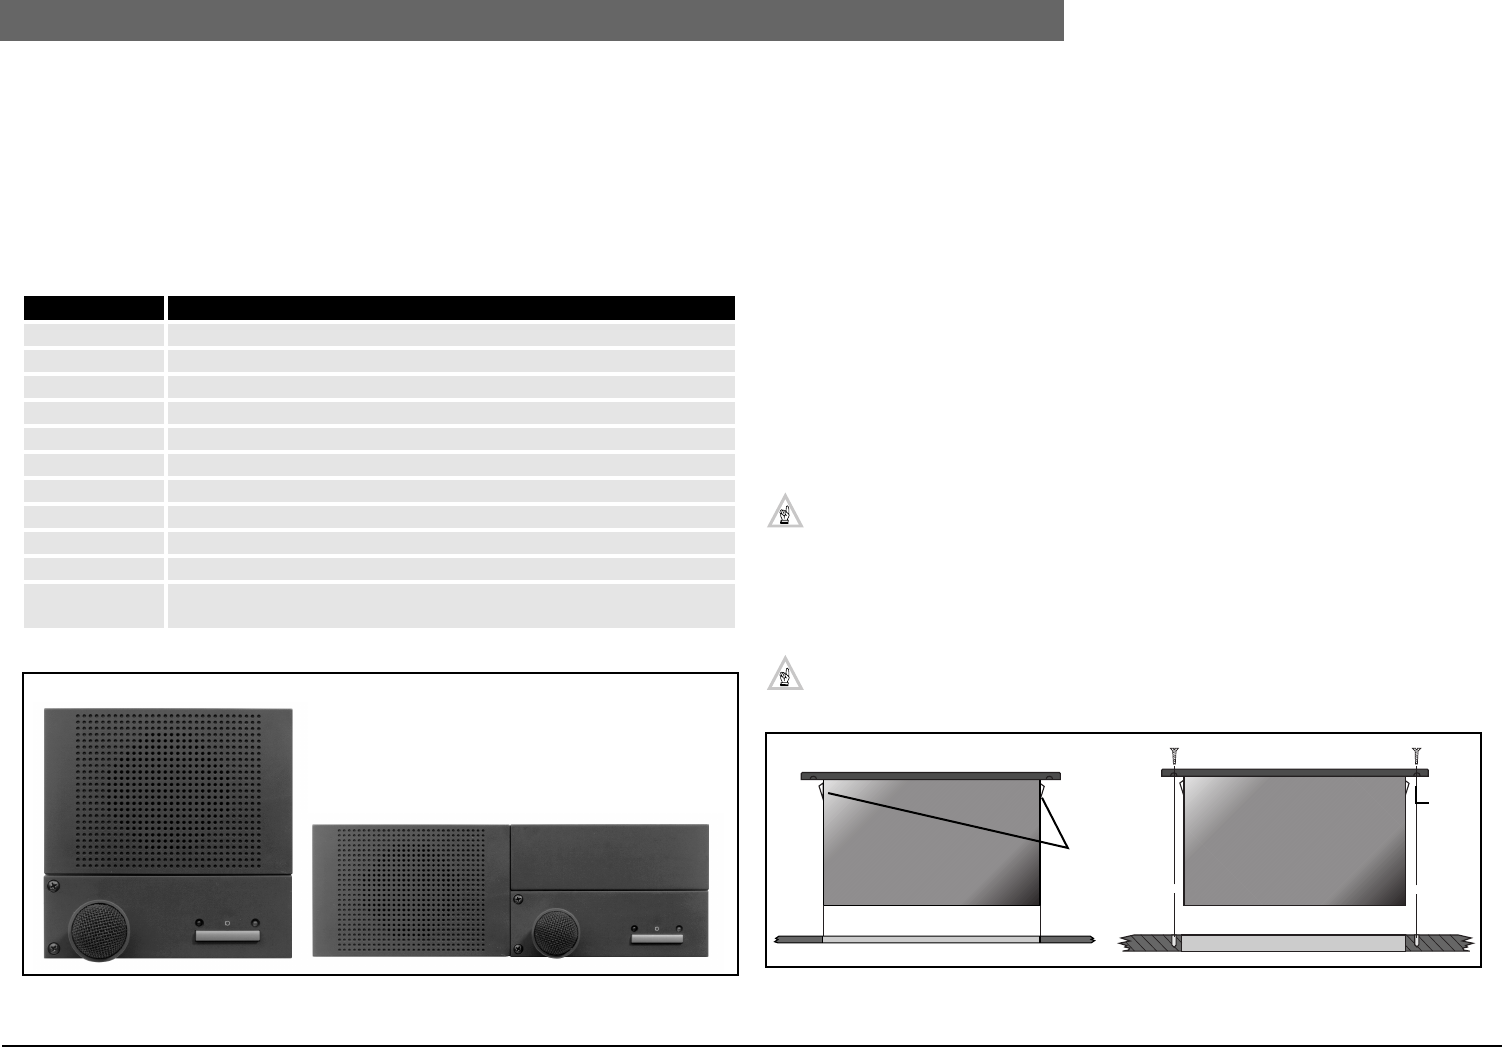
FIG. 2-14 Orientation flush-mounted units
All flush-mounted units are available in standard sizes of 40 x 120 mm (1.57 x 4.72 in) with the
exception of the flush-mounted loudspeaker unit LBB 3538/00 which has a dimension of 80 x 120
mm (3.14 x 4.72 in) and the Delegate/chairman voting control panel LBB 3542/00 which has a
dimension of 80 x 240 mm (3.14 x 9.44 in). The dimensions of the flush-mounted units allow units to
be neatly installed and positioned along side each other in either a portrait or landscape type
configuration.
Mounting
All DCN’s flush-mounted units include a ‘click-to-fit’ mechanism, enabling units to be secured into cut-
outs on table-tops or the armrest of seats in a landscape or portrait type format.
Two methods are used to mount the flush-mounted units. Method 1 is used when mounting units
into a metal surface and method 2, used when mounting units into a wooden surface.
Method 1 (mounting into a metal surface)
The ‘click-to-fit’ mechanism available on all flush mounting unit is used to secure the units into cut-
outs on table-tops or the armrests of seats etc. Additional screws are needed when mounting LBB
3537/xx Control Panel with microphone. The recommended method when installing the units, is to
install them into a 2 mm (0.07 in) thick metal panel. The metal panel is used as the platform for
securing the units. The panel needs to be cut-out according to the units template.
NOTE: Table top mounting is also possible for certain units with the Table-top
housing LBB 3527/00. Refer to Chapter 2.24.
Method 2 (mounting into a wooden surface)
Units are secured by screws using the holes available on each unit. All units include drill guide holes
located under the front cover of each flush-mounted unit. The guide holes are used for guidance
when drilling the units screw holes.
General
For cut-out templates and dimensions when physically installing the units refer to Chapter
13. “Mechanical data”.
FIG. 2-15 Flush mounting in metal and wooden surfaces
Type No. Description
LBB 3536/00-/10 Hand microphones
LBB 3537/00, /50 Microphone control panel
LBB 3537/10 Chairman microphone control panel with priority
LBB 3537/20 Pluggable microphone control panel
LBB 3538/00 Loudspeaker panel
LBB 3539/00 Blank mounting panel
LBB 3541/00 Delegate voting control panel*
LBB 3542/00 Delegate/chairman voting control panel with LC-display*
LBB 3543/15 Chip-Card reader panel*
LBB 3555/00 Intercom handset*
LBB 3524/xx +
LBB 3526/10
Electronic Channel Selector Panel (connected to DCN trunk-line)
Portrait
Landscape
Metal mounting Wood mounting
Drill-
holes
Wood surface2mm (0.07”) Metal plate
‘Click-to-fit’
mechanism


