Operation
26
4 Set the recording level.
Hold down the [SHIFT] key and press the [MIXER]
key to switch the “DISPLAY” setting in the screen to
“POST” (post-fader level).
While watching the level meter, use the [TRACK]
fader of that track to adjust the recording level so that
the level does not reach “CLIP” when the loudest
sounds are produced.
5 Set the current time to the location from which you
want to begin recording.
For details on how to set the time, refer to p.32.
6 Verify the tracks for recording.
Verify that the display shows a “ ” symbol for the
track numbers that you will be recording. If not, press
the corresponding [REC SELECT] key.
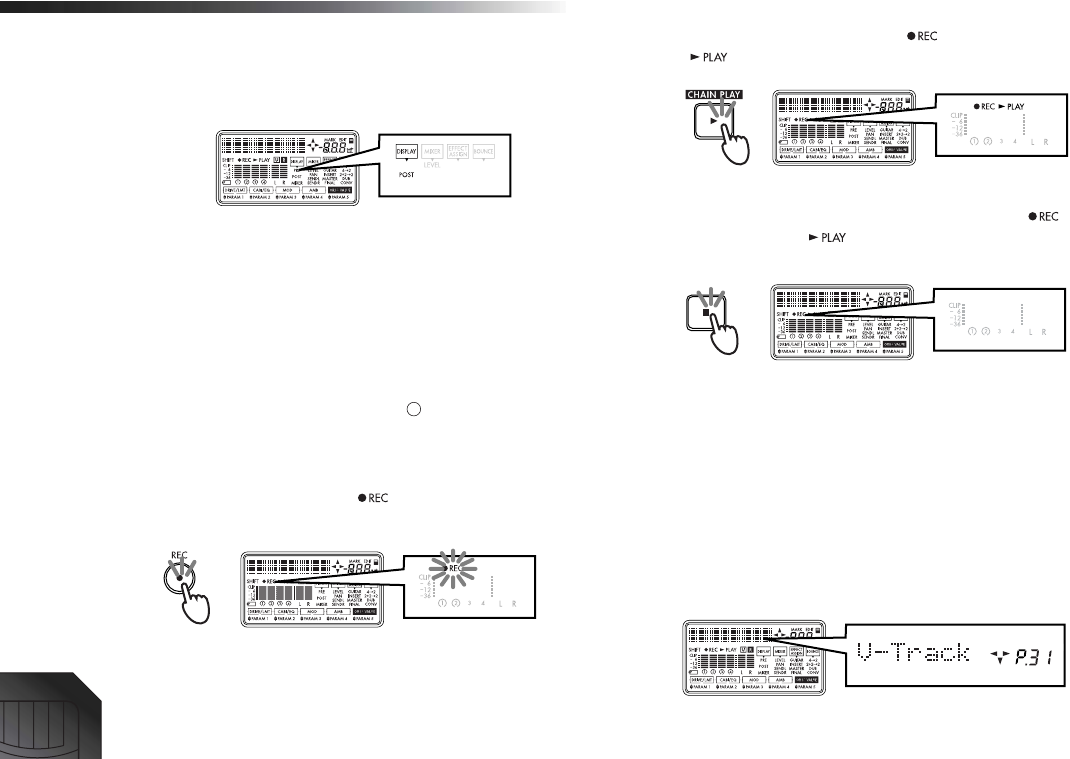
7 Press the [REC] key to enter record-standby mode.
Press the [REC] key. The “ ” (REC) icon in the dis-
play will blink.
8 Press the [PLAY] key to start recording.
When you are ready to begin playing, press the
[PLAY] key. Recording will begin. Play your instru-
ment. During recording, the “ ” (REC) icon and
“” (PLAY) icon in the display will be lit.
9 Press the [STOP] key to stop recording.
To stop recording, press the [STOP] key. The “ ”
(REC) icon and “ ” (PLAY) icon will go dark, and
recording will stop.
2. Additional recording
Using virtual tracks to record
The PXR4 is a four-track recorder, but each track has 8 vir-
tual tracks (A–H). You can select one of these for record-
ing, and then switch virtual tracks to use the PXR4 as
though it were a 32-track recorder.
1 Select the virtual track on which you will record.
In the “V-Track” page, select the virtual track on
which you will record. (→p.43)


