102
Chapter 7 Making the MIDI Settings (SETUP/MIDI, BULK DUMP)
Setting the TD-6 So That Program
Changes Are Not Transmitted (Tx PC Sw)
The TD-6 sends a Program Change message to external
devices when the drums kit is switched. If this is “OFF”,
Program Changes will not be transmitted.
The TD-6’s drum kit program numbers are always the same as
the drum kit numbers; this relationship is fixed, and cannot be
changed.
The settings screen does not appear in GM mode.
fig.07-020_50
Tx PC Sw (Tx PC Switch): OFF, ON
OFF:
Program Change messages are not transmitted, even when
drums kits are switched.
ON:
Program Change messages are transmitted when drum kits
are switched.
Setting the TD-6 So That Program
Changes Are Not Received (Rx PC Sw)
The TD-6’s drum kits are switched when a Program Change
message is received from an external MIDI device. When set
to “OFF,” the drum kits do not switch, even when a Program
Change message is received.
The TD-6’s drum kit program numbers are always the same as
the drum kit numbers; this relationship is fixed, and cannot be
changed.
The settings screen does not appear in GM mode.
fig.07-021_50
Rx PC Sw (Rx PC Switch): OFF, ON
OFF:
The drum kits are not switched, even when Program Change
messages are received from an external MIDI device.
ON:
The drum kits are switched when Program Change messages
are received from an external MIDI device.
MIDI Channel Settings for a
Part (MIDI PART)
For each part, you can specify the channel on which the TD-6
will receive and transmit MIDI messages.
At a setting of “1” through “16,” MIDI messages will be
transmitted and received on that channel. When set to “OFF,”
MIDI messages for that part are not transmitted.
Drum kit parts and percussion parts can be overlaid and set to
“CH 10.” Make the “CH10Priorty (Channel 10 Priority)”
setting to determine whether the drum kit part instrument or
percussion part instrument is to be sounded when MIDI
messages are received (SETUP/MIDI COMMON/
CH10Priorty; p. 99).
In GM mode (p. 100), the part’s channel is predetermined, and
thus cannot be changed.
1. While holding down [SHIFT], press [EDIT
(SETUP)].
[EDIT] lights.
2. Press [ ] to select “MIDI PART.”
fig.SETUP-MIDIPRT_50
When “GM Mode” is set to “ON,” “GM PART” is
displayed, and you cannot make the setting. Make the
setting after first setting “GM Mode” to “OFF” (SETUP/
MIDI COMMON/GM Mode; p. 100).
3. Press [ENTER ].
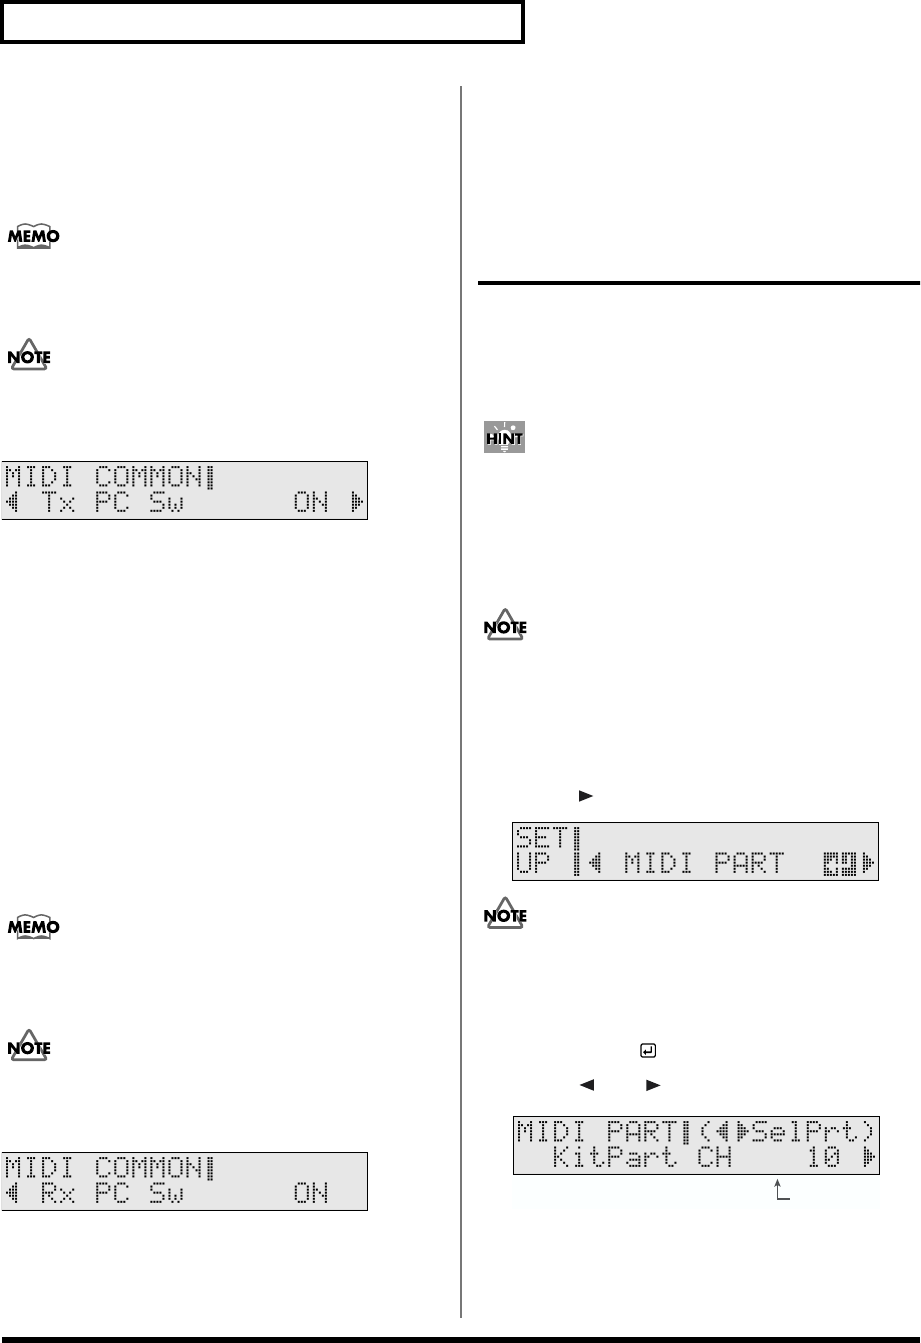
4. Press [ ] or [ ] to select the part to be set.
fig.07-022ai.e
5. Press [INC/+] or [DEC/-] to make the setting.
6. When you finish making settings, press [KIT] or
[SONG] to end the procedure.
Select Part


