


72
Chapter 2 Making the Pad and Trigger Settings (SETUP/TRIG)
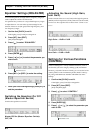
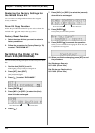
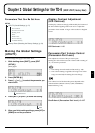
3. Press [ENTER ].
fig.02-002ai.e
4. Strike the pad you wish to set.
The setting screen for the struck pad appears.
This setting applies to both the head and rim.
5. Find the trigger type for the pad you are using
from the following chart.
• Use the “AcDrTrig” setting when you use acoustic drums
to sound the TD-6. For details refer to “Using the TD-6
with Acoustic Triggers” (p. 76).
• When using a pad made by another manufacturer, first
select “PD7/9” and try playing the pad. (For a kick, select
“KD Type.”) If, with this setting, the pad striking force
does not produce a stable volume, try a setting of “P1.” A
setting of “P2” will be even more stable, but since the Scan
Time (p. 69) will be even longer, the interval from when
the pad is struck until the sound is heard will be slightly
(approximately 0.003 seconds) longer, or it will be difficult
to obtain changes based on playing dynamics. The “Other
1" and “Other 2" settings are for use with pads with trigger
output waveforms that have a slow attack.
There may be no improvement of conditions when non-
Roland pads are used, even after changing the trigger
parameter settings. For fullest expression in performance,
we recommend the exclusive use of Roland pads.
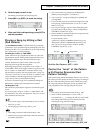
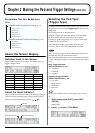
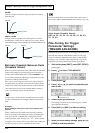
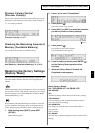
6. Press [INC/+] or [DEC/-] to make the setting.
fig.02-003ai.e
7. When you finish making settings, press [KIT] or
[SONG] to end the procedure.
TrigTyp (Trigger Type):
PD6, PD7/9, PD-80/100, PD80R, PD120, KD7,
KD Type, CY6, CY Type, Other 1, Other 2,
AcDrTrig
Setting the Pad Sensitivity
and Making Other Settings
(TRIGGER BASIC)
You can make more detailed settings for the pad type and
sensitivity.
The following parameters (Basic Trigger Parameters except
the “Xtalk Cancel”) are automatically set to the most efficient
values for each pad when you select the “TrigTyp (Trigger
Type)” (SETUP/TRIG BASIC/TrigTyp; p. 71).
Make the settings for each parameter as needed.
1. While holding down [SHIFT], press [EDIT
(SETUP)].
[EDIT] lights.
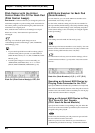
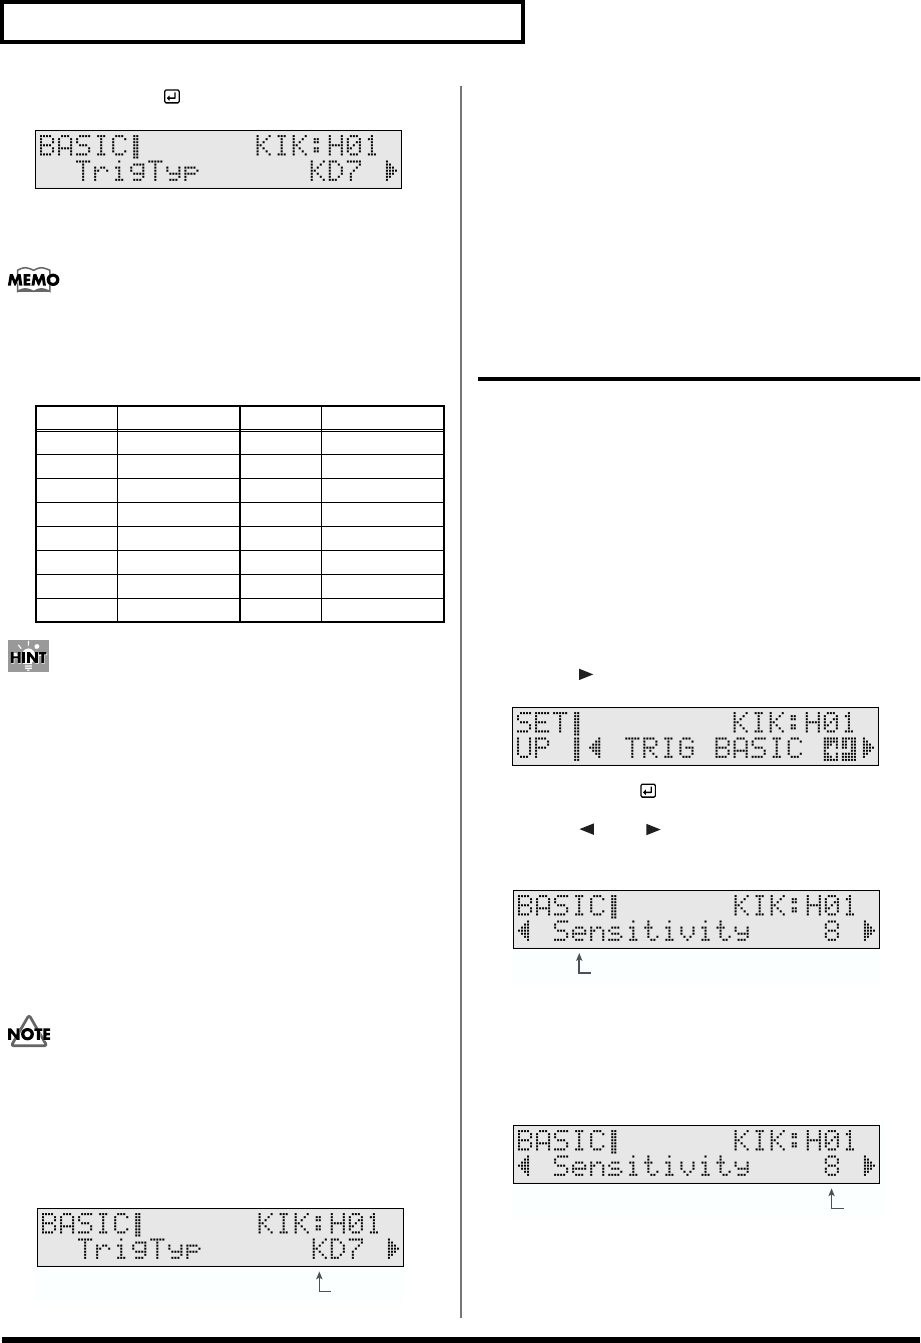
2. Press [ ] to select “TRIG BASIC.”
fig.SETUP-BASIC_50
3. Press [ENTER ].
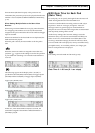
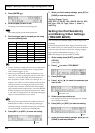
4. Press [ ] or [ ] to select the parameter you
wish to edit.
fig.02-004ai.e
5. Strike the pad you wish to set.
The settings screen for the struck pad appears, and the
input indicator fluctuates.
6. Press [INC/+] or [DEC/-] to make the setting.
fig.02-005ai.e
7. When you finish making settings, press [KIT] or
[SONG] to end the procedure.
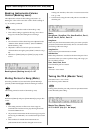
Pad Trigger Type Pad Trigger Type
PD-5 PD7/9 CY-6 CY6
PD-6 PD6 CY-12H CY Type
PD-7 PD7/9 CY-14C CY Type
PD-9 PD7/9 CY-15R CY Type
PD-80 PD80/100 KD-5 KD7
PD-80R PD80R KD-7 KD7
PD-100 PD80/100 KD-80 KD Type
PD-120 PD120 KD-120 KD Type
Value
Parameter to set
Value