57
Chapter 1 Creating Your Own Drum Kit (Kit Edit)
1
About the Drum Kit Screen
The screen displayed when [KIT] is pressed is referred to as
the Drum Kit screen.
fig.01-003ai
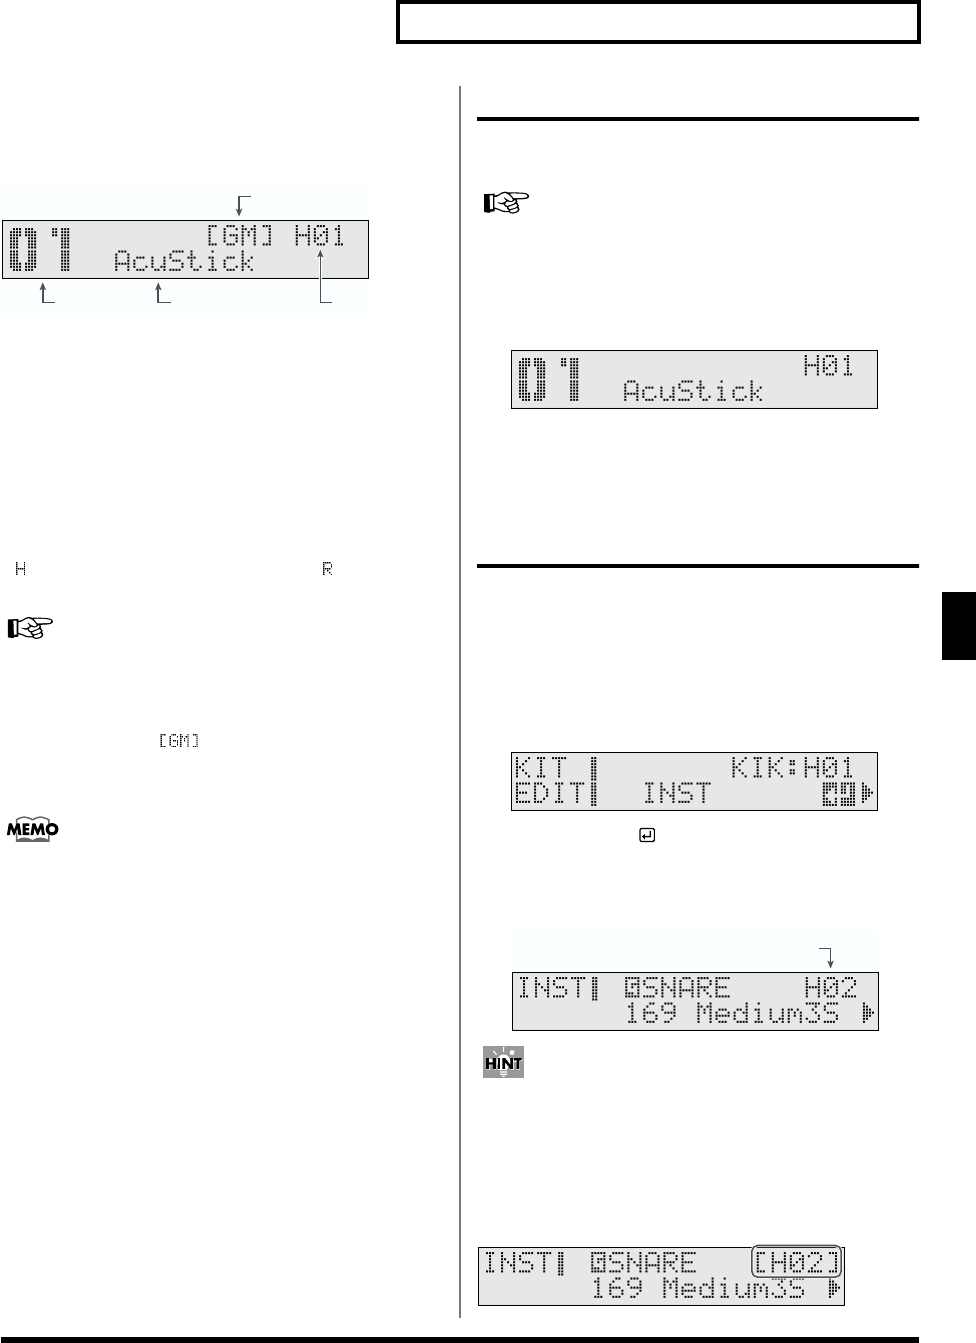
1 Drum Kit Number
Displays the number of the currently selected drum kit.
2 Drum Kit Name
The name of the currently selected drum kit is displayed.
3 Currently Selected Pad
The trigger input number for the selected pad is indicated.
“” appears when a head is selected, and “ ” appears
when the rim is selected.
For instructions on selecting pads, refer to p. 57.
4 GM Mode On/Off
While in GM mode, “ ” appears in the screen.
Otherwise, in normal mode, nothing is indicated. For more
detailed information about GM mode, refer to p. 100.
GM Mode is normally off when the power is turned on.
Choosing a Drum Kit (Drum Kit)
When a drum kit is selected, each pad’s settings, ambience, EQ
settings, etc. are switched.
To see what drum kits are provided with the factory settings,
refer to the “Drum Kit List” (p. 118).
1. Press [KIT].
[KIT] lights, and the Drum Kit screen appears.
fig.01-004_50
2. Press [INC/+] or [DEC/-] to select the drum kit.
Drum Kit: 1–99
Choosing the Pad to Edit
The following two methods can be used for selecting the pad
for which you want to make settings.
Choosing a Pad by Hitting It
1. Press [KIT], then [EDIT].
[KIT] and [EDIT] light.
fig.KIT-INST_50
2. Press [ENTER ].
3. Strike the pad to be set.
The setting screen for the struck pad appears.
fig.01-006ai.e
You can make settings preventing the display from switching
to the instrument’s settings screen even when the pad is
struck. When the TD-6 is set so that the screen does not switch,
the trigger input number appears in brackets ([ ]). For more
detailed information, refer to “Locking the Setting Screen
While Editing One Instrument (Note Chase)” (p. 59).
fig.01-007ai
4
312
Tr igger input number
of the struck pad


