


46 TASCAM 2488neo
7 − Recorder
Copying songs
As well as copying songs, so that you can work on another
version of them, you can also use this menu item as a tool to
back up songs to another partition (you can also back up to
CD-R or personal computer, but this is a separate process).
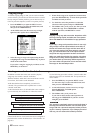
1 Press the MENU key to open the MENU screen.
Use the cursor keys to select the SONG item, and
then press the YES/ENTER key.
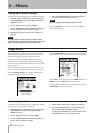
2 At the SONG menu, use the cursor keys to high-
light the COPY option. Press YES/ENTER.
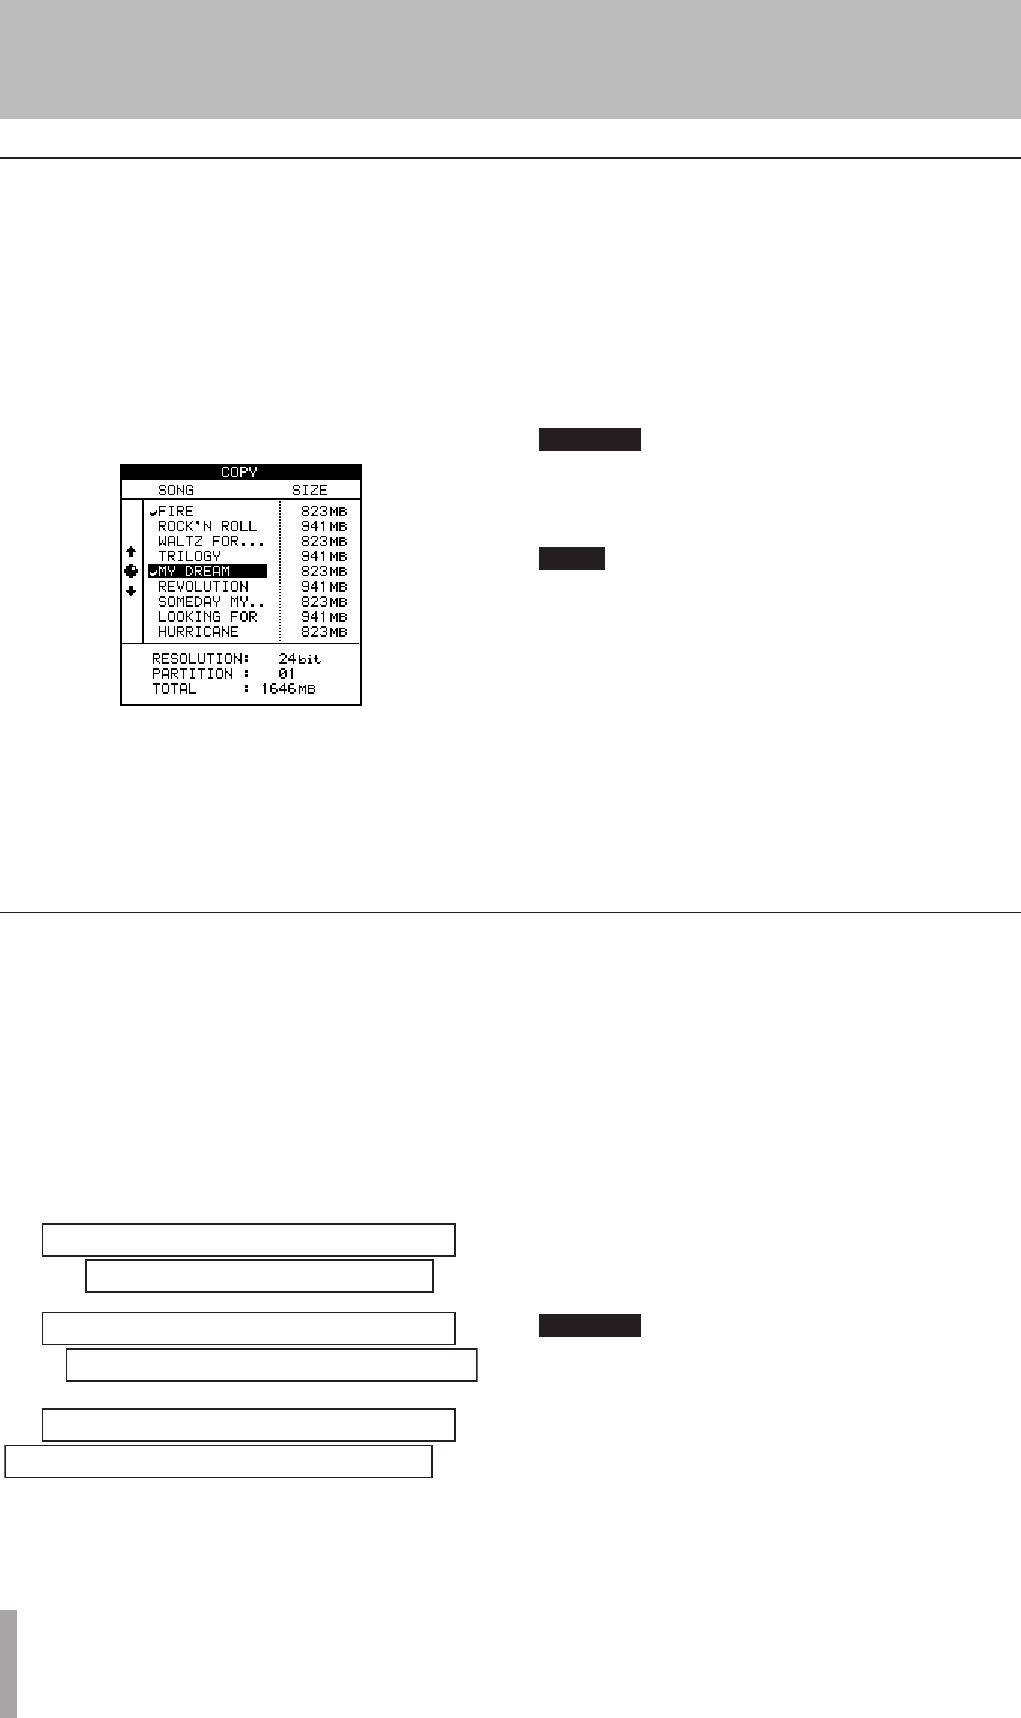
3 Select the song or songs to be copied using the dial
to highlight the songs and the INSERT key to place a
check mark beside them.
If you select a song for copying by accident, use the
DELETE key to deselect it.
4 When all the songs to be copied have been marked,
press the YES/ENTER key. A list of all the partitions
available currently is shown.
5 Use the dial to select the partition to which the
selection will be copied, and press YES/ENTER.
6 The 2488neo asks you if you are sure that you want
to make the copy. Press YES/ENTER to continue
with the operation, and NO/EXIT to cancel.
CAUTION
Copying a song may take some time. Be patient while
the song is being copied, and take care not to power
down the 2488neo in the middle of a copy operation.
NOTE
If you copy a song to the partition where it was origi-
nally stored, it will be copied with the same title, so
the list will contain two songs with the same title. If
you want two copies of the same song on one parti-
tion, you should rename one of the copies immedi-
ately after the copy operation has been carried out.
When you make the selection for copying, only those
songs in the currently-selected partition are listed. If
you need to back up from many different partitions,
you must select each partition in turn and then select
the songs on the selected partition.
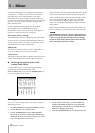
In addition to audio data in the track and the “playlist,”
songs may also contain “unused” audio data.
With the 2488neo, audio data is not erased when a track is
overwritten, but remains on the hard disk.
Audio data that has been completely overwritten is
“unused.” The procedure below explains how to erase
“unused” audio data.
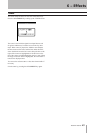
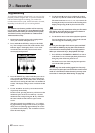
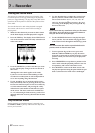
As the illustration shows, if old audio data is not complete-
ly overwritten by new audio data, it will not be erased.
New guitar solo over the old
Old guitar solo (will be deleted)
New guitar solo over the old
Old guitar solo (will not be deleted)
New guitar solo over the old
Old guitar solo (will not be deleted)
Unused audio data in virtual tracks that are not assigned to
physical tracks can also be deleted (see “Virtual tracks” on
page 66).
Use the following procedure to delete “unused” audio data
and open more space on the hard disk. This operation can-
not be undone.
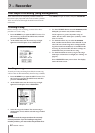
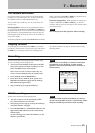
1 Press the MENU key to open the MENU screen.
Use the cursor keys to select the SONG item, and
then press the YES/ENTER key.
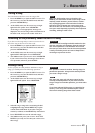
2 At the SONG menu, use the cursor keys to high-
light the DELETE UNUSED option.
Press YES/ENTER.
3 The 2488neo asks you if you are sure.
If you want to delete all the unused portions of
the song, press YES/ENTER. If you have second
thoughts, press NO/EXIT.
CAUTION
This operation completely erases unused audio data in
the song and cannot be undone. You can back up the
song to CD-R or a personal computer, before perform-
ing this “cleanup” operation. If you change your mind
later on, you can restore this backed up version.
Erasing unneeded audio data from songs