TASCAM 2488neo 71
8 − Mastering and CD recorder
Step 2: Use the mastering tools to make adjust-
ments
Use the
Ó/Á
cursor keys to select the tabs at the bottom
of the MASTERING TOOL screen and display the desired
tool screen.
The tool tabs include compressor (CMP) and an EQ/noise
shaper (EQ/NS) tabs. A single band or multiband compres-
sor can also be chosen in the MASTERING TOOL library.
When set to multiband, compressor screens appear for low,
mid and high frequency bands (CMP-L, CMP-M, CMP-H).
When the EQ/NS tab is selected, pressing the Á cursor
key moves the cursor inside the EQ/noise shaper
screen (see “Using the mastering EQ/noise shaper” on
page 73).
Settings are made on each tool screen. (See the following
“Using the mastering compressor” and “Using the master-
ing EQ/noise shaper” sections for details.)
When in mastering mode, the RECORD, PLAY, STOP,
REW, and FWD transport keys can be used, so tool settings
can be made while checking the effect on the sound of
playback.
In order, the EQ, the compressor and the noise shaper pro-
cess the playback sound.
Step 3: Record
After completing the mastering tool settings, press the
PLAY key while holding down the RECORD key to start
recording. During recording, the PLAY and RECORD indi-
cators light.
Recording always starts at 00:00:00:00 regardless of the
current position.
The recording made in mastering mode overwrites the
existing master track, if there is one.
When you stop recording, the unit automatically returns to
master check mode.
If you stop a recording, a master track is created up to
the point where you stopped it. However, the record-
ing operation itself can be undone.
Step 4: Check the master
In master check mode, the track is played back, so that you
can check the results of mastering. At this stage, you can
use the UNDO and REDO functions to compare the sound
before and after mastering.
If you are not satisfied with the result:
Use UNDO to restore the previous master track (to the
state it was in before being overwritten) and start master-
ing again from Step 1.
In the MASTERING TOOL library, you can select either a
single band or a multiband mastering compressor.
Multiband compressors allow settings to be made for low,
middle and high frequency bands to process them individ-
ually in the master track, allowing adjustments to the total
sound balance.
In this way, unnecessary peaks can be suppressed, and the
loudness can be raised by increasing the overall gain, cre-
ating a sound with greater impact.
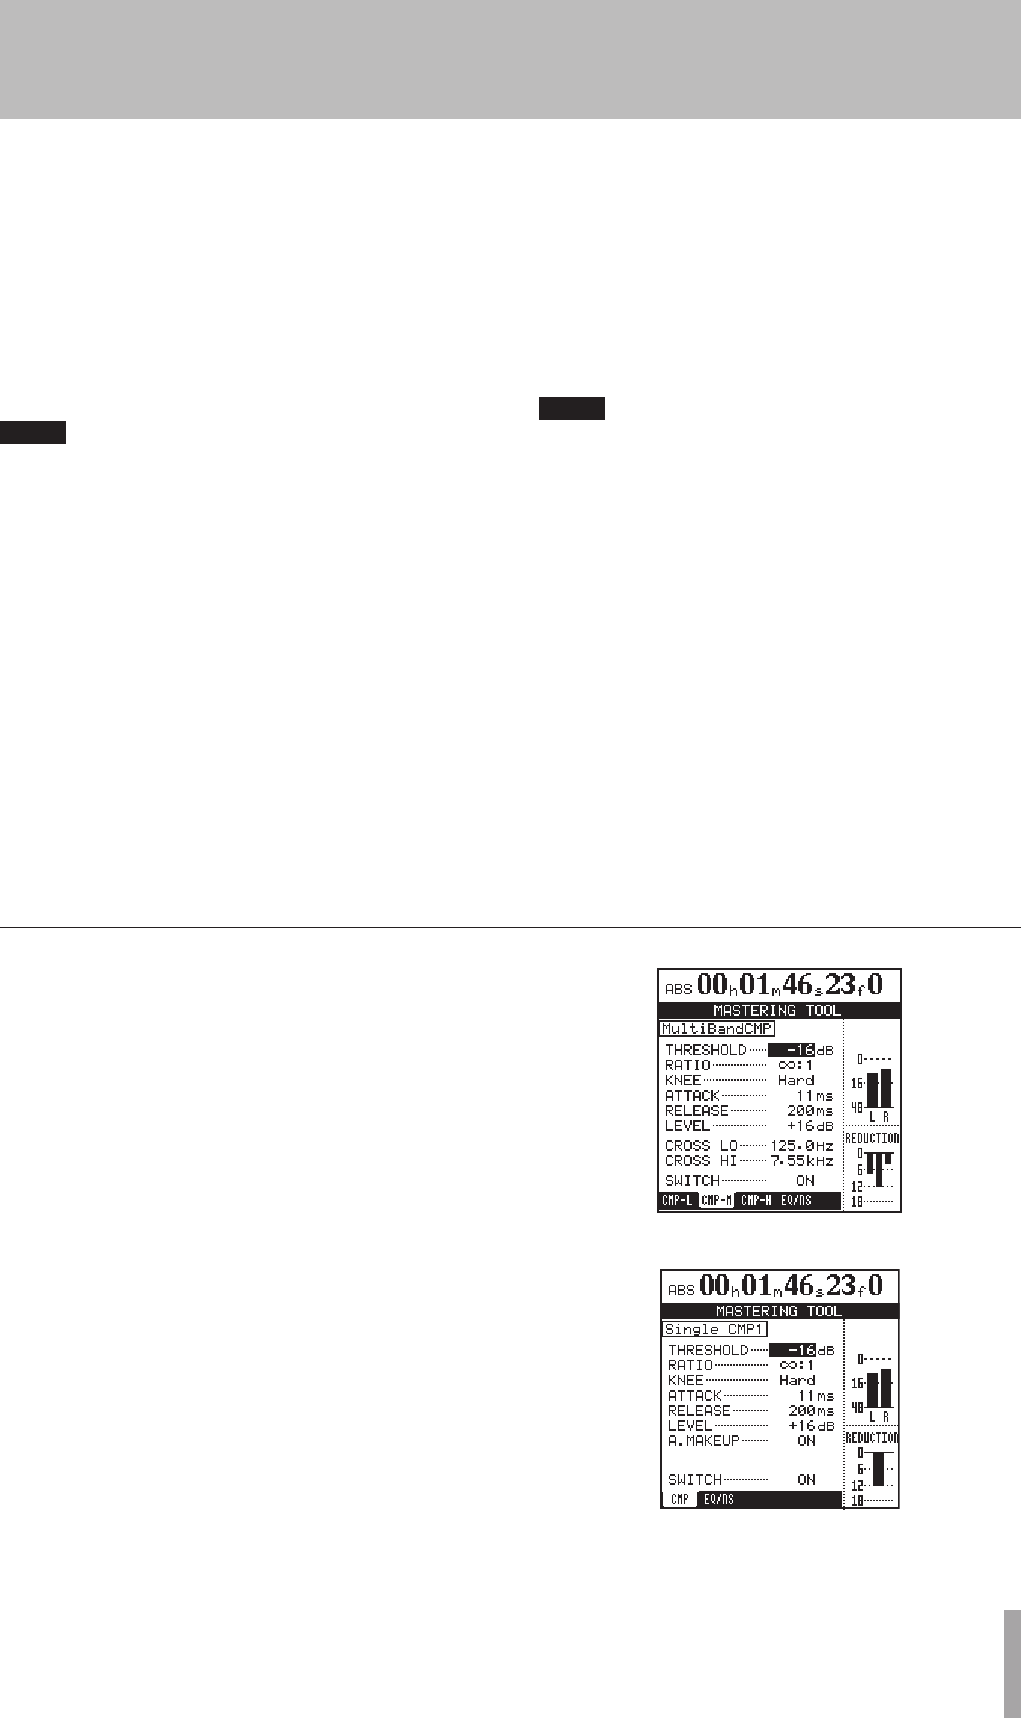
1 When the MASTERING TOOL screen is open, use
the cursor keys to select a compressor tab.
If the , CMP-M and CMP-H tabs. If the previously
used compressor was a single band type, select the
CMP tab.
The following illustrations show the setting screen
for the mid band (CMP-M) when using a multiband
compressor and the setting screen for a single band
compressor.
Using the mastering compressor


