2. Press the YES button to format the disk, or
press the NO button to cancel the format.
• When the YES button is pressed, disk format begins. After
about 1–2 minutes, formatting is completed and DISK
NAMING display is shown.
3. Use the buttons below the display to assign a
name.
• Use the POSITION buttons to highlight the character
position in the name box. Use the ABC...123 buttons to
select the alphanumeric character. Repeat these steps to
type the whole name.
• Press the INS button to enter a space at the cursor
position.
• Press the DEL button to erase the character at the cursor
position.
• Press the CLR button to erase the entire name.
• Press the →← button to center the name.
4. Press the OK button.
• The FORMAT display can also be accessed from the DISK
TOOLS menu when, for example, you wish to reformat a
disk. (Refer to page 102.)
SAVE
1. Insert a formatted disk into the Disk Drive slot.
Push it all the way in until you hear a click.
• A disk which is used with this instrument for the first time
must first be formatted.
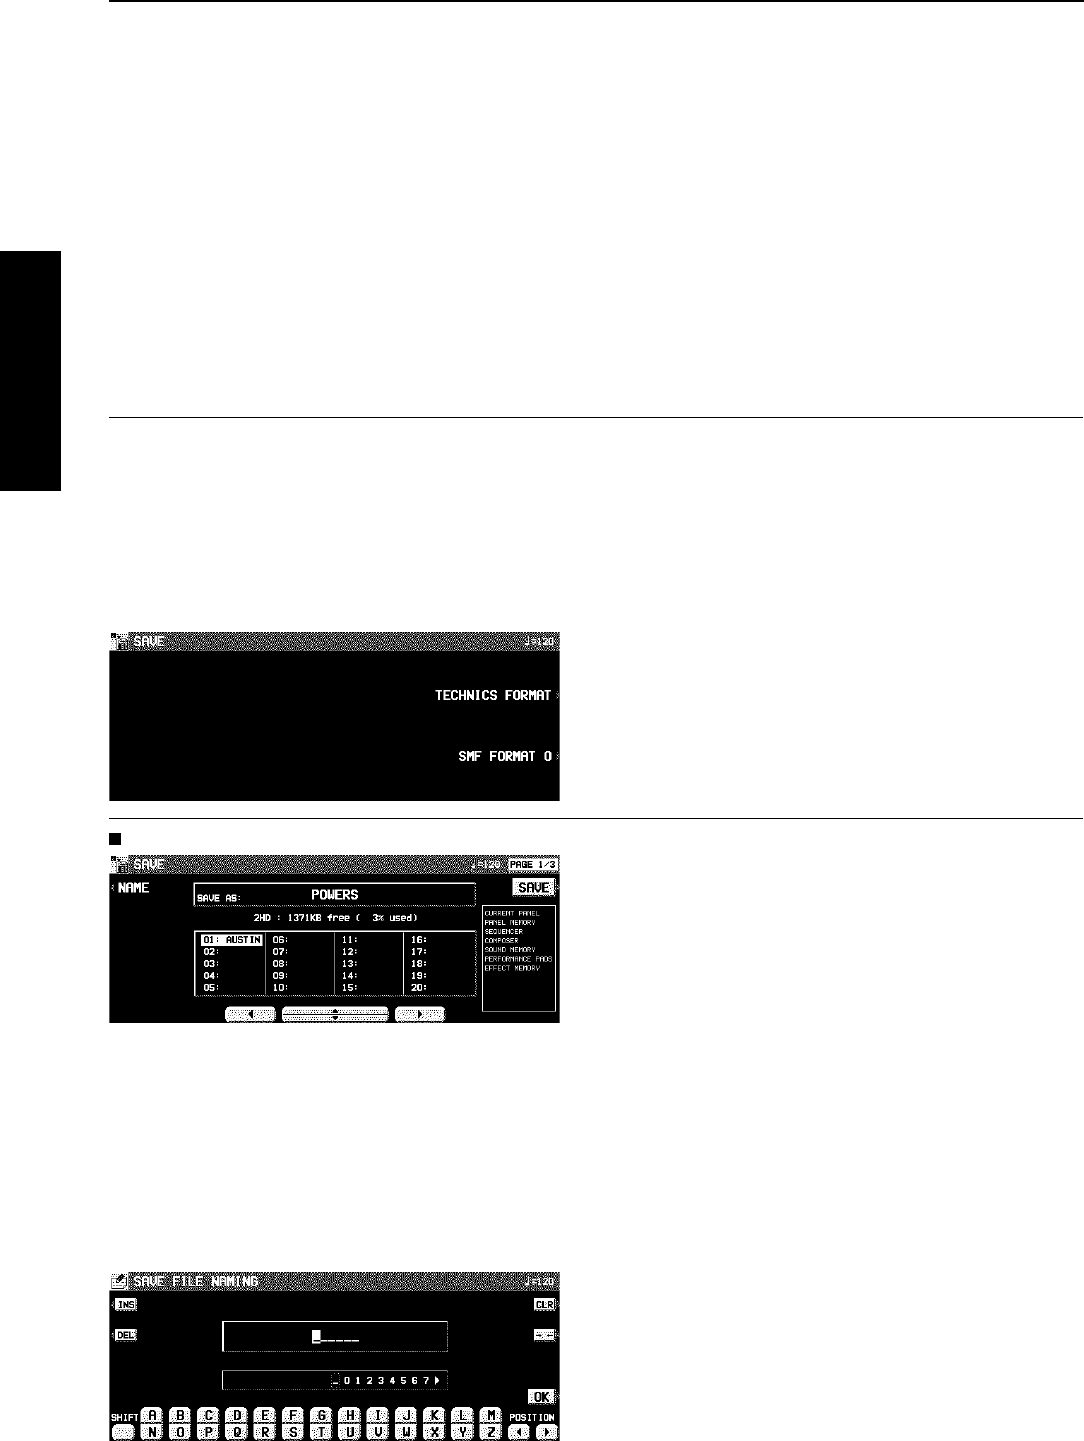
2. On the DISK MENU display, select SAVE.
• The display looks similar to the following.
3. Select the type of data save you want.
TECHNICS FORMAT:
Save this instrument’s data in the Technics File format.
SMF FORMAT 0:
Save the SEQUENCER data in the “Standard MIDI
File” format (FORMAT 0).
TECHNICS FORMAT
1. Use the buttons below the display to specify
the file number you wish to save to.
• The types of data that can be saved are shown in a frame
on the right side of the display. If you press the SAVE
button, all the indicated data is saved. Ordinarily PER-
FORMANCE data is selected, but you can use the SAVE
OPTION to select specific data to save.
2. If you wish to assign a name to the file, press
the NAME button.
• The display looks similar to the following.
3. Use the buttons below the display to assign a
name.
• Press the ABC button to enter alphabetical characters.
While the SHIFT button is pressed, upper case letters are
entered.
• Press the 123 button to enter numbers, etc. While the
SHIFT button is pressed, you can enter symbols.
• Press the POSITION button to move the cursor.
• You can also use the TEMPO/PROGRAM dial to select
the characters.
• Press the INS button to enter a space at the cursor
position.
• Press the DEL button to erase the character at the cursor
position.
• Press the CLR button to erase the entire name.
• Press the →← button to center the name.
4. Press the OK button.
• The display returns to the SAVE display.
5. Press the SAVE button.
• The SAVE operation begins.
• If you attempt to save data to a file number in which data
is currently saved, the display changes to the confirmation
display. Press the YES button to continue the SAVE pro-
cedure, or press the NO button if you wish to cancel it.
Disk Drive
Part VI Disk Drive
100
QQTG0665


