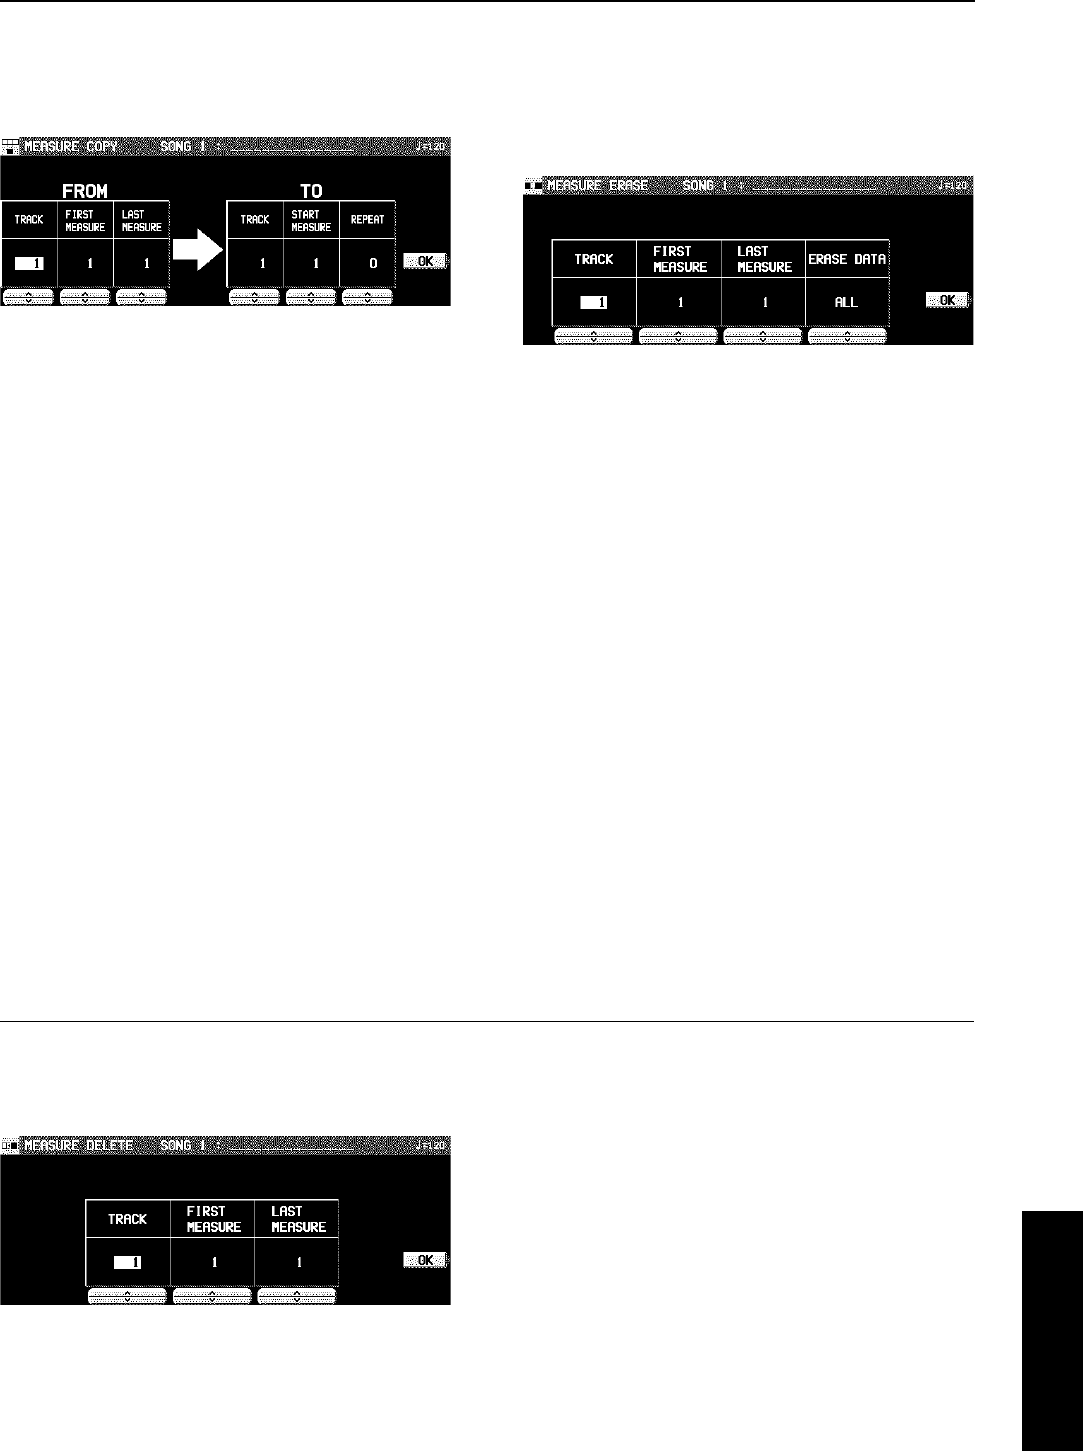
MEASURE COPY
Copy recorded data of specified measures to a specified
point.
• On the destination track, the new data replaces the current
measure contents.
1. Specify the measures you wish to copy from
the source track (FROM).
• On the FROM side, specify the settings with the corre-
sponding buttons.
TRACK: Specify the track number you wish to copy the
measures from.
• You cannot select the track for the RHYTHM part or
CHORD part in which a repeat command has been
stored.
• If ALL is selected, the specified measures are copied
to all tracks at the same time.
FIRST MEAS: Specify the first measure to copy.
LAST MEAS: Specify the last measure to copy.
2. Specify where you wish to copy the selected
measures to.
• On the TO side, specify the settings with the correspond-
ing buttons.
TRACK: Specify the track number you wish to copy to.
• Measures in a track for the CONTROL, RHYTHM or
CHORD part can be copied only to the same track.
START MEAS: Specify the start point to copy the selected
measures to.
REPEAT: Specify the number of times the selected meas-
ures are to be repeated.
3. Press the OK button.
• The confirmation display appears. Press the YES button
to execute the function, or press the NO button to cancel
the function.
• Note that if the END command is included in the source
data, it is also copied. Any data following the END com-
mand is not copied.
MEASURE ERASE
Erase the recorded contents of specific measures. You can
also specify which type of data is to be erased.
• Note that only the contents of the measures are erased,
not the measures themselves; the length of the perform-
ance remains the same.
1. Use the TRACK ∧ and ∨ buttons to specify
the track number.
• This function does not work for the RHYTHM part or
CHORD part in which a repeat command has been stored.
• If ALL is selected, data is erased from the specified
measures of all the tracks at one time.
2. Use the FIRST MEASURE ∧ and ∨ buttons
to specify the start point (measure number).
3. Use the LAST MEASURE ∧ and ∨ buttons to
specify the end point (measure number).
4. Use the ERASE DATA ∧ and ∨ buttons to
specify the type of data to be erased.
ALL: All data is erased.
NOTE: Only note data is erased.
CONTROL: Only control data (volume, effect and other
panel settings as well as selection changes) is erased.
5. Press the OK button.
• The confirmation display appears. Press the YES button
to execute the function, or press the NO button to cancel
the function.
MEASURE DELETE
Delete specified measures from a track.
• The length of the performance accordingly decreases by
the number of deleted measures.
1. Use the TRACK ∧ and ∨ buttons to select the
track from which measures are to be deleted.
• This function does not work for the CHORD or RHYTHM
track in which the repeat function has been stored.
• If ALL is selected, the specified measures are deleted
from all the tracks at one time.
2. Use the FIRST MEASURE ∧ and ∨ buttons,
to specify the first measure to delete.
3. Use the LAST MEASURE ∧ and ∨ buttons to
specify the last measure to delete.
4. Press the OK button.
• The confirmation display appears. Press the YES button
to execute the function, or press the NO button to cancel
the function.
Sequencer
Part IV Sequencer
81
QQTG0665
