


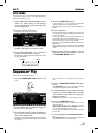


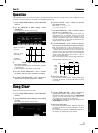

<Measure 4>
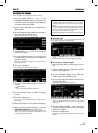
(1) While playing a D7 chord, press the key
one time.
(2) While playing a G7 chord, press the key
one time.
• You can press the INTRO & ENDING button or a FILL
IN button on the panel to store the desired pattern at the
cursor position. (An INTRO or COUNT INTRO can be
stored only at the beginning.)
• Store a rest by pressing a note value key without speci-
fying a chord.
5. At the end of the chord progression, press the
End key ( ).
• This instrument exits the recording mode.
• During playback, playback of the recorded chord progres-
sion stops at this point. For automatic repeat playback of
the chord progression, press the Repeat key ( ) in-
stead of the End key ( ).
• When you play back the track for the CHORD part, the
chords of the automatic accompaniment change in ac-
cordance with the stored chord progression.
• Chords can also be specified with <one finger>.
• If the ON BASS button is on, chords such as “C on G”
can also be specified (except in the ONE FINGER mode).
• The CHORD FINDER feature, which shows you how to
finger a specified chord, is available. (Refer to page 50.)
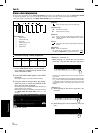
Correct the recorded chord progression
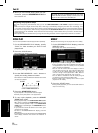
1. Follow the procedure to select the STEP RE-
CORD: CHORD display.
2. Use the MEAS buttons to go to the measure
you wish to modify. Use the and Cor-
rection keys to move the cursor to the point
(
*
) you wish to edit.
• The lengths of rests are indicated by the respective rest
value × its multiplier.
Example:
.......................1-beat rest (quarter rest)
.......................1/2-beat rest (eighth rest)
× 1 +
......... 1-1/2-beat rest
(dotted quarter rest)
× 10..............10-beat rest
• To go to the end of the chord progression, while pressing
the Reset key ( ), press the key.
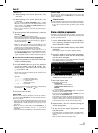
3. Correct the chord data.
Chord data
When the chord name is displayed at the cursor position,
you can press the DELETE key to erase the data and then
store a new chord.
• If you do not erase the displayed data before entering new
chord data, the new data is inserted at this point, and the
displayed data is merely shifted by the note value of the
new chord.
• Rests can also be erased. Each time the DELETE key is
pressed, the rest is erased in units of
× 1. The
rest is
erased last.
• If you wish to cancel the REPEAT, enter an END command.
Control data
The name of the stored function (INTRO, FILL, etc.) is dis-
played. You can press the DELETE key to erase the data
which is displayed.
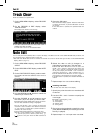
TRACK CLEAR
To erase all data from the current track, press the CLR button,
and then press the YES button on the confirmation display.
• If you wish to cancel the clear procedure, press the NO
button.
Store a rhythm progression
Changes in the rhythm selection and tempo, as well as the
intro, fill-ins and the ending, can be stored by measures with
the step recording method.
1. On the SEQ MENU display, use the SONG ∧
and ∨ buttons to select the song number. Then
select RECORD & EDIT.
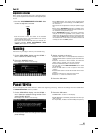
2. On the RECORD & EDIT display, select STEP
RECORD.
• The display changes to the PART SELECT display.
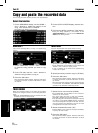
3. Using the balance buttons below the display,
select the track to which the RHYTHM (RHY)
part has been assigned.
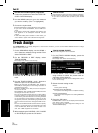
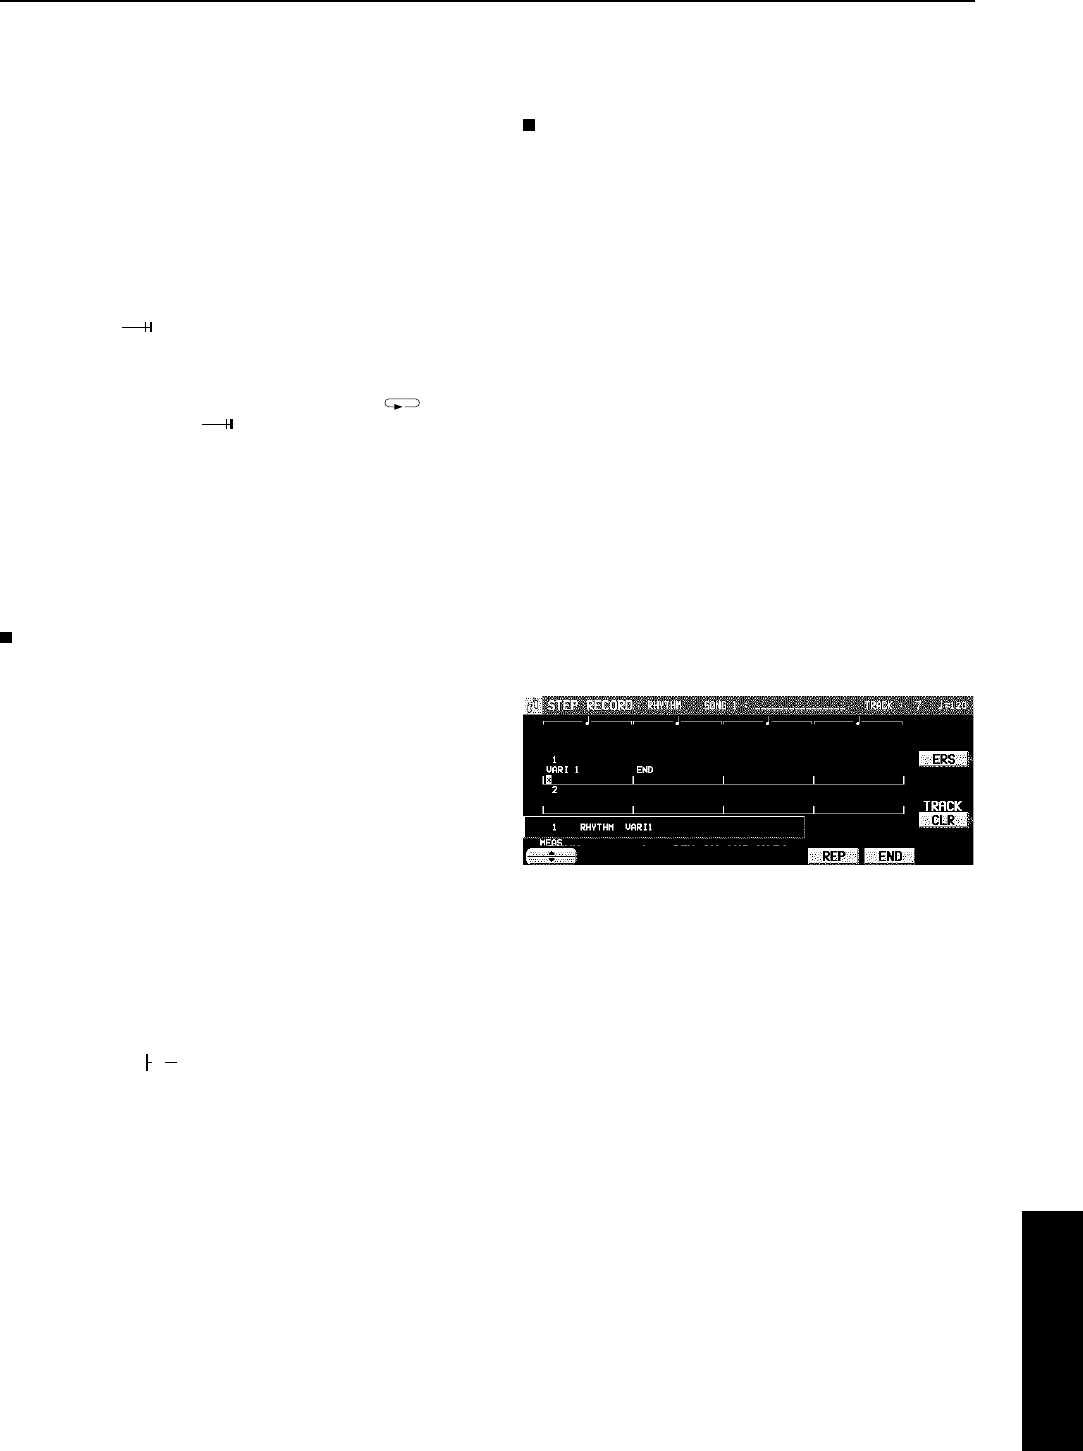
• The display changes to the STEP RECORD: RHYTHM
input display similar to the following.
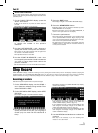
4. Use the MEAS ▲ and ▼ buttons to go to the
measure you wish to record.
5. Store the rhythm data.
• Data which can be stored:
START/STOP
Changes in the rhythm selection
COUNT INTRO, INTRO, FILL IN,
ENDING
Tempo changes
• Be sure to store the START/STOP data in the measure
in which the rhythm starts or stops.
• If you are storing a COUNT INTRO or INTRO, store this
data before the START/STOP data.
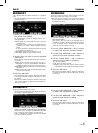
• If the tempo is changed, the display changes to the con-
firmation display. After specifying the desired tempo,
Press the YES button to store the specified tempo, or
press the NO button to cancel the new tempo value.
6. Repeat steps 4 and 5 to continue storing the
rhythm progression.
7. At the end of the rhythm progression, press
the END button.
• If the REP button is pressed instead of the END button,
during playback the recorded rhythm progression is re-
peated.
• This instrument exits the recording mode.
▲
▼
▲
Sequencer
Part IV Sequencer
75
QQTG0665