Reference [Effects]
ZOOM HD8/HD16
132
HINT
To reselect the effect type, repeatedly press the cursor up key
to bring up the effect type name, and then turn the dial.
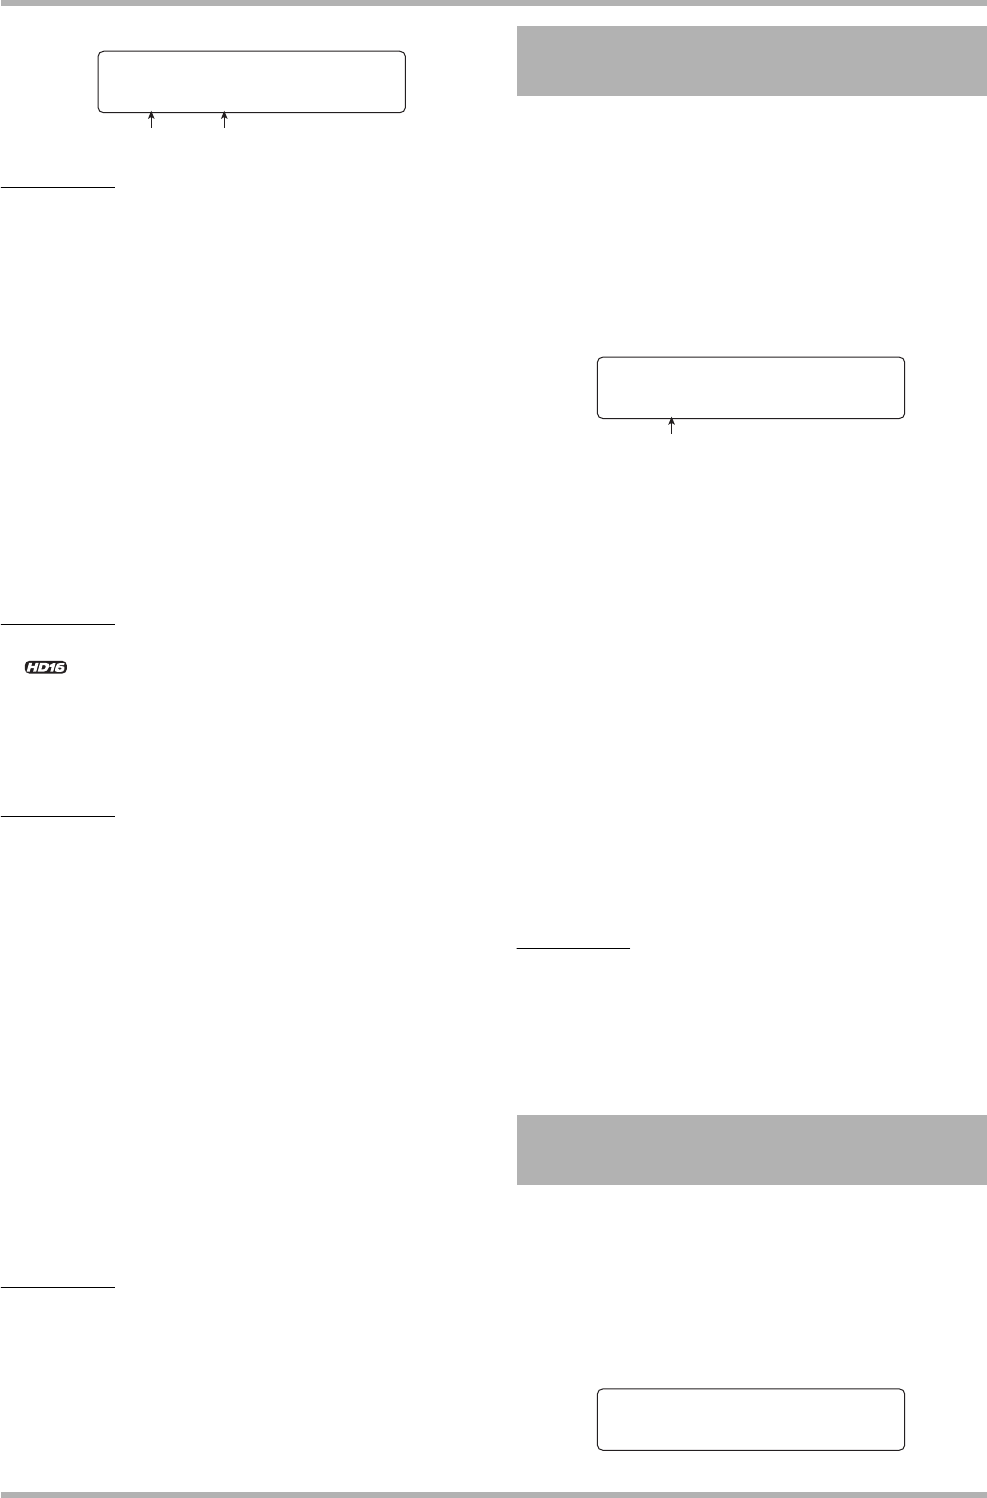
7. Turn the dial to change the setting value.
For details on the effect types that can be selected for each
effect module and on the effect parameters of each type, refer
to the information in the appendix of this manual.
8. To toggle the effect module on or off, bring up
the indication for the module on the display,
and then press the [ENTER] key.
When the effect module is turned off, the indication “-OFF-” is
shown on the second line of the display. Pressing the [ENTER]
key once more returns the module to the active condition.
HINT
<< only>> When editing a patch of the 8xCOMP EQ
algorithm, it is not possible to turn the effects for all channels
on and off together. However, when the setting for the
respective effect is shown, you can turn it off for the current
channel by pressing the [ENTER] key.
NOTE
The modules included in TOTAL cannot be turned off.
9. Repeat steps 4 – 8 as necessary to edit other
modules.
10
.
To adjust the patch level (the final volume of the
patch), use the cursor left/right keys to bring
up the indication “TOTAL” on the first line and
the indication “Patch Level” on the second line
of the display, and then turn the dial.
The patch level can be adjusted in the range from 1 to 30.
11
. When you have finished editing, press the
[EXIT] key.
The insert effect patch select screen appears again.
NOTE
Keep in mind that if you select another patch without first
storing the edited patch, the changes will be lost. If you want to
keep the results of your editing session, refer to the following
section.
A patch that you have edited can be stored in any location of
the same algorithm. You can also store an existing patch in
another location to create a copy of that patch. Interchanging
the position of patches (swapping) is also possible.
1. At the patch select screen or edit screen,
press the [FUNCTION] key once (to store the
patch) or twice (to swap the patch).
2. Verify that the indication “STORE PATCH” or
“SWAP PATCH” is shown on the first line of
the display, and press the [ENTER] key.
3. Turn the dial to bring up the patch to store or
swap on the second line of the display, and
press the [ENTER] key.
The indication “Store?” or “Swap?” appears on the second line
of the display.
4. To carry out the store/swap operation, press
the [ENTER] key.
When the store/swap operation is completed, the insert effect
patch select screen appears again.
By pressing the [EXIT] key instead of the [ENTER] key, you
can cancel the operation and back up one step at a time.
HINT
• Patches that you have stored are saved on the hard disk as a
part of the project.
• Patch data included in another project can be loaded into the
current project (→ p. 136).
This section explains how to edit the name of the currently
selected patch.
1. At the insert effect patch select screen,
select the patch whose name you want to
change.
Ensemble
t
Depth=2
Effect parameter Setting value
Storing/swapping insert effect
patches
Editing the name of an insert
effect patch
STORE PATCH
No.0:Standard
Patch number
CLEAN
No.0:Standard
