


76
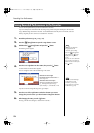
Recording Your Performance
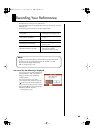
Method 1: After recording a song, press the [ (Song)] button and select another
song in the “song selection” screen.
Method 2: Hold down the [ (Song)] button and press the [ (Rec)] button.
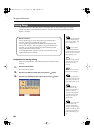
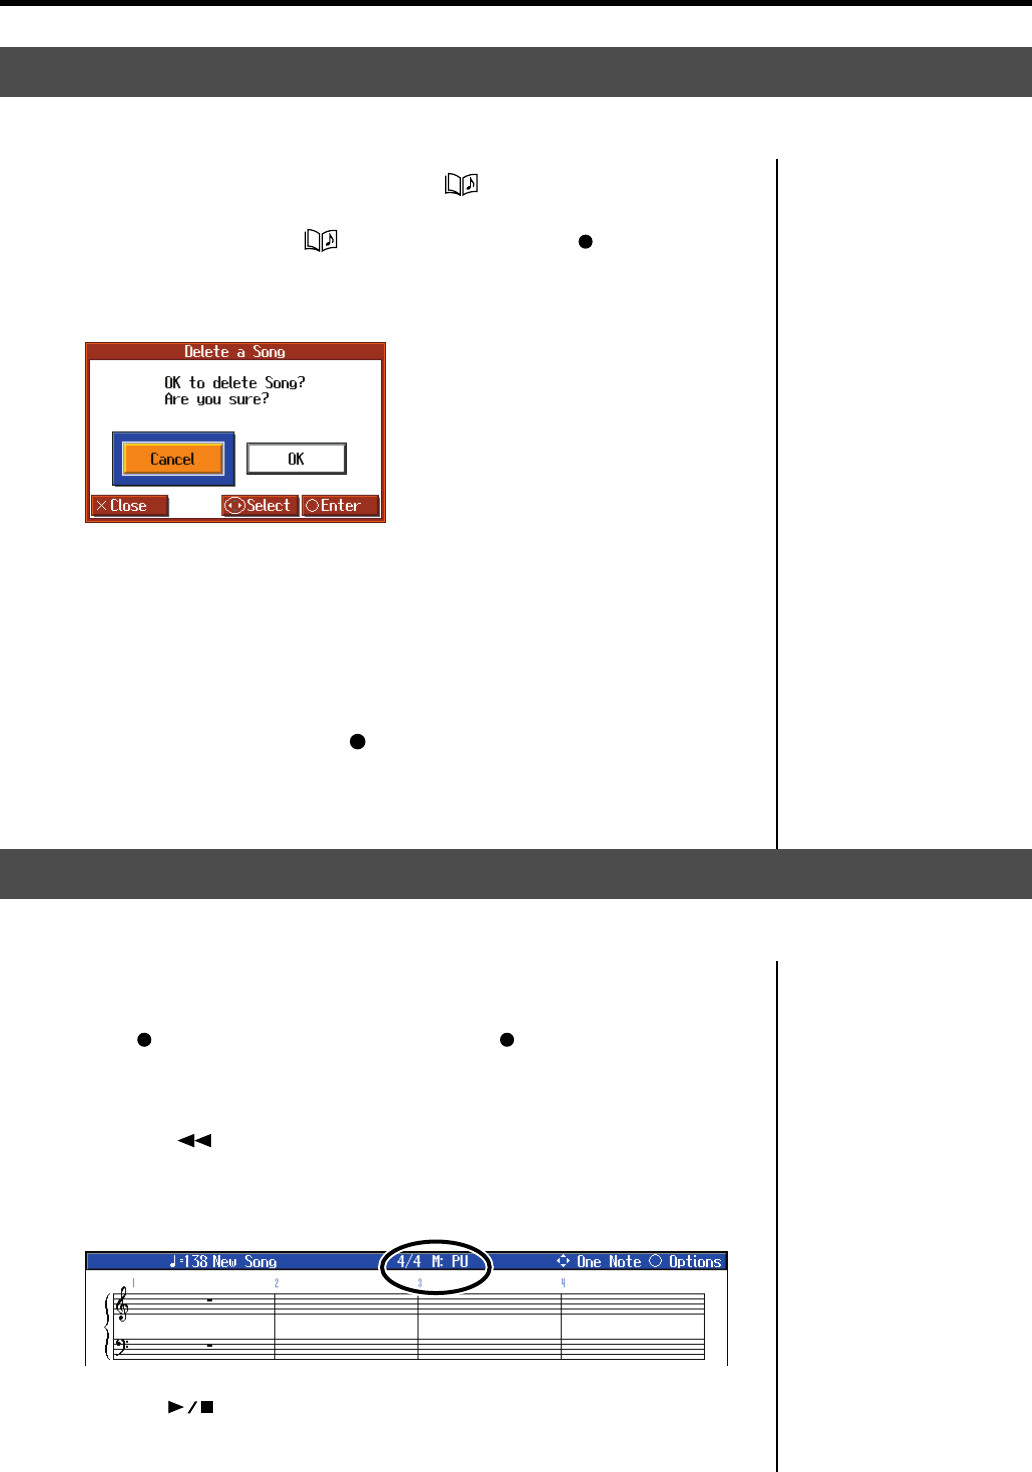
When either of these operations are performed, a display like the following will
appear.
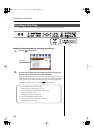
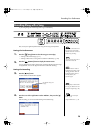
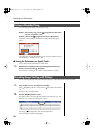
fig.d-DelSongOK-e_50
If you select <OK>, the song will be deleted. If you do not want to erase the song, save
it on USB Memory or “Favorites” (p. 72, p. 80).
■
Erasing the Performance on Specific Tracks
You can select and erase performances on specific tracks.
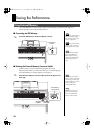
1.
Hold down the Track button for the track containing the performance you
want to erase, then press the [ (Rec)] button.
The Track button’s indicator goes out, and the recorded performance is erased.
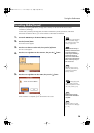
1.
Carry out Steps 1–3 on p. 70 to prepare for recording.
If the [ (Rec)] button’s indicator is not lit, press the [ (Rec)] button so the indicator
is lit.
The HPi-7S is put in recording standby.
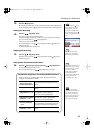
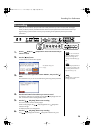
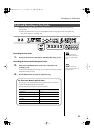
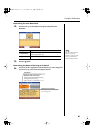
2.
Press the [ (Bwd)] button one time.
The measure number in the upper right of the notation screen changes to “PU,” and
the HPi-7S is set to record a song starting with a pickup.
fig.d-PU-e_50
Press the [ (Play/Stop)] button, then record the performance.
The count is played, and then recording begins.
Erasing a Recorded Song
A recorded song can be erased in the following two ways:
Recording Songs Starting with Pickups
You can record songs that start with pickup beats (songs that start on a beat other than the measure’s first beat).
HPi-7S-e.book 76 ページ 2007年8月27日 月曜日 午後2時39分