


E-200/E-100
19
Songs you record with the E-200/E-100, and the Standard
MIDI Files you play back can consist of up to 16 tracks (i.e.
MIDI channels). In many instances, only certain tracks are
used, but the following are almost certainly present in every
Standard MIDI File:
Track 2: bass
Track 4: melody
Track 10: drums
The STYLIST buttons allow you to mute the following tracks:
[RIGHT]–Refers to track “4” of the selected Standard MIDI
File. Music data for educational purposes (especially piano
music) use this track for the right-hand part. Mute this track
to play the right hand yourself while listening to the left-
hand part of the Standard MIDI File. The E-200/E-100 con-
tains an excellent stereo piano Tone you could use.
[LEFT]–Refers to track “3” of the selected Standard MIDI File.
Music data for educational purposes (especially piano music)
use this track for the left-hand part. See also above.
[OTHERS]–Mutes all tracks that cannot be muted with the
remaining STYLIST buttons, more specifically: 1, 3, 6~9,
12~16.
[BASS]–Mutes track “2”, which is assigned to the bass part of
a Standard MIDI File.
[DRUMS]–Mutes track “10”, which is assigned to the drum
part of a Standard MIDI File.
Note: You also switch off several buttons simultaneously.
(4) Press [|√] and [®÷ª] to start playback.
(5) Press [®÷ª] again to stop playback.
(6) Press [MINUS¥ONE] again (or one of the “big” DATA ENTRY
buttons) to switch the function of the same name back
off again.
Note: The Minus One setting can be saved along with the
selected song and its Stylist settings. See page 45.
Changing the track assignments
If the song files you are using do not use the GM system (and
therefore do not correspond to the RIGHT, LEFT, BASS or
DRUM assignments of the Minus One function), you can
proceed as follows to assign other tracks (MIDI channels) to
the STYLIST [RIGHT], [LEFT], [BASS] and [DRUMS] buttons:
(1) Press the [MINUS¥ONE] button to activate the function of
the same name.
(2) Press and hold the [RIGHT], [LEFT], [BASS] or [DRUM] button.
(3) While holding that button, use the [NO/–]/[YES/+] buttons
to assign the desired MIDI channel to the button you are
holding.
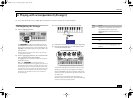
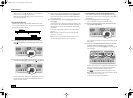
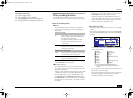
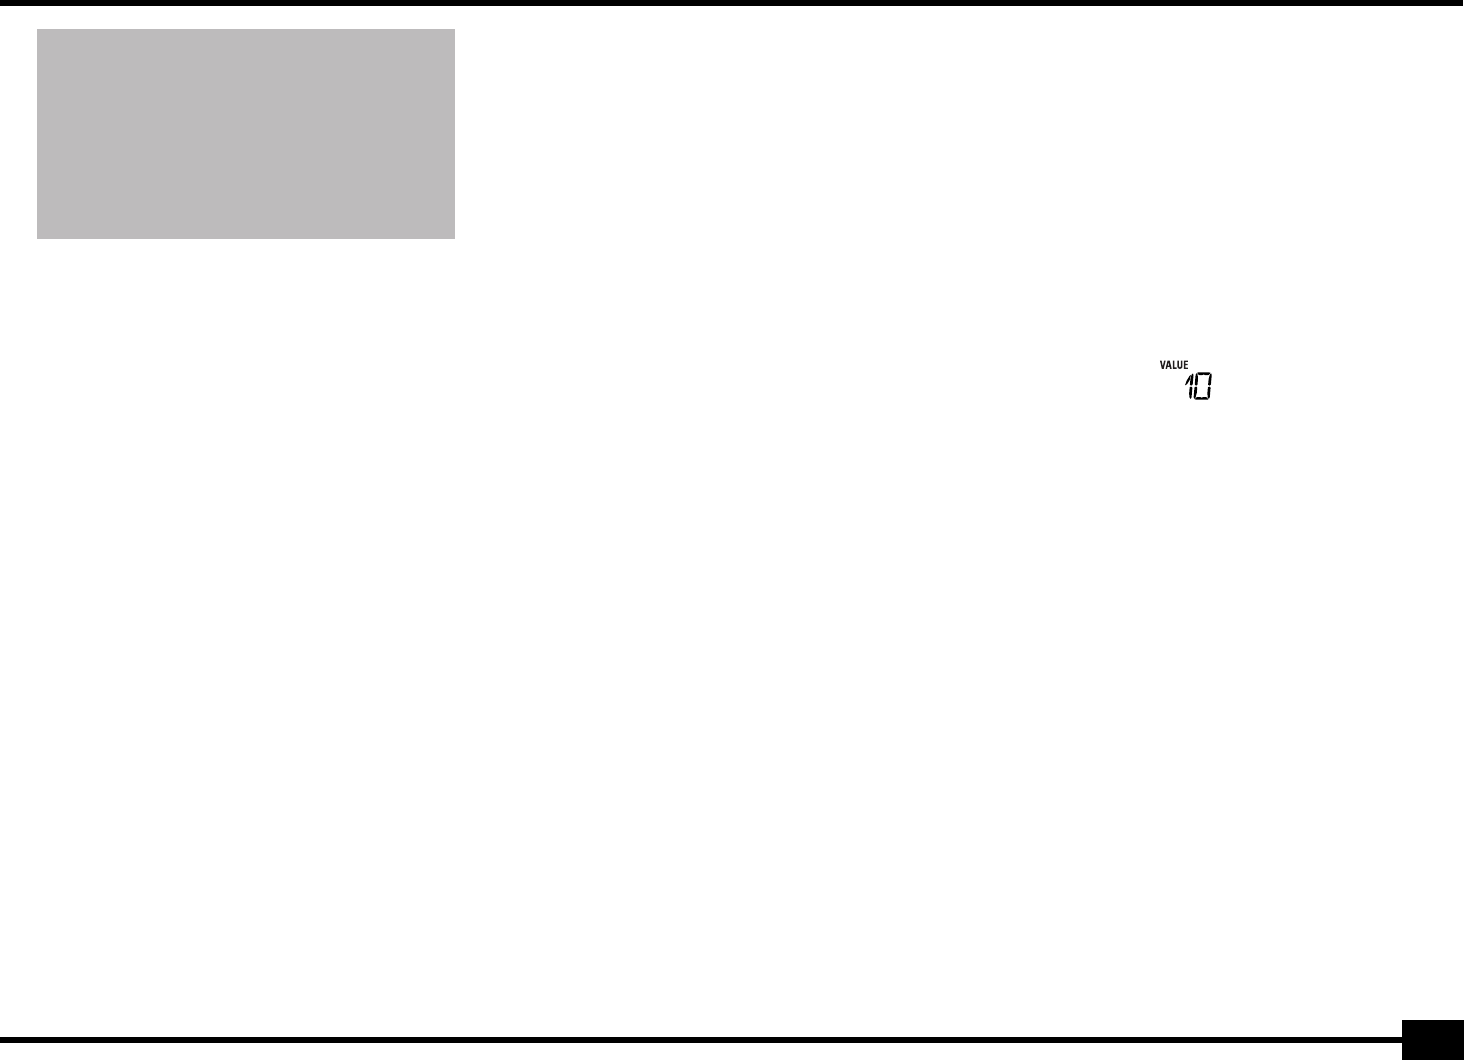
Example: To assign MIDI channel “10” to the [RIGHT] button,
press DATA ENTRY [+] until the display looks as follows:
(4) Press [MINUS¥ONE] again (or one of the “big” DATA ENTRY
buttons) to switch the function of the same name back
off again.
Note: The Minus One setting can be saved along with the
selected song and its Stylist settings. See page 45.
What are tracks?
The term “track” is used only for your convenience. We bor-
rowed it from tape recorders that allow for recording sev-
eral musical parts by the same person (one part after the
other).
In the case of the E-200/E-100, the term is only used to
indicate that we are dealing with separate musical parts.
Here indeed (like with computer-based sequencers) what
really counts are the MIDI channels.
RIGHT
E-200_US Page 19 Tuesday, January 27, 2004 4:01 PM