


r
E-200/E-100
26
Apart from the basic Music Style functions covered on page 13 and following, your E-200/E-100 also provides the following functions. Most of the following functions are only available after
pressing the [ARRANGER] button (the icon must be displayed).
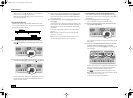
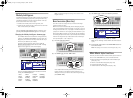
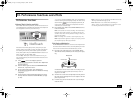
One Touch (OTP)
The One Touch function automates quite a few tasks:
• Suitable Reverb and Chorus settings.
• The E-200/E-100 selects sounds for the Main, Split and Dual
parts that are is suitable for the selected Style.
There are 2 One Touch memories per Style with different
settings for the above parameters. Here is how to select one:
(1) Select the desired Music Style (see p. 14).
If the Arranger is stopped, the E-200/E-100 also loads the
corresponding OT1 memory.
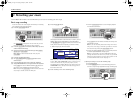
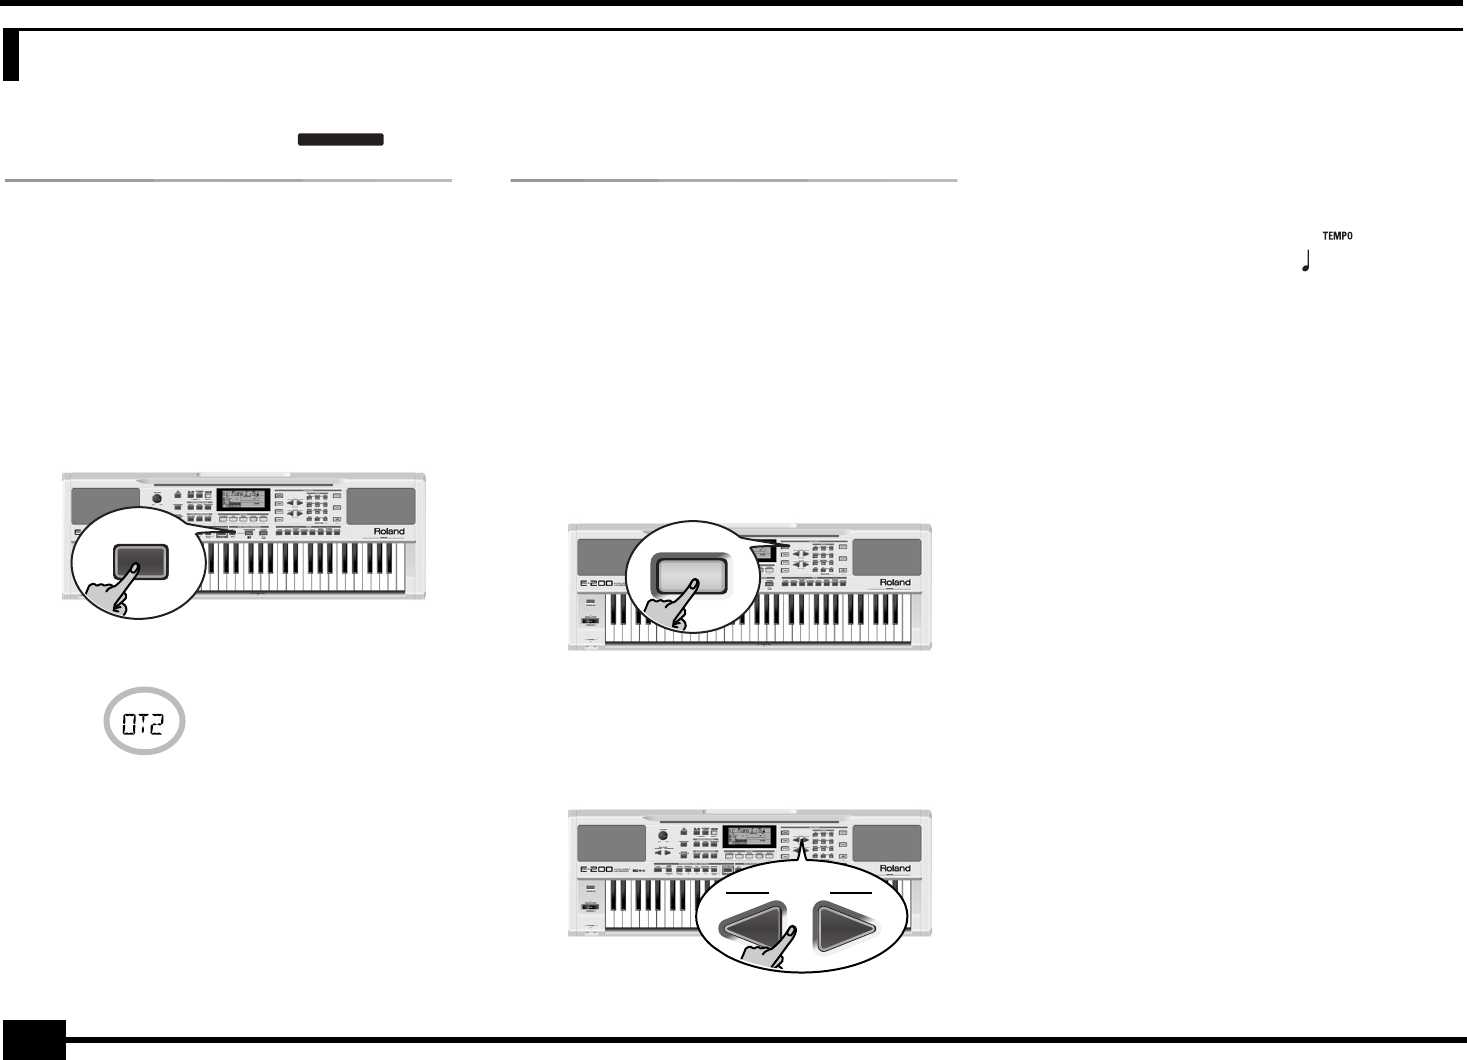
(2) Press the [OTP1/OTP2] button.
The number field in the upper left corner reads “OT2” (second
One Touch memory).
If the DATA ENTRY [TONE] button lights, the display now
shows a Tone name.
(3) Press the [OTP1/OTP2] button again if you need “OT1”
again.
Note: One Touch is also available for Flash and disk Styles, but it
is less meaningful.
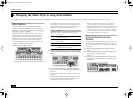
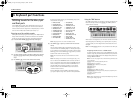
Using the Music Assistant
Another practical function for quickly making the right settings
for a song you want to play is to take advantage of the E-200/
E-100’s novel MUSIC ASSISTANT function. It prepares every-
thing for working with the Arranger (Style, Tones, effects, etc.).
The Music Assistant is not available for song playback.
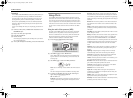
The following parameters are changed automatically when you
select a Music Assistant memory:
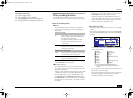
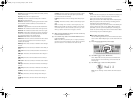
(1) Press the [MUSIC¥ASSISTANT] button.
It lights and the display shows the name of the last Music
Assistant setting you selected (or of the first Music Assistant
memory).
(2) Use FAMILY [√][®] to select the “family” (i.e. genre) that
contains the desired Music Assistant settings.
The following families are available: Ballad, Ballroom,
Dancing, Easy List, Evrgreen, JazzSwng, and PopHit.
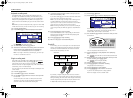
(3) Use SELECT [√][®] to specify the desired Music Assistant
memory within the selected family.
The first press of SELECT [®] (or [√]) shows the name of the
first Music Assistant setting within the selected group. It is
already selected, so if you need the first setting, there is
actually no need to press SELECT [®]. You must use SELECT [√]
or [®], however, to select another Music Assistant setting
within the same group.
You can also use the numeric buttons to select Music Assis-
tant memories. To do so, first “double-click” (press twice) the
[SONG] button (it starts to flash), then enter the number.
(Press another button in the DATA ENTRY section to leave
this “numeric selection state”.) See also “Working with the
FAMILY and SELECT buttons” below.
Note: If necessary, you can now change the settings you do not
like (e.g. select another sound for the Main part, etc.) and then
save your new version to a User Program (see p. 41).
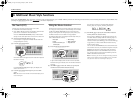
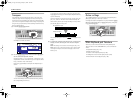
8. Additional Music Style functions
ARRANGER
OTP1
OTP2
Piano 2
• Music Style
• Tempo
• Sounds for the Main, Split
and Dual parts
• Effect settings
• Band Orchestrator
• Keyboard Touch
MUSIC
ASSISTANT
FAMILY
=
BALLROOM
102
E-200_US Page 26 Tuesday, January 27, 2004 4:01 PM