


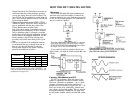


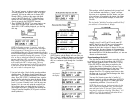
5. Play the keyboard and then move the MODULATION
WHEEL toward "MAX". Notice it does not change the
sound; that's because you just turned OFF the Wheel's
effect.
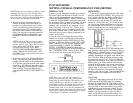
Set this wheel
at maximum
NOTE You will now be asked to turn on the MODU-
LATION WHEEL effects and see how they can be
used to alter the sound of different voices.
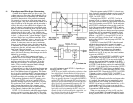
Selectively turn ON and try the modulation
1. Press [MODULATION WHEEL-PITCH] and then
press the DATA ENTRY [ON] button to activate the
pitch modulation effect.
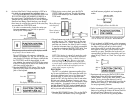
Then move slider up or press
this button to turn on the
modulation
2. Play the keyboard and operate the MODULATION
WHEEL.
AT THIS POINT YOU MAY OR MAY NOT HEAR THE
PITCH CHANGE IN A VIBRATO-LIKE FASHION.
THERE REMAIN SEVERAL VARIABLES WHICH WE
HAVE NOT YET DISCUSSED. The amount of pitch
modulation achieved with the wheel will depend not
only on the setting of the wheel itself, but also on the
set Range, and on the Pitch Modulation Sensitivity of
individual voices.
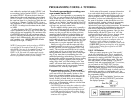
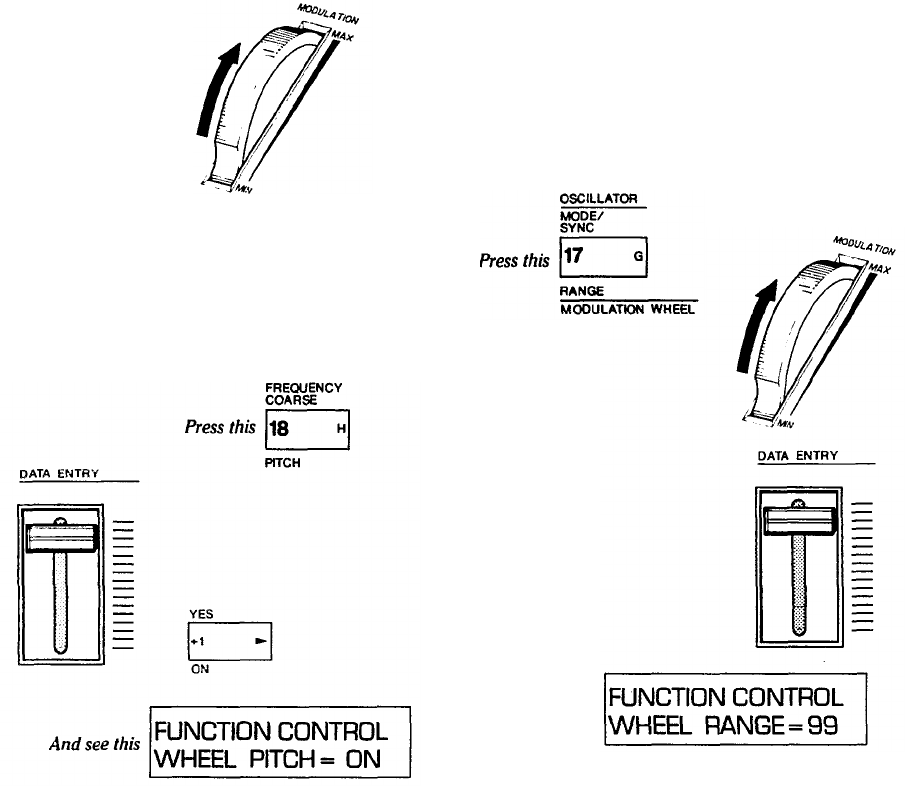
3. Set the MODULATION Wheel at maximum (notch in
the wheel toward the back of the instrument). Then
press [MODULATION WHEEL-RANGE] and use
the [DATA ENTRY] slider to set different values from
0 (no modulation) to 99 (maximum modulation) while
playing the keyboard. IF YOU DON'T HEAR THE
MODULATION, BE SURE YOU'RE HOLDING DOWN
THE KEYS FOR AT LEAST A FEW SECONDS.
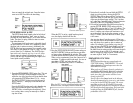
And set this wheel to take
advantage of the maximum set
modulation
Then move this slider up to
achieve the maximum possible
range of modulation
And see this
IMPORTANT NOTE At this point it is still possible that
you won't hear any pitch modulation, even when the
wheel is at maximum and the [MODULATION
WHEEL-RANGE] is set to 99. This is because the
voice itself must first have been programmed to be
sensitive to pitch modulation.
4. If you don't hear pitch modulation with the "WHEEL
PITCH = ON", the Wheel at MAX, and the "WHEEL
RANGE = 99", leave these controls set, and try other
voices. Other voices may be programmed to be sensi-
tive to pitch modulation.
From this point, you can access other voices by press-
ing [MEMORY SELECT-INTERNAL] or [MEMORY
SELECT-CARTRIDGE]. Then press each voice selec-
tor button, [1] through [32], and move the MODULA-
TION WHEEL back and forth to test these voices.
When you find a voice that sounds interesting with
the pitch modulation, again press the [FUNCTION]
button and try moving the [DATA ENTRY] slider to
change the modulation RANGE so you can hear how
the wheel works at other than maximum available
range.
5. Now that you've explored the Modulation Wheel
PITCH modulation, try applying AMPLITUDE modu-
lation.
To work without confusing two types of modulation,
you'll want to turn ON only one effect at a time.
Therefore first turn OFF Pitch modulation by pressing
[MODULATION WHEEL-PITCH] and then DATA
ENTRY [OFF]. Then turn ON Amplitude modulation
by pressing [MODULATION WHEEL-AMPLITUDE]
and DATA ENTRY [ON].
NOTE Applying AMPLITUDE modulation makes
individual operators (voice sub-components) louder
and softer, which can affect the volume or the tone or
both, depending on the particular voice's internal
structure. Once again, the voice must be programmed
to be sensitive to the type of modulation. The voice we
have been using as an example, "E.PIANO 1" is sensi-
tive to pitch modulation, but not to amplitude modula-
tion, so the wheel will not have any effect on the voice
with only amplitude modulation turned on. Try the
other voices to find one which is sensitive to amplitude
modulation; a saxophone voice would be a likely
choice.
6. In a similar fashion to step 5 above, turn OFF the
[MODULATION WHEEL-AMPLITUDE] and turn
ON the [MODULATION WHEEL- EG BIAS]. The
EG bias does not utilize LFO modulation, but instead
it varies the amplitude of any envelopes whose Modu-
lation Sensitivity is programmed to a value greater
than zero. As a result, you can use the MODULATION
Wheel (or any modulation controller such as the
22