


CHAPTER 4: Recording
43
By recording a song played on the Disklavier
synchronized with the video recording, later on, you can
enjoy piano playback with the video. (→ pg. 36 “Video
Synchronized Playback”) First set up the camcorder and
the Disklavier, and then start recording by following the
procedures below.
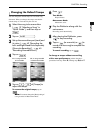
Setting Up the Camcorder and the
Disklavier
3
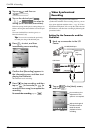
Tap on , and then on
.
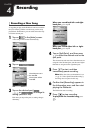
4
Tap on the desired part ( ,
, or ) to select its
setting (to be recorded/overwritten).
Each time you tap on the part, its setting changes as
follows showing the status with the color of the part
icon:
Not record (white)/Not overwrite (green) ↔
Record/overwrite (red)
Tip: You can also overwrite the previously
recorded part along with the blank part.
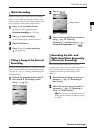
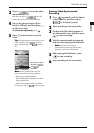
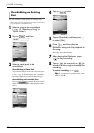
5
Press to start, and then
immediately pause recording.
6
Confirm that [Recording] appears in
the information area, and then start
playing the Disklavier.
The Disklavier starts recording.
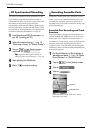
7
Press to stop recording, and then
tap on (to overwrite) or (to
record as a new song) to complete the
recording.
To cancel the recording, tap on .
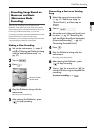
Video Synchronized
Recording
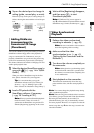
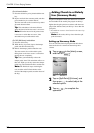
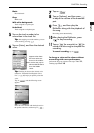
1
Hook up a camcorder to the I/O
Center.
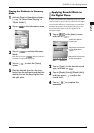
2
Tap on in the [Main] screen,
and then .
I/O Center
Camcorder
To audio
output
(L/R)
To MIC/LINE input
RCA cord
(not
supplied)
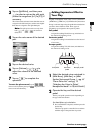
For normal use, the
adjustment of this
option is not required.
Adjusts the length of
the offset time that
leads the actual
playback of entire
recording.