


CHAPTER 4: Recording
44
English
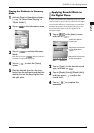
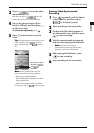
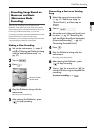
Starting Video Synchronized
Recording
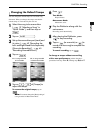
3
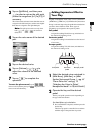
Tap on to turn the video
synchronization on.
Each time you tap on , the video
synchronization turns on and off alternately.
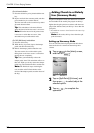
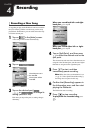
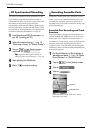
4
Tap on the desired option ([Sync
Level] or [Offset]), and then press
to adjust its value.
To cancel the adjustment, press .
5
Press (select button) to set the
value.
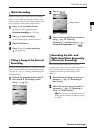
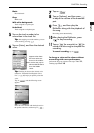
Tip: The shortcut button on the [Song] screen
is also available. Tap on to turn on
video synchronization, and to turn it
off.
Note: Video synchronization does not
function under the following conditions:
• While songs on SmartPianoSoft,
PianoSoftPlusAudio, SmartKey, and audio
CD are played back.
• While Vocal Harmony mode is activated.
In such cases, the icon is shown in gray.
Each time you tap on
this button,
and
alternates.
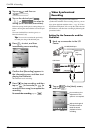
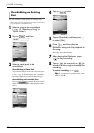
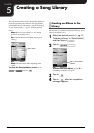
1
Press repeatedly until the [Main]
screen appears, and then tap on
in the [Main] screen.
2
Start recording on the camcorder.
3
Confirm that [Rec Wait] appears in
the information area, and then press
to start recording.
4
Wait for approximately ten seconds,
and then start playing the Disklavier.
Note: This step is necessary for
synchronization of the song and the video
playback, and should not be omitted.
5
After playing the Disklavier, press
to stop recording.
6
Stop recording on the camcorder.