


11
Installing the A-16R in
a Rack
The A-16R Personal Mixer is designed to be installed in a standard 19-
inch audio equipment rack. This design is both for easy transportation
of the units and for protection in a permanent installation. Each unit
takes up one standard rack space (19 inches wide by 1.75 inches high).
Optionally, you can place the units on a table top or other flat surface
such as a shelf.
The rack ears on each side of the device are designed to support
the weight of the A-16R without additional hardware. Each rack ear
contains holes for two screws per side. Always support the unit with
all four screws.
To rack mount the A-16R Personal Mixer, position it in the equipment
rack at the desired location. Use standard rack-mounting screws (10-32
size) to attach the unit to your rack hardware. Tighten all four screws
firmly, but avoid overtightening.
You may want to use non-metallic washers between the rack-mounting
screws and the device’s finished surface to avoid marring the painted
finish on your Aviom products.
Always allow adequate ventilation for devices mounted in equipment
racks. Avoid placing your A-16R Personal Mixer directly above or
below other rack-mounted gear that produces high levels of heat, such
as power amps.
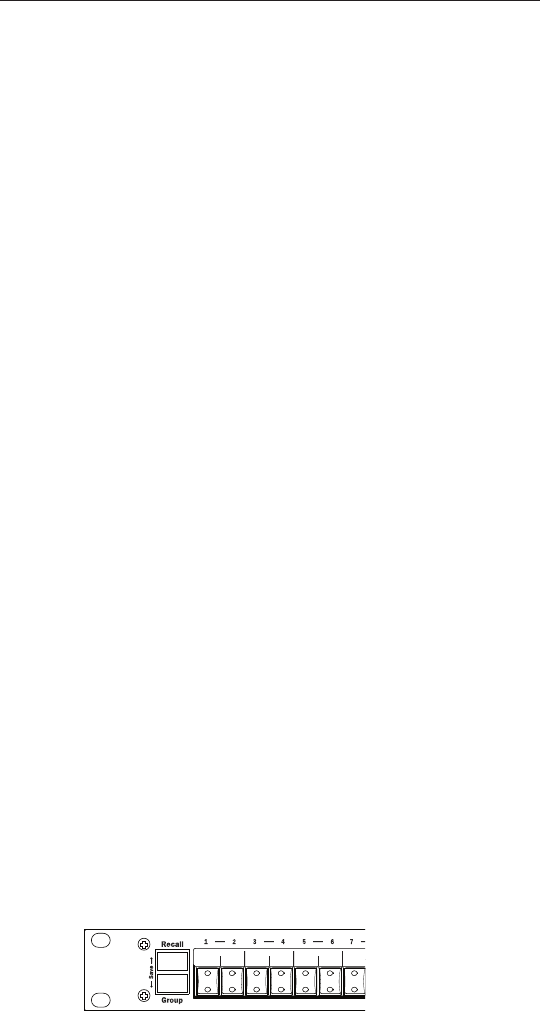
Channel Labels
For writing channel information or names on the A-16R Personal
Mixer (or A-16CS) label surface or “scribble strip”, we suggest using a
china marker or other easily removed marking device. A china marker
is designed for marking on plastic, metal, glass, wood, and paper.
These are available at most office supply outlets. Avoid the use of
permanent markers. Optionally a strip of removable artist’s tape can
be used instead of writing directly on the product’s surface.
A-16R
A-Net Mixer
Phones
1 2
3 4
5 6
7 8
9 10
11 12
13 14
15 16
Mix In
Remote
Midi Off
Local
Midi On
Mixer Label Strip